
Ultimate Guide to Hiking and Backpacking Wedgemount Lake in Whistler, BC
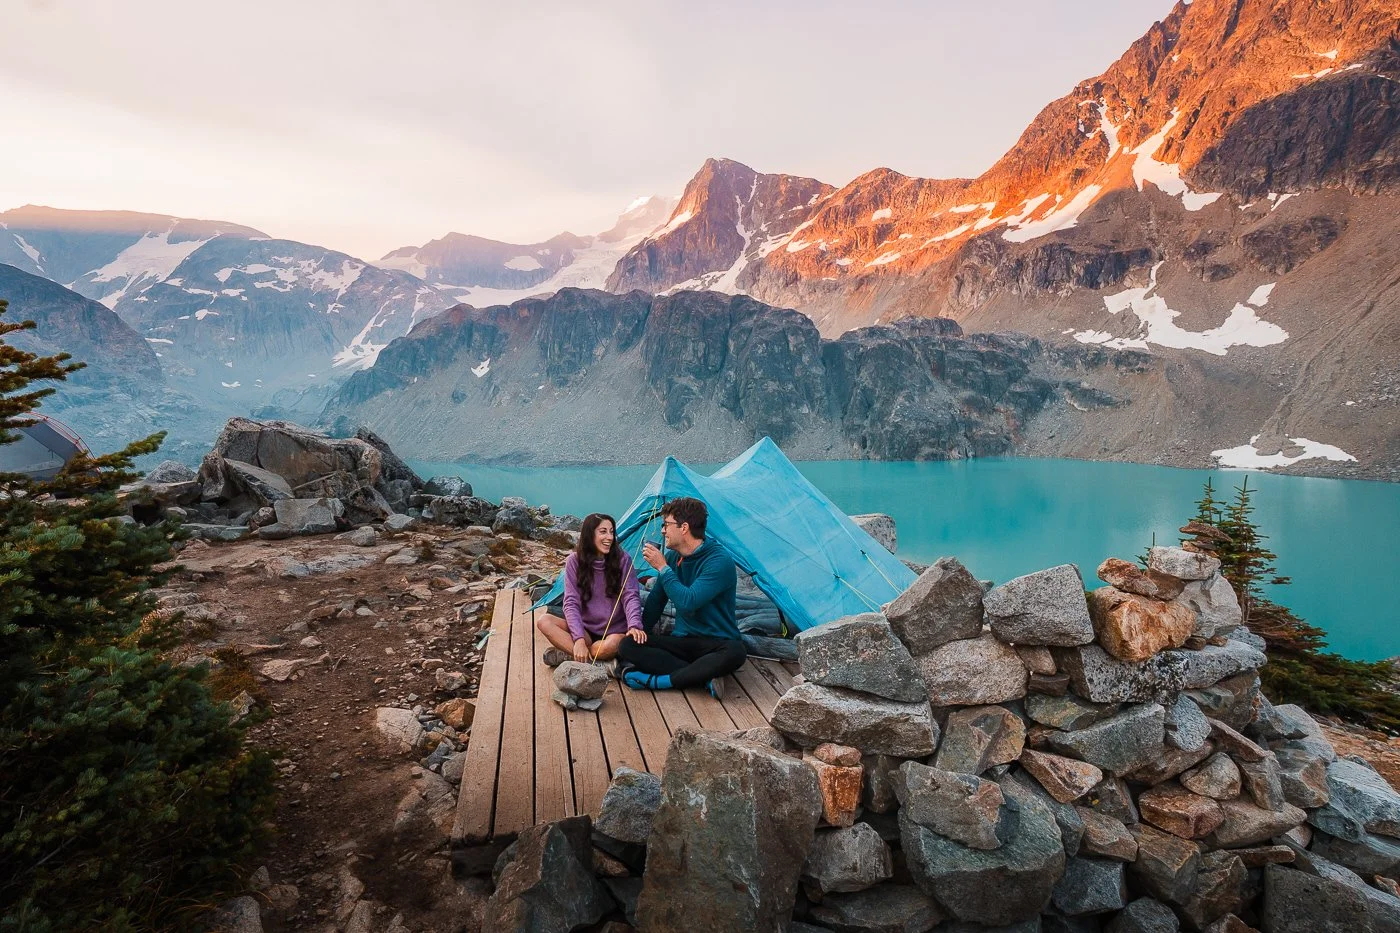
Hiking and Backpacking Wedgemount Lake in Garibaldi Provincial Park
We first day hiked Wedgemount Lake on our first trip to Whistler together in 2021 and it showed us how amazing this area really is. Since then, I (Skye) hiked it again as a day hike for my bachelorette weekend in Whistler, and then Garrett and I backpacked it for our two-year wedding anniversary in August, 2026. If you only do one hike in the Whistler area, make it this one.
Located in Garibaldi Provincial Park just outside Whistler, BC, Wedgemount Lake is a 10.3-kilometer (6.4-mile) round-trip trail that gains roughly 1,155 meters (3,789 feet) in just over 5 kilometers one way. This is one of the steepest, most demanding hikes in the entire Sea to Sky corridor.
The payoff is a glacier-fed alpine lake so vividly turquoise it barely looks real, framed by the Wedgemount Glacier and a wall of jagged peaks including Wedge Mountain, the tallest summit in the park.
You can tackle it as a long, grueling day hike with no permit required, or get a camping permit and turn it into an overnight backpacking trip.
We’ve hiked Wedgemount Lake multiple times now, both as a day hike and as an overnight backpacking trip, and we’re breaking down everything we’ve learned across both versions of this trail in this guide. Whether you’re deciding between a day trip or a backcountry camping permit, or just want the full rundown on what to expect from trailhead to lake, we’ve listed all the details here.
Table of Contents
Affiliate Disclaimer: This blog post contains affiliate links, meaning we receive a small commission on every purchase made with our links at no additional cost to you. Sometimes there is even a discount code for our readers which we specify next to the links.
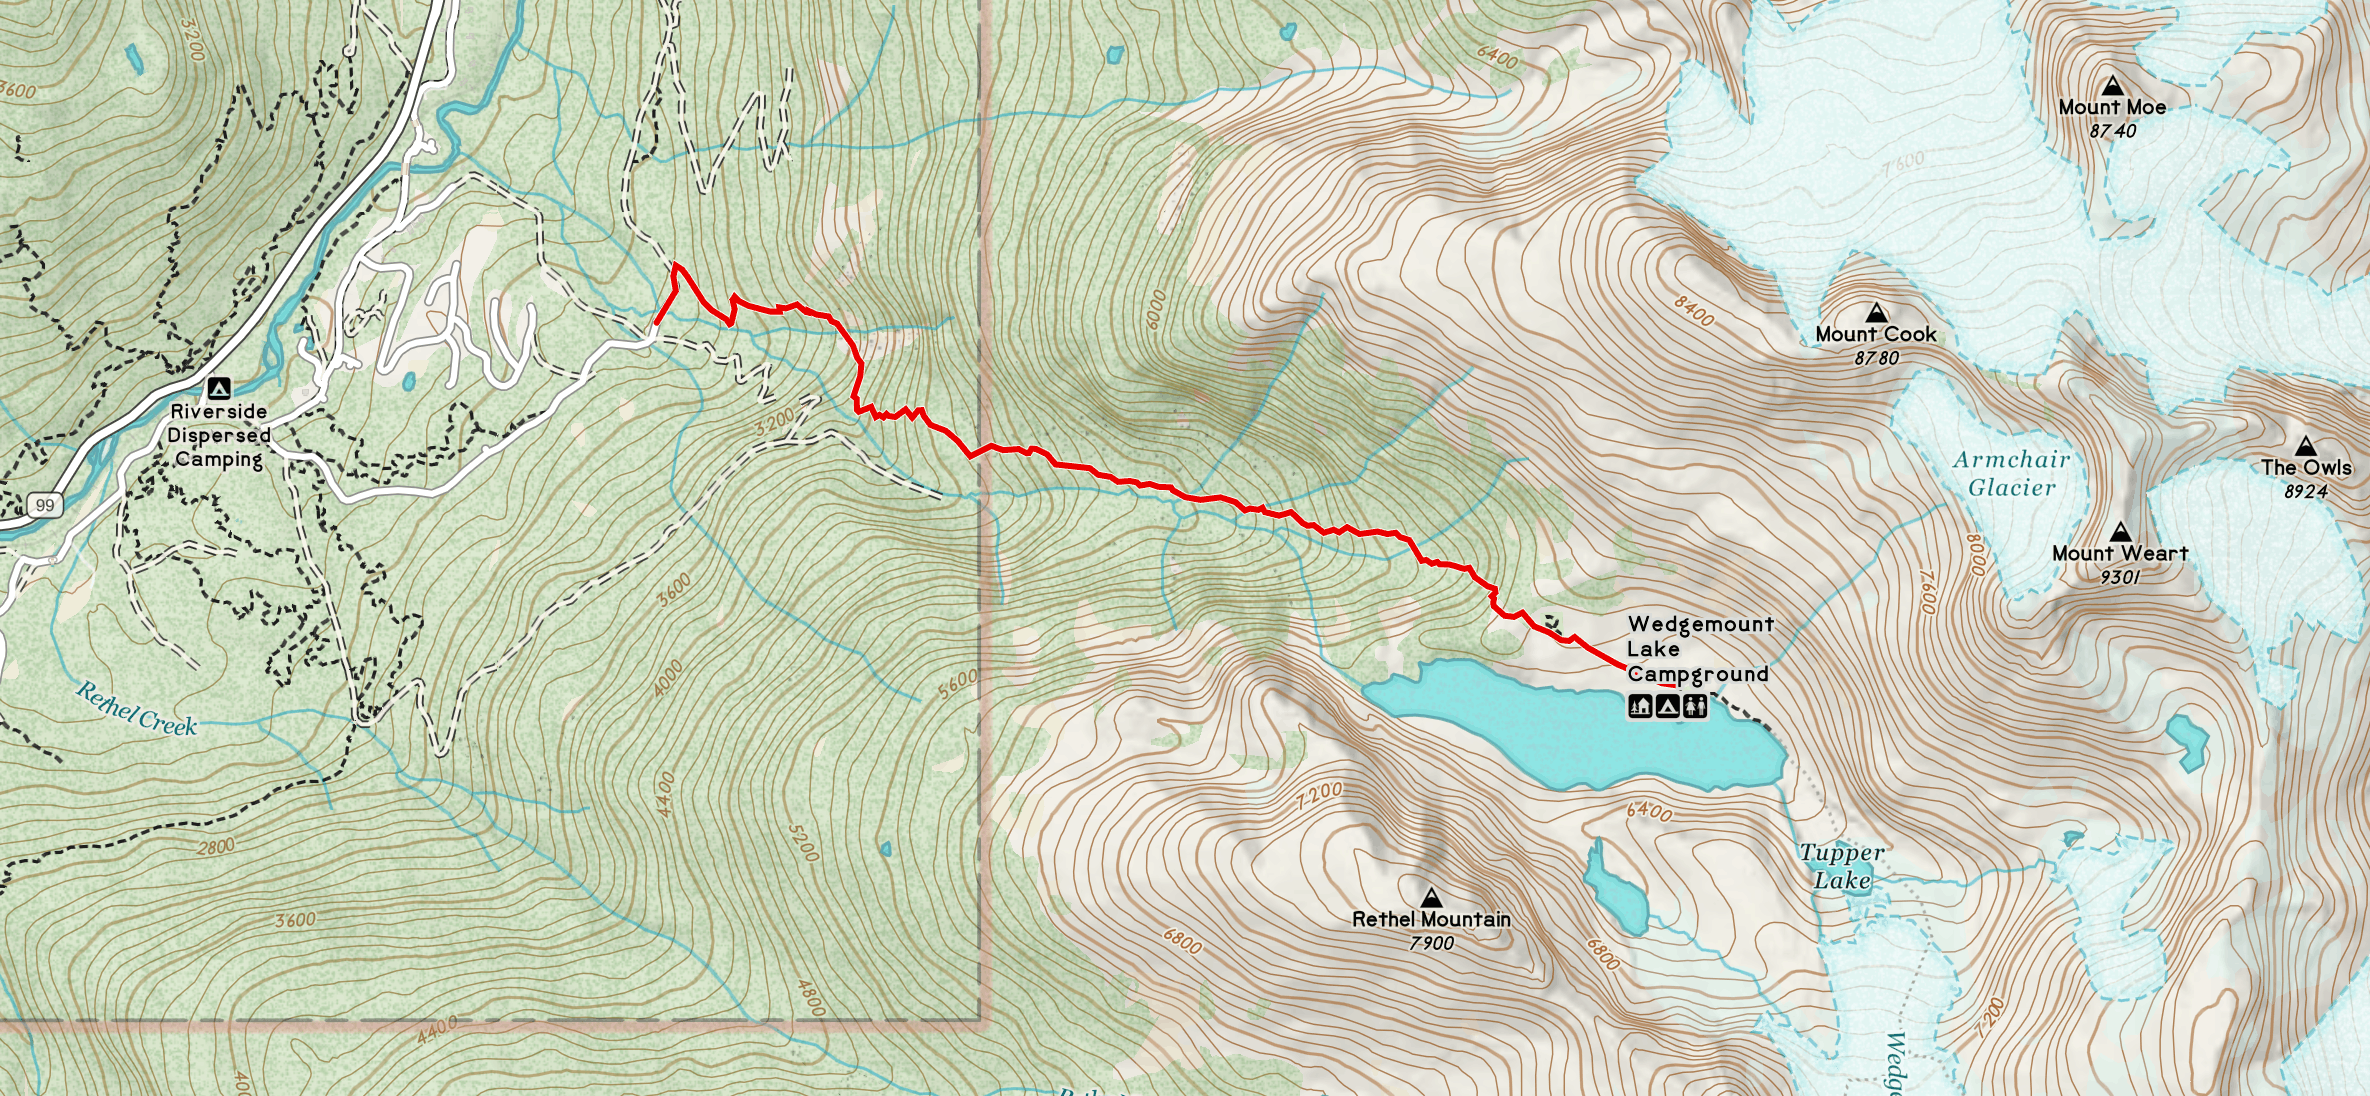
Overview map of the trail to Wedgemount Lake
Wedgemount Lake Trail Stats and Difficulty
Though this is a very popular and short trail, it is steep and challenging, with constant elevation gain almost the entire way to Wedgemount Lake. Give yourself plenty of time, especially with a heavy overnight pack, as it will take longer than the distance suggests.
Distance
10.3 km (6.4 mi) RT
Elevation Gain
1,155 m (3,789 ft)
Difficulty
Difficult
Recommended Duration
Day hike or 1 night
Permit
Required for overnight camping only
Parking Pass
None
Vehicle Access
All vehicles
Dogs
Not permitted
Cell Service
None
Popularity
Very popular
In all honesty, we loved backpacking Wedgemount, but it was a lot easier when we day hiked it. Even as ultralight backpackers, this trail feels a lot harder with an overnight pack. So if you’re concerned about the elevation gain, try day hiking it first and see how that feels before deciding to backpack.
Elevation Profile
The elevation gain up to Wedgemount Lake is very consistent, with very few flat sections for rest. Pace yourself and take your time on the extra steep sections and you will be fine.
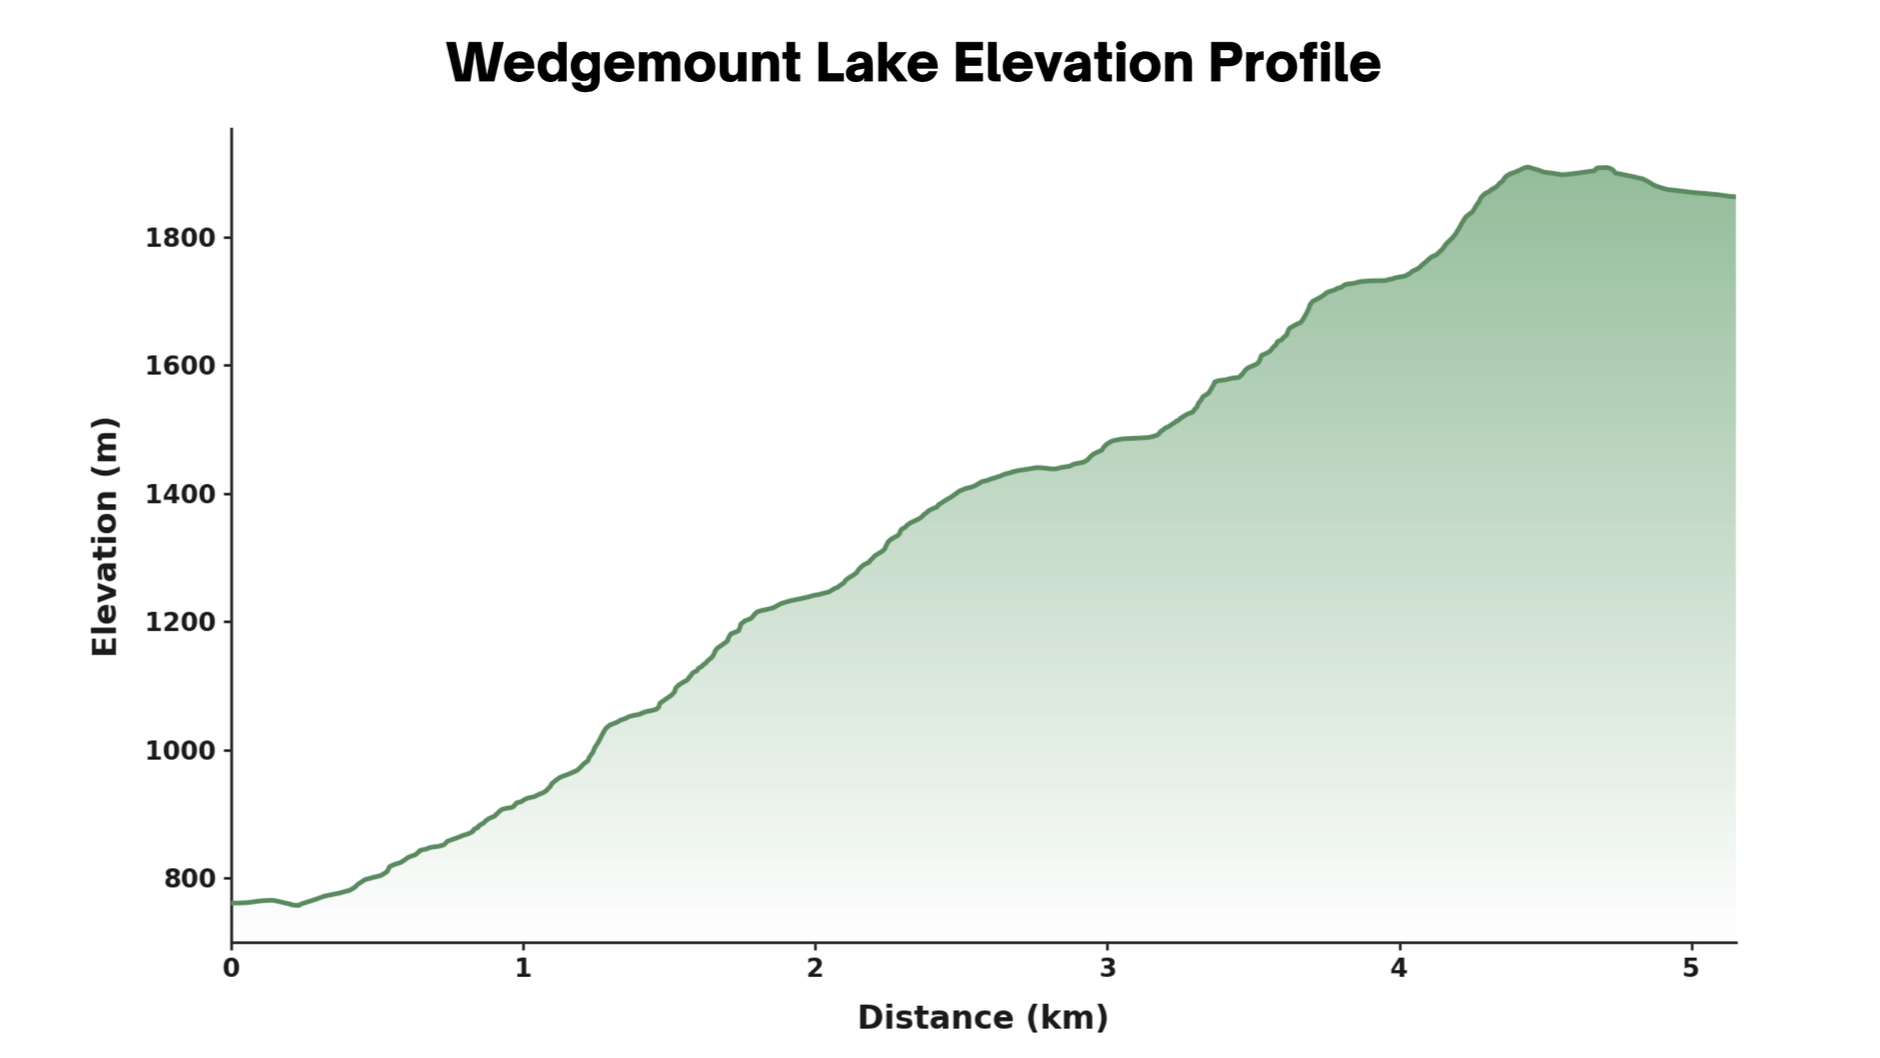
The unrelenting elevation gain from the parking lot to Wedgemount Lake
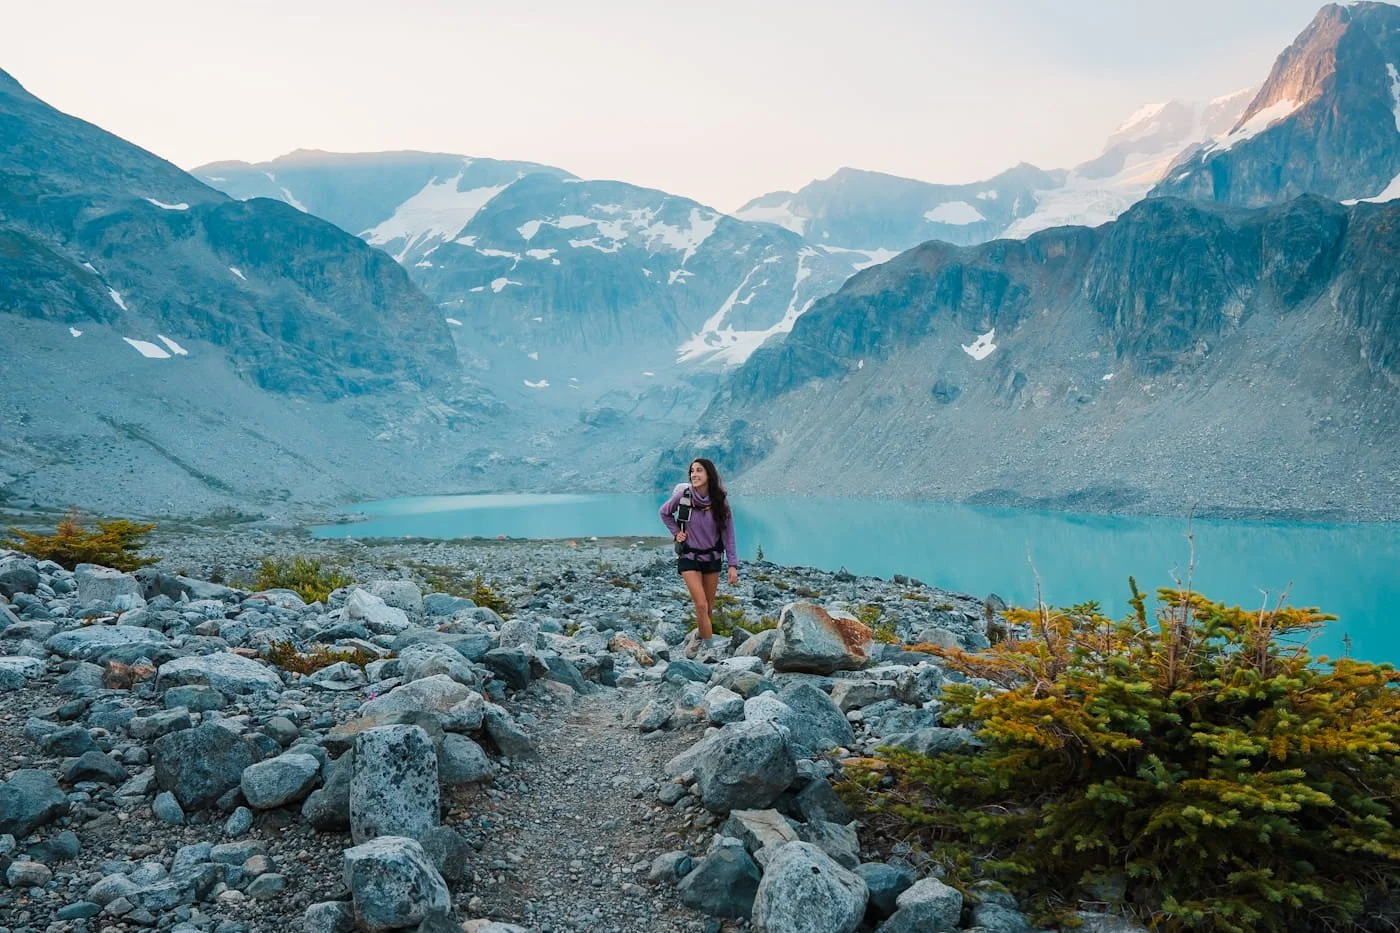
Enjoying the views above Wedgemount Lake
Best Time of Year to Hike Wedgemount Lake
The best time to hike Wedgemount Lake is midsummer, once the snow has melted off the trail and the boulder field near the top is clear. Most years that means late July through early September. If you go too early in the season you’ll likely hit lingering snow and runoff-swollen creek crossings on the upper trail; go too late and you’re gambling on the first snowfall.
Unfortunately wildfire smoke is a real possibility throughout the summer. We backpacked Wedgemount Lake in early August 2026 ourselves and dealt with some smoke on our second day. It varies year to year depending on fire activity across BC, so it’s worth checking the BC wildfire smoke forecast/air quality index in the days before your trip if you’re hiking in mid-to-late summer.
| Season | Conditions | Recommended Gear | Recommendation |
|---|---|---|---|
| Winter December – March |
|
|
Not recommended outside of experienced, avalanche-trained parties. This is serious backcountry terrain in winter, not a casual hike. Check the Avalanche Canada forecast before you go. |
| Spring April – June |
|
|
Prepare for snow along the trail until late June. Check current trail conditions and recent trip reports before you go. |
| Summer ★ Top Pick July – Early September |
|
|
This is the best window for hiking or backpacking Wedgemount Lake, once the snow has melted off the trail and boulder field. |
| Fall Mid September – November |
|
|
A quieter, cooler window on the trail if the weather cooperates. |
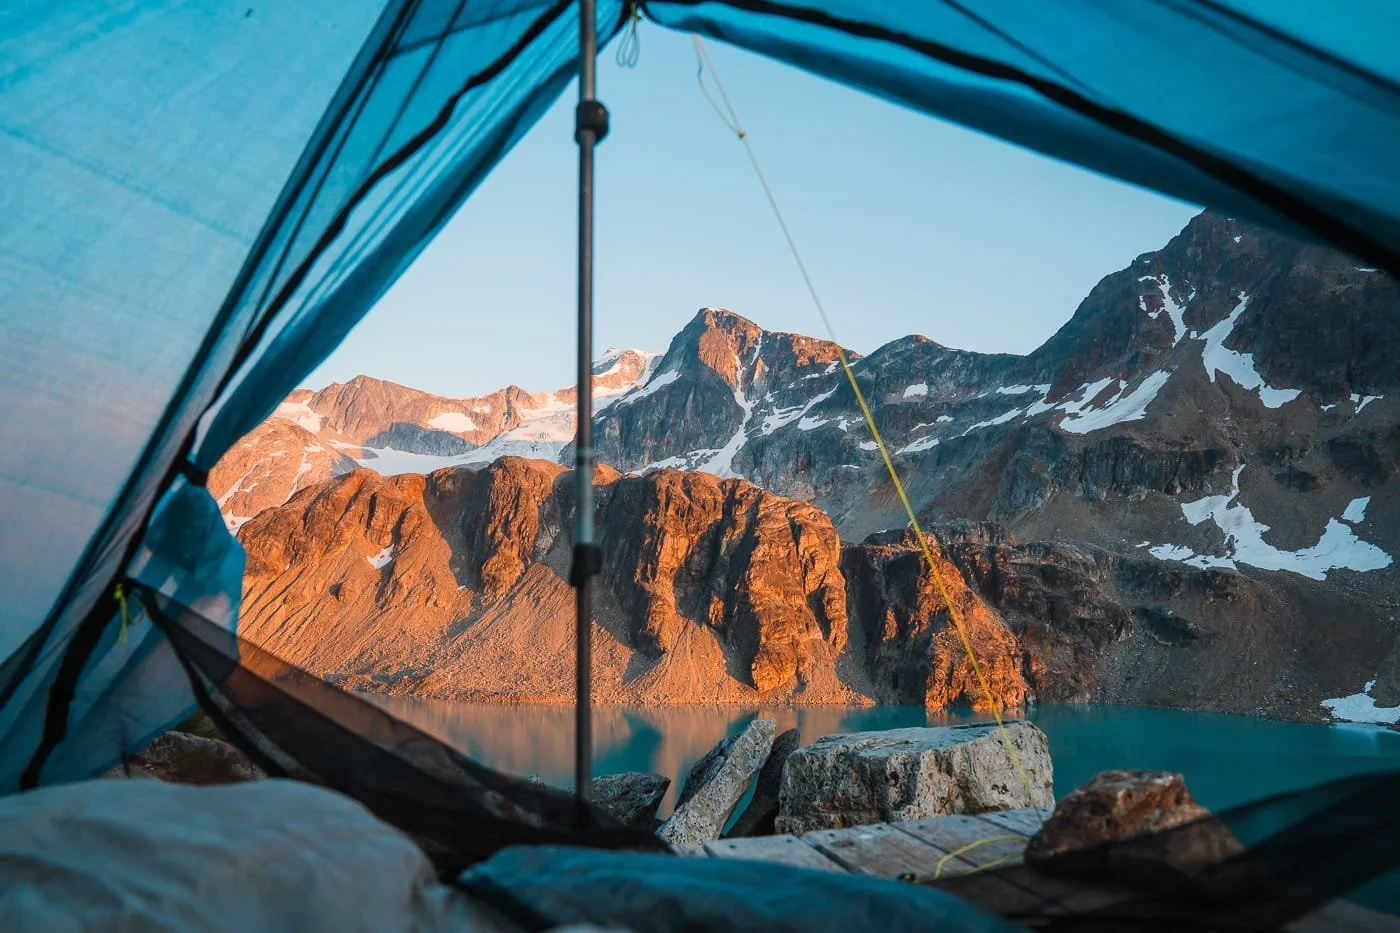
Sunset views from the upper camping area
Permits & Passes: What You Need to Hike Wedgemount Lake
Day Hiking Wedgemount Lake (No Permit Required)
If you’re just doing this as a day hike, no permit or no day-use pass required. Wedgemount is actually the only trailhead in Garibaldi Provincial Park that’s exempt from the park’s summer day-use pass system — Diamond Head, Rubble Creek, and Cheakamus Lake all require one on weekends and holidays through the summer, but Wedgemount doesn't.
Backcountry Camping Permits and BC Parks Reservations
If you’re staying overnight, you’ll need a backcountry camping reservation through the BC Parks Reservation Service. Reservations open 90 days before your trip date, and Wedgemount books up fast for summer weekends, so we’d recommend setting a reminder and booking the moment your date opens up if you’re set on a specific night.
A few things worth knowing before you book:
Cost: Non-refundable $25 per adult (16+) per person/per night + $6 transaction fee + tax. BC Parks official pricing.
There is also an additional non-resident fee applied to visitors who do not live in B.C. It is a $20 flat rate per reservation per person.
First-come, first-served sites: A reservation guarantees you a spot at the lake, but not a specific tent pad or campsite. Arrive early enough in the day to have your pick between the upper and lower camping areas (more on that below).
Carry a proof of reservation: You’re required to have your reservation confirmation on you, a phone screenshot works fine while on the trail, but you should have a copy of the permit attached to your tent too.
Parking: No parking pass is needed for overnight or day visitors.
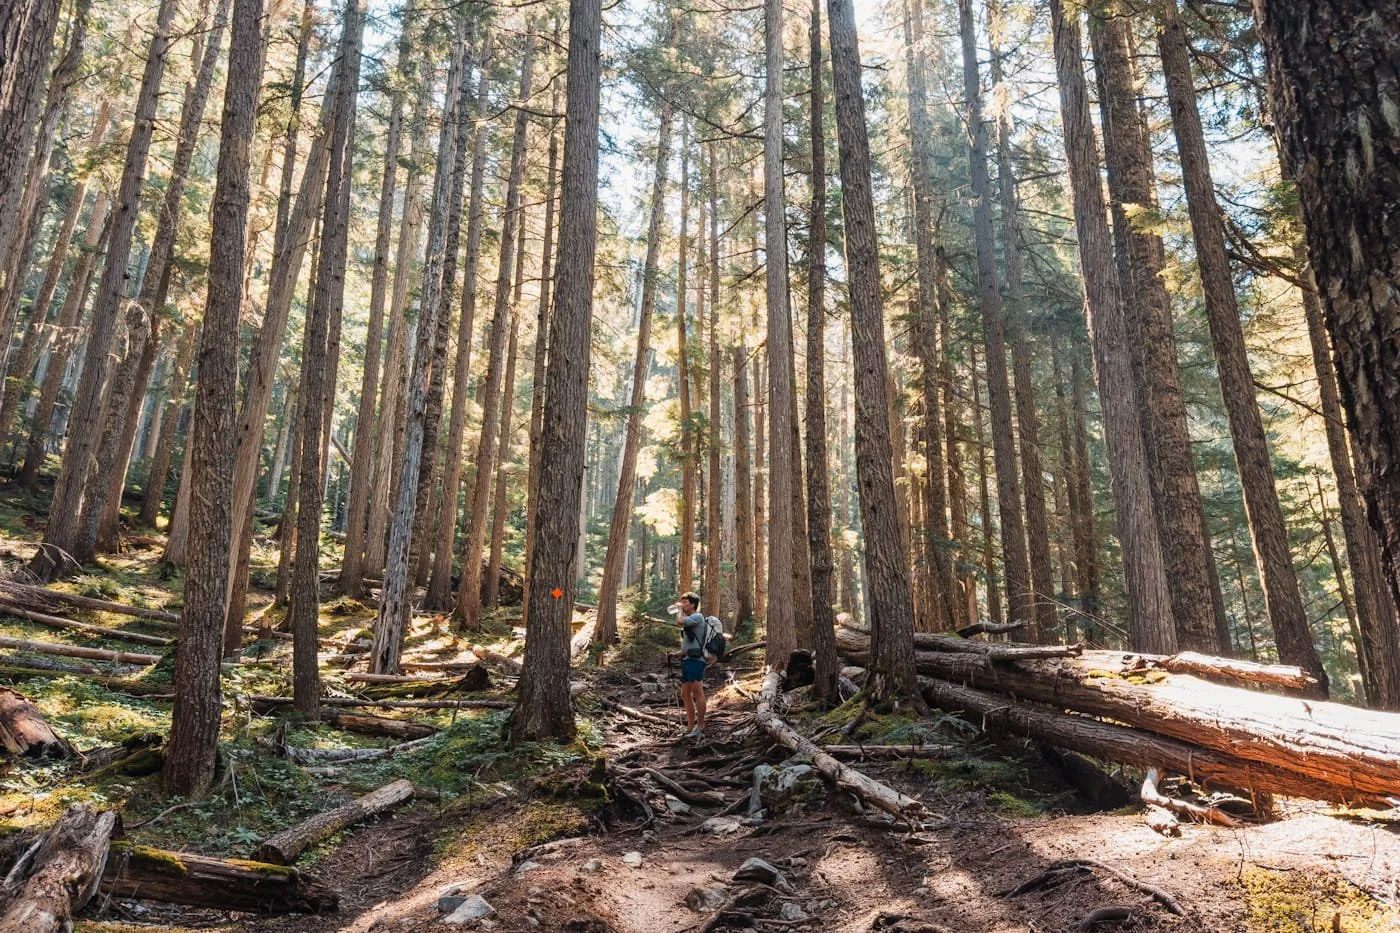
A short mellow and forested section mid-way up to Wedgemount Lake
Wedgemount Lake Trail Guide: Trailhead to the Lake
As mentioned, this trail isn’t long by distance but it has a sustained steep climb all the way to the lake. We broke the trail up into a few sections to help give you an idea of the trail and how to pace yourself along the way to your beautiful alpine lake reward.
Newer Beginning Section of Trail | 1.4 km (0.9 mi)
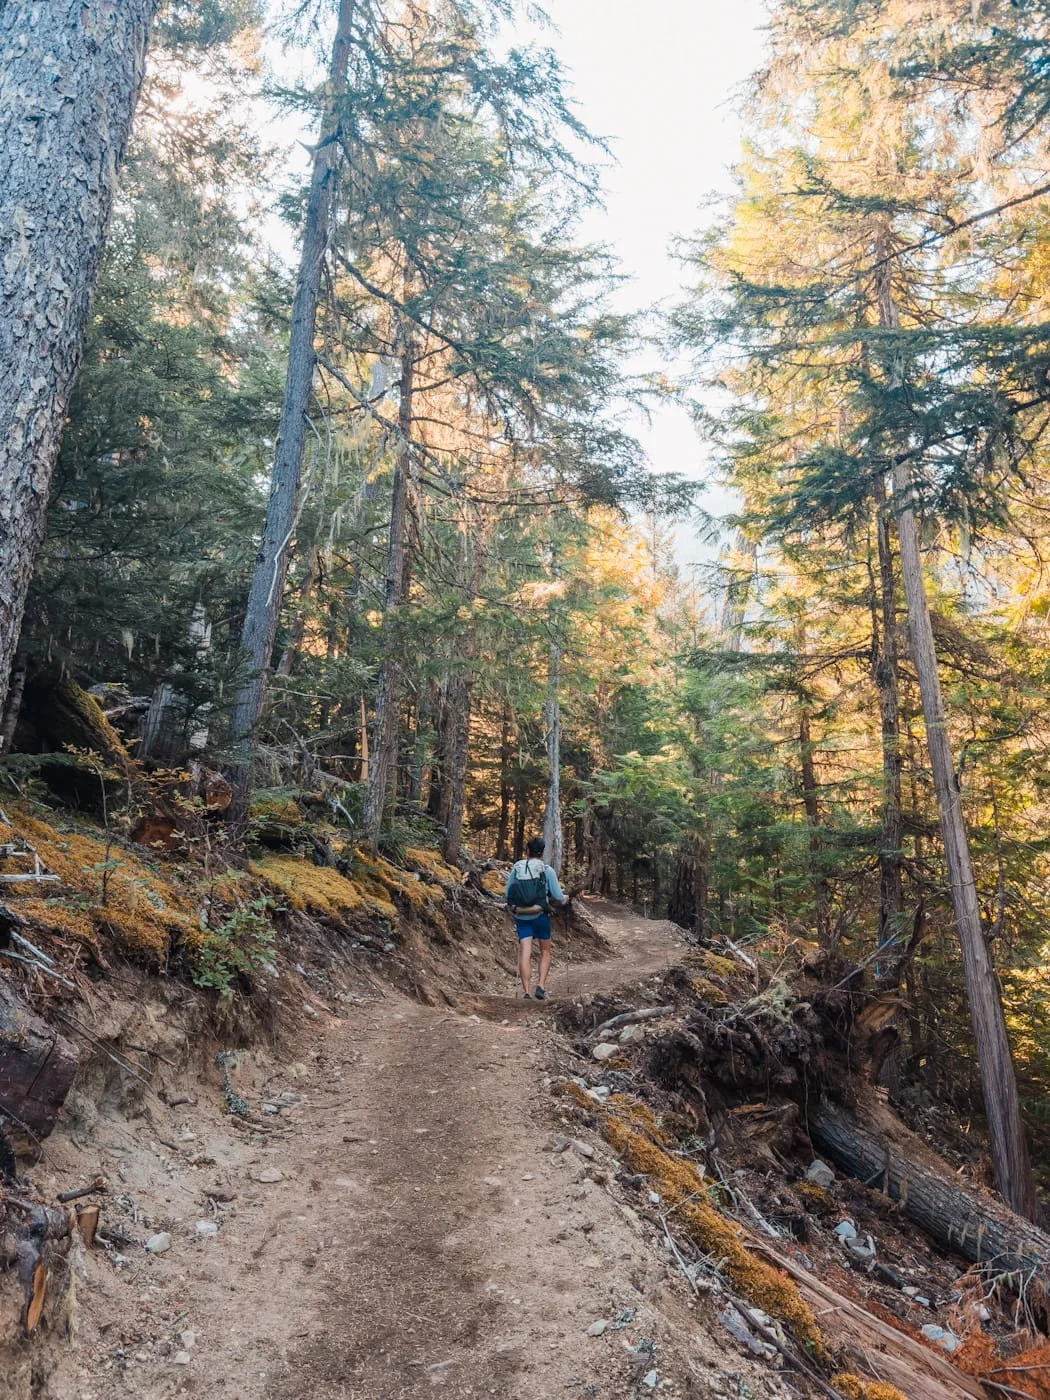
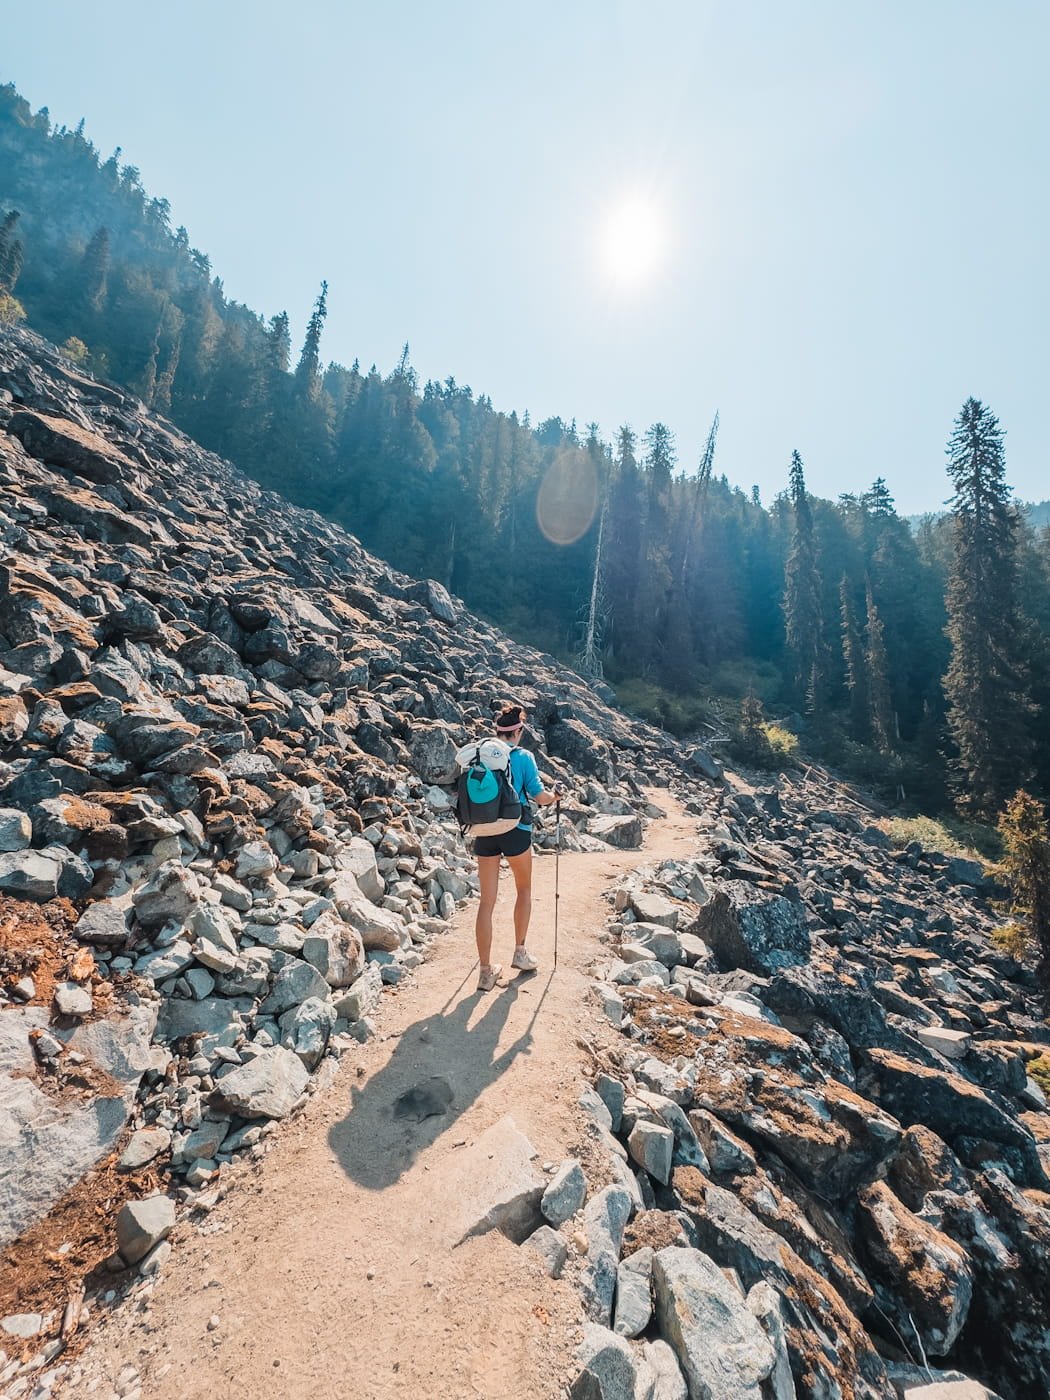
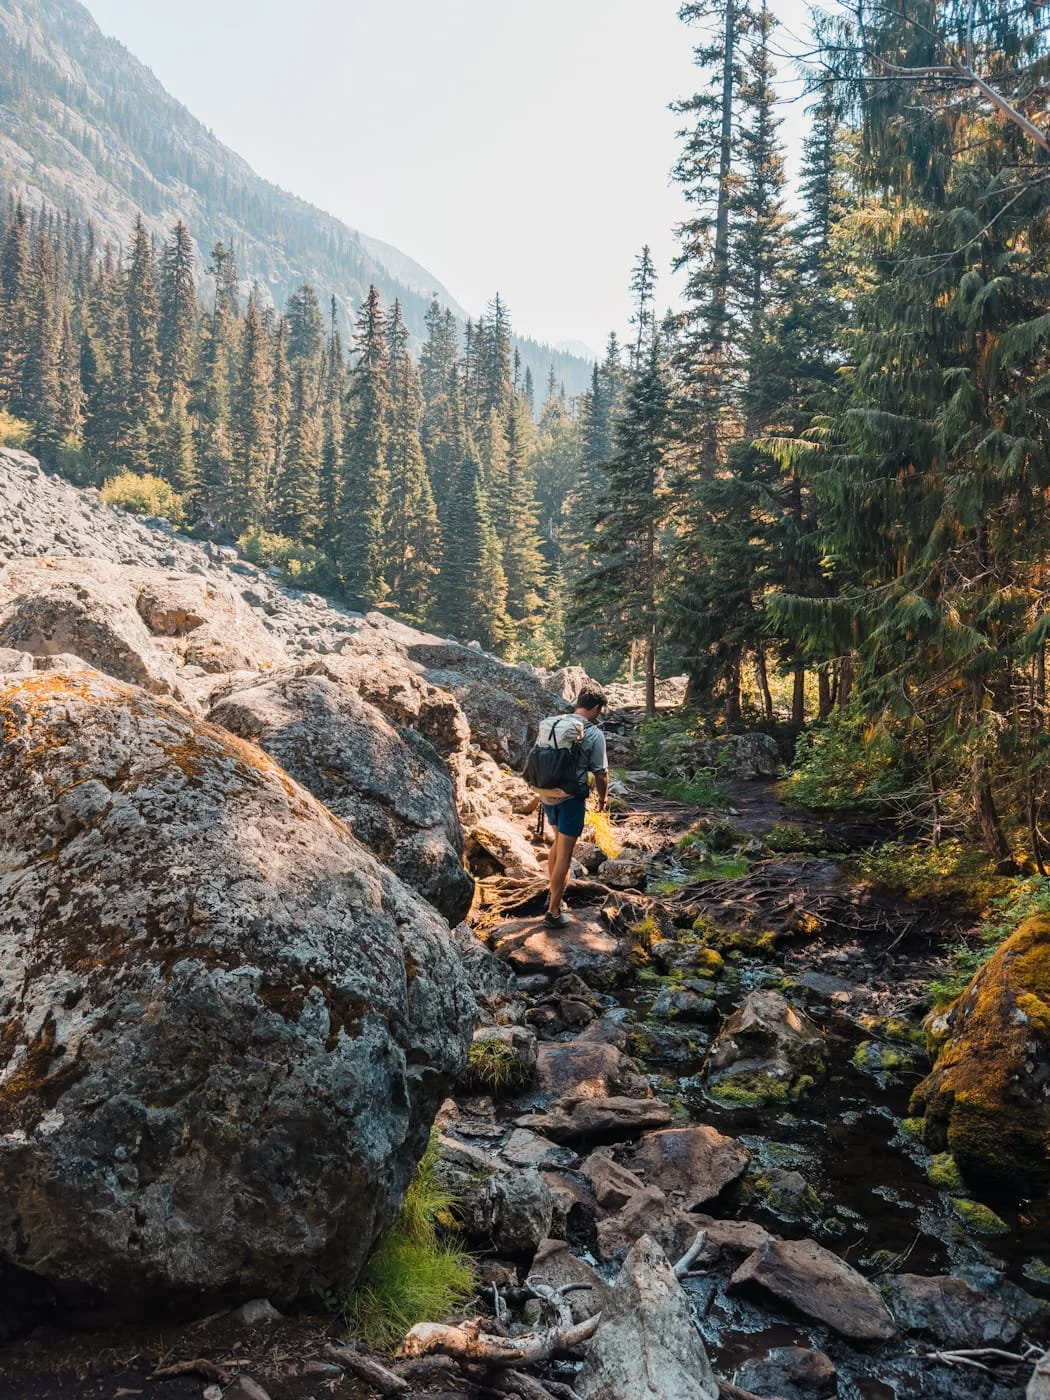
As of 2026, the BC Parks Foundation has funded the addition of new switchbacks and regrading of the first section of the trail. This gives the first part of the trail a more mellow start than the historical straight-up approach. It’s a lovely forested start to warm up your legs.
The new addition ends shortly after crossing a boulder field where the trail resumes a steep and rooted grade up the valley.
Steep Forested Switchbacks | 2.6 km (1.6 mi)
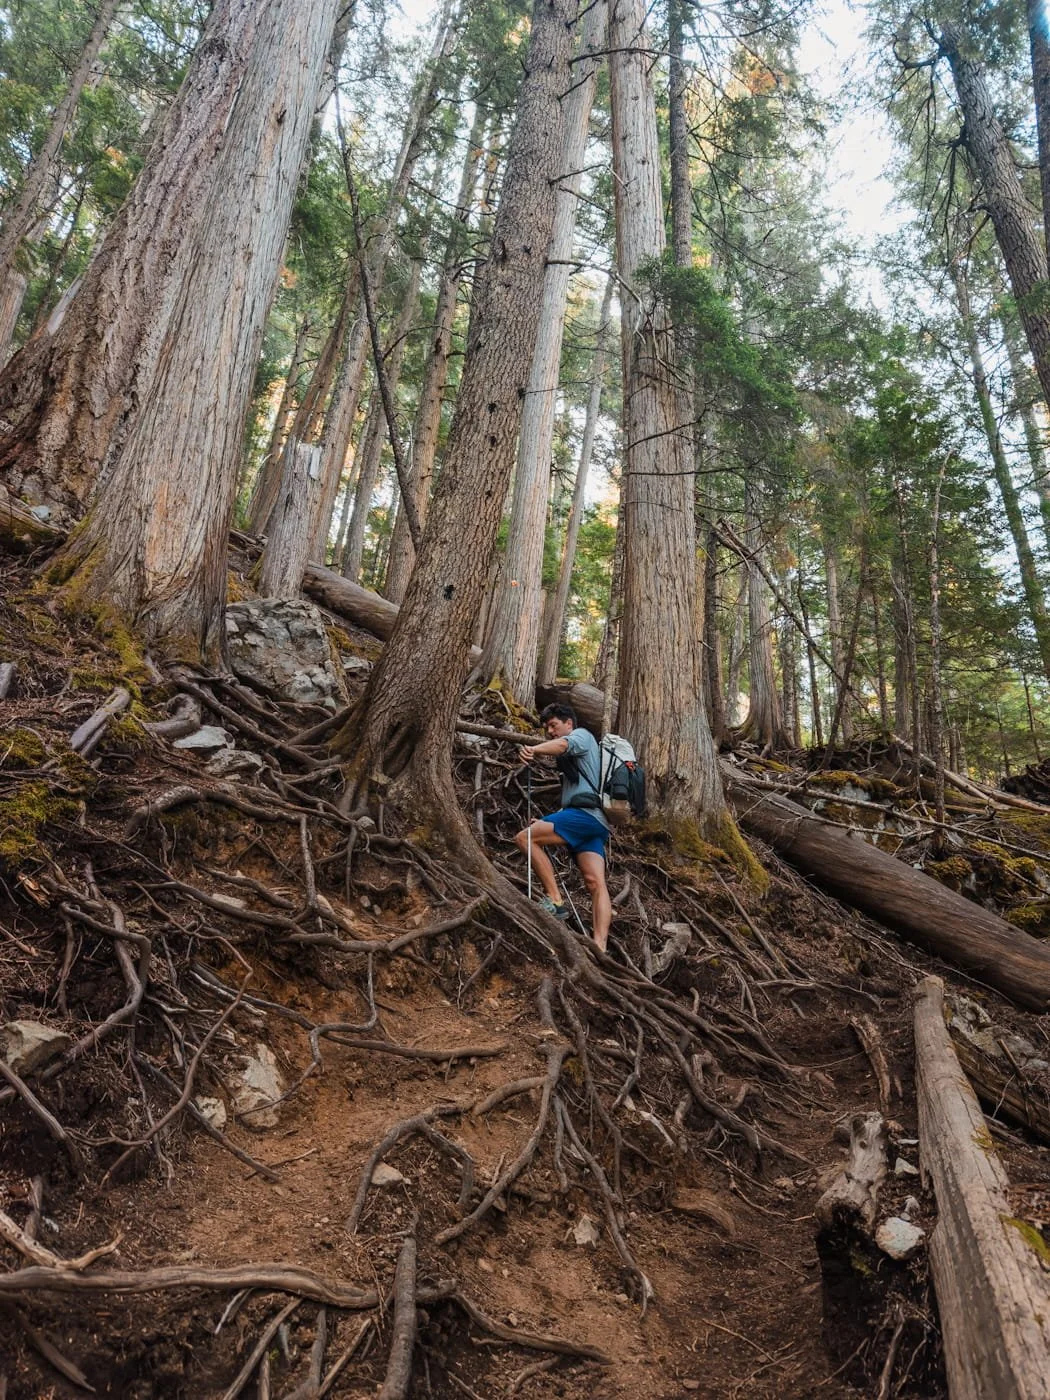
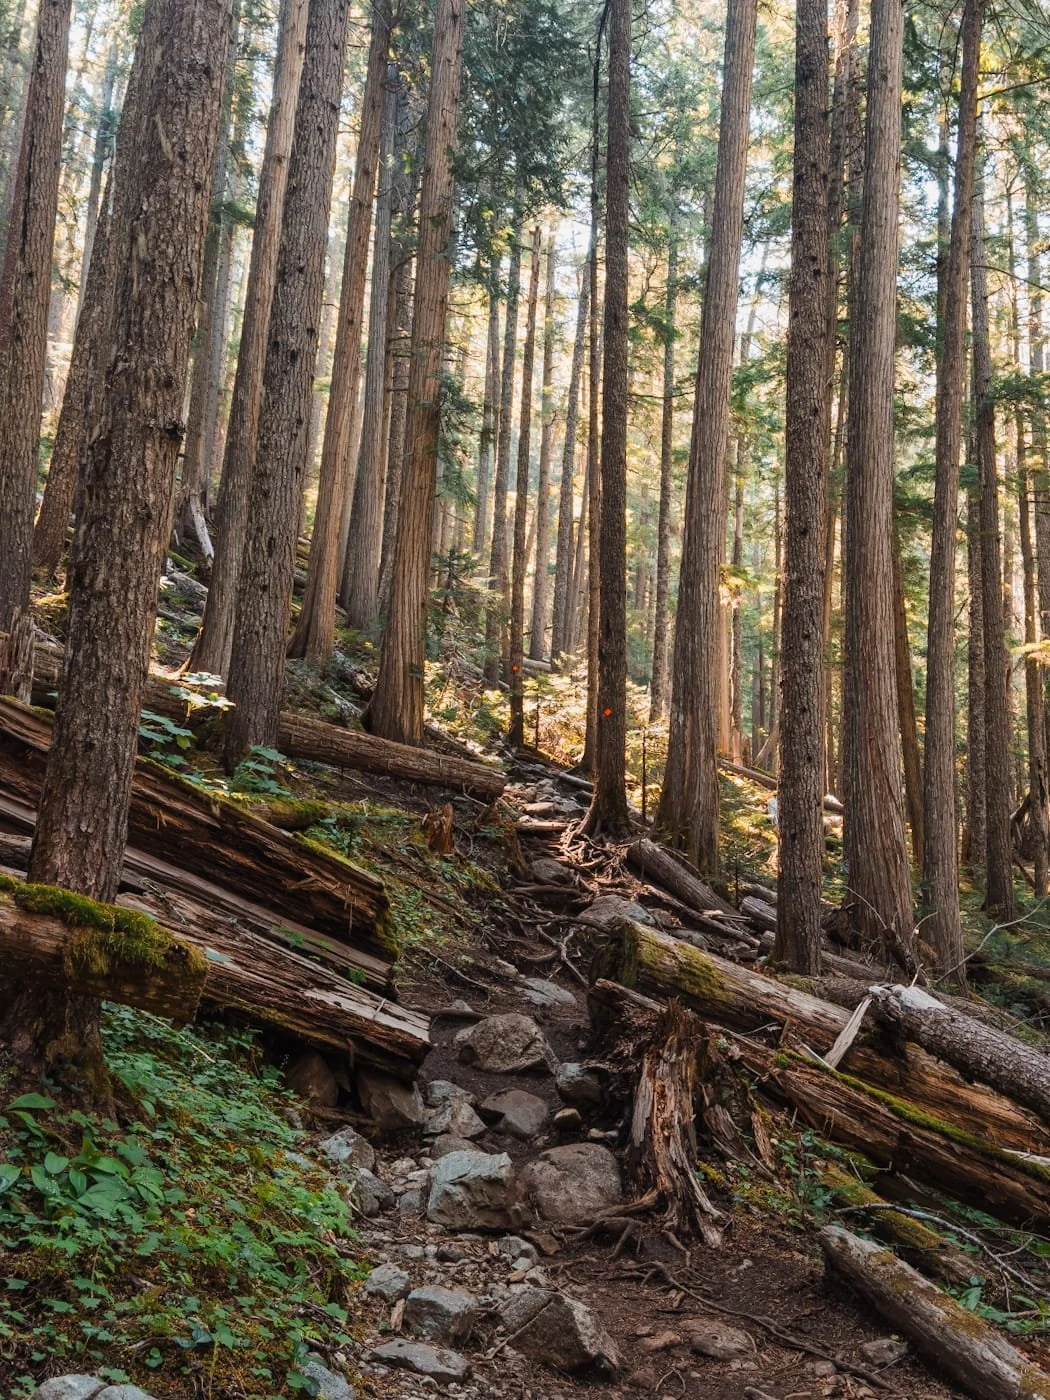
This is the bulk of the hike and climb. The trail is well forested, so at least you’ll be shaded but the trail consists of eroded sections with exposed tree roots and boulders. Trekking poles are great to have to assist with the climb and stability on this section.
Rocky Gully Up to the Lake | 0.5 km (0.3 mi)
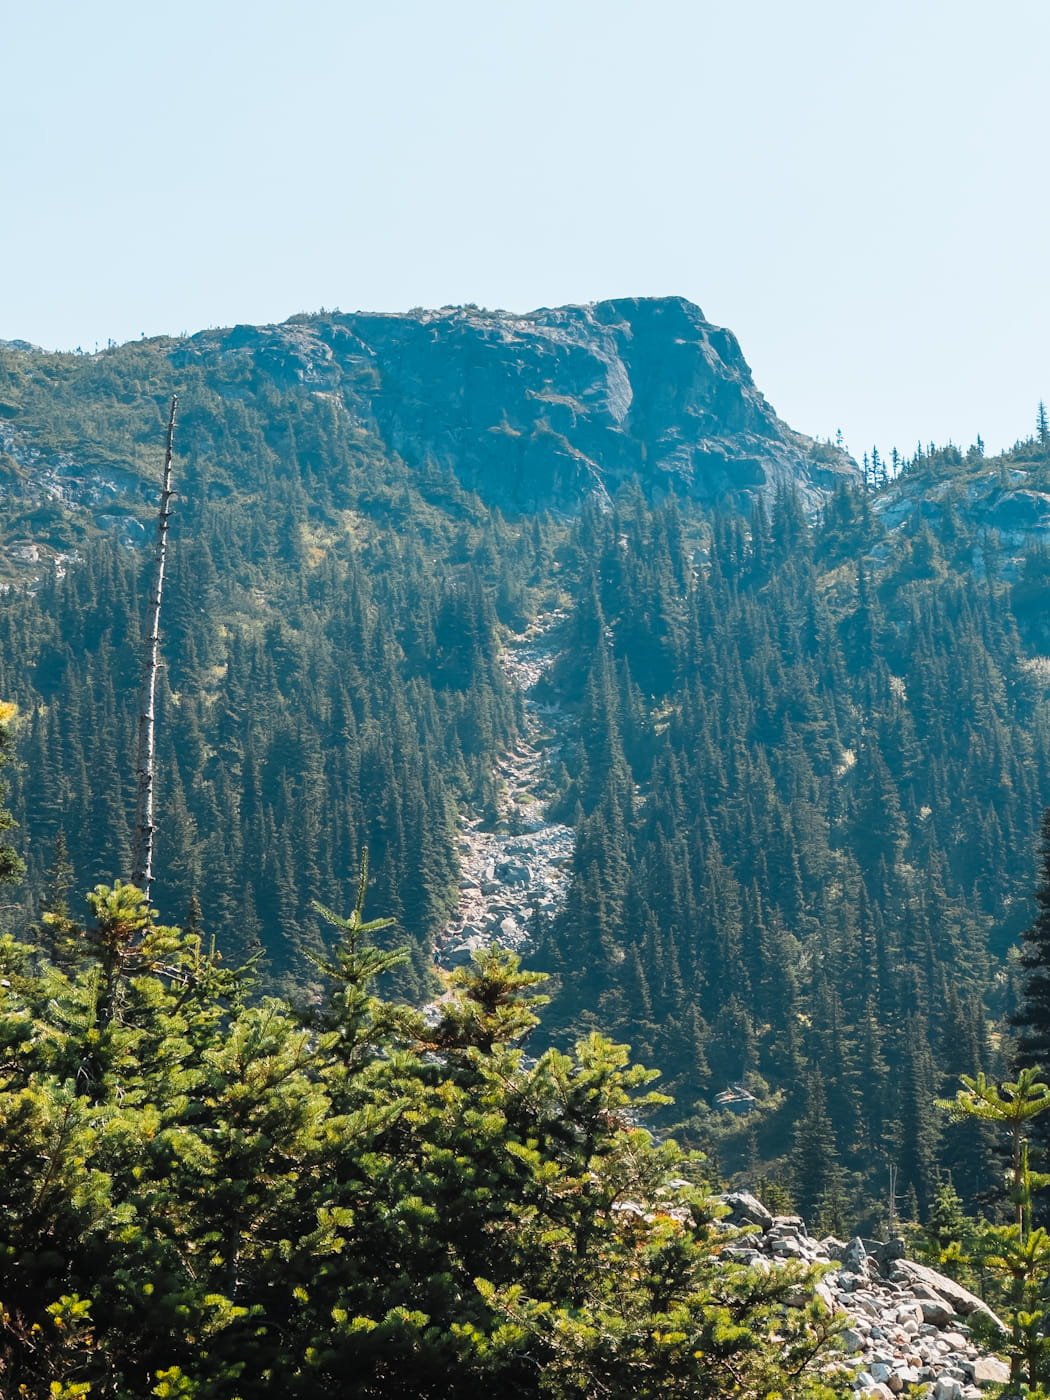
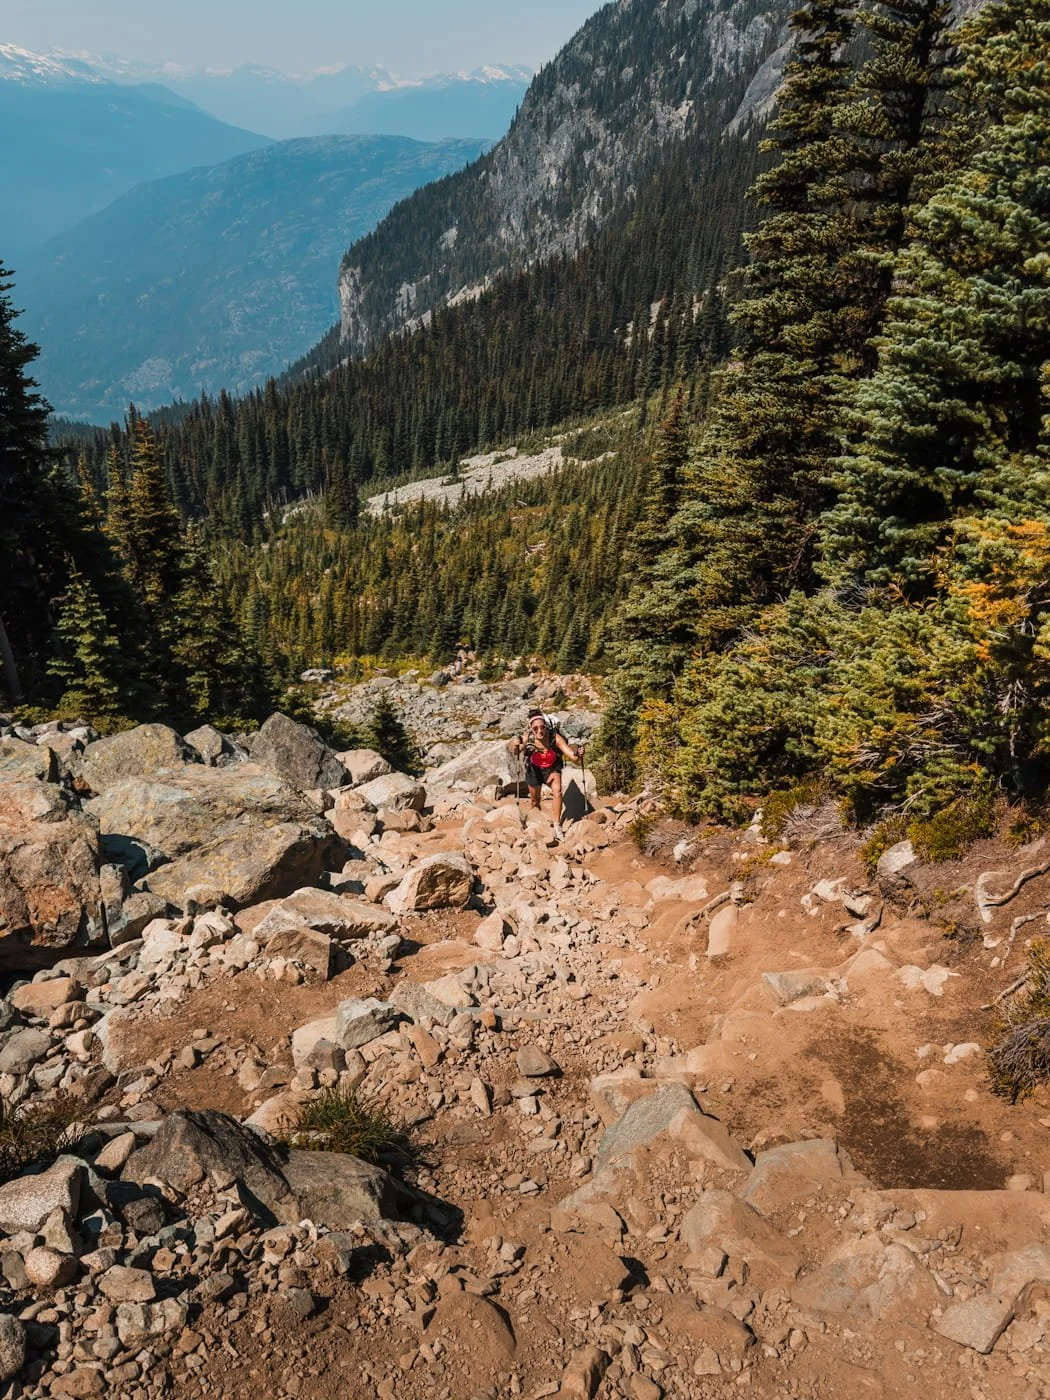
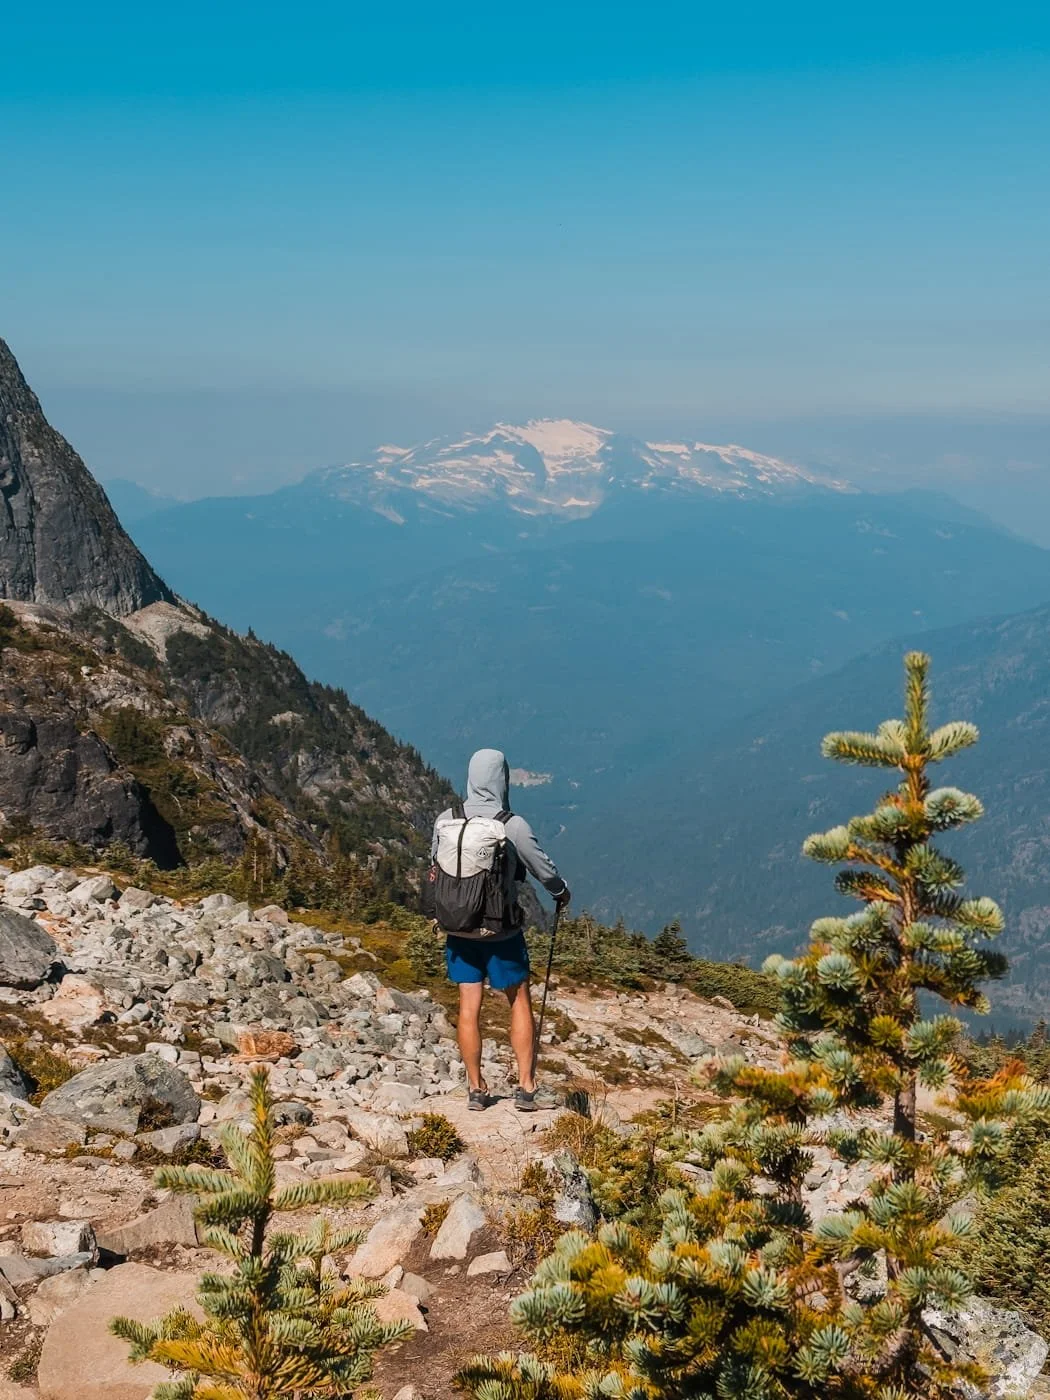
The last section before you arrive at the upper Wedgemount Lake campground is a very steep boulder gully. Be extra careful of loose rocks, slippery/dusty surfaces and other hikers on the trail. It’s third class hiking but it tends to be the hardest and most intimidating part of the hike and when you are the most tired.
Just take it slowly and be careful about loose rocks. If you happen to kick a rock down the gully, yell “rock” if there are other hikers below you. This section is loose and there can be a lot of hikers at different sections of the trail, so be aware of others around you. Once you get up the gully, there is a short section of trail taking you to the lake overlook and first set of campsites.
Arriving at Wedgemount Lake | 0.6 km (0.4 mi)
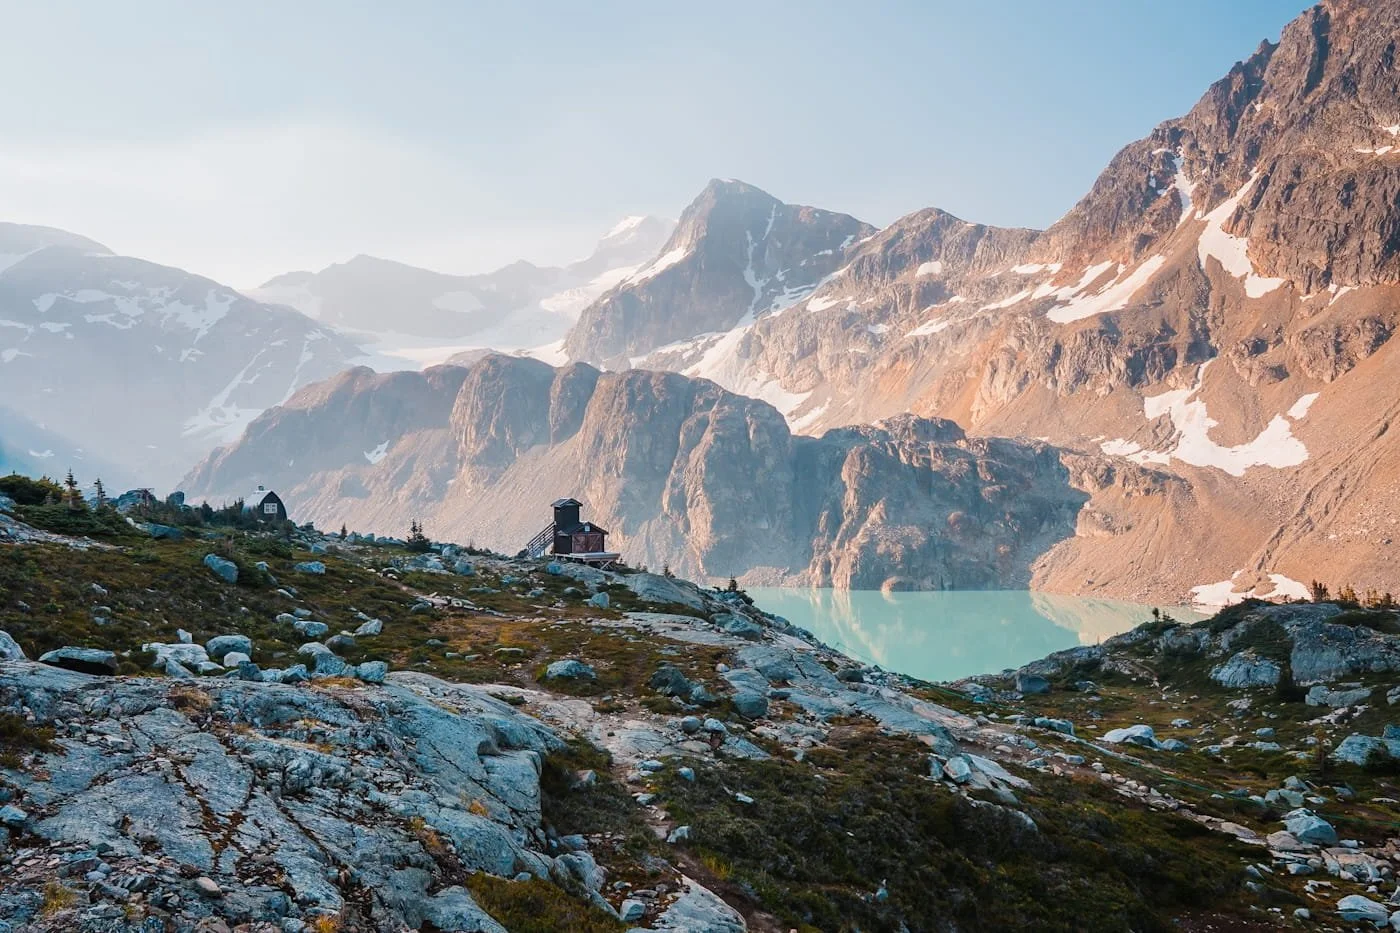
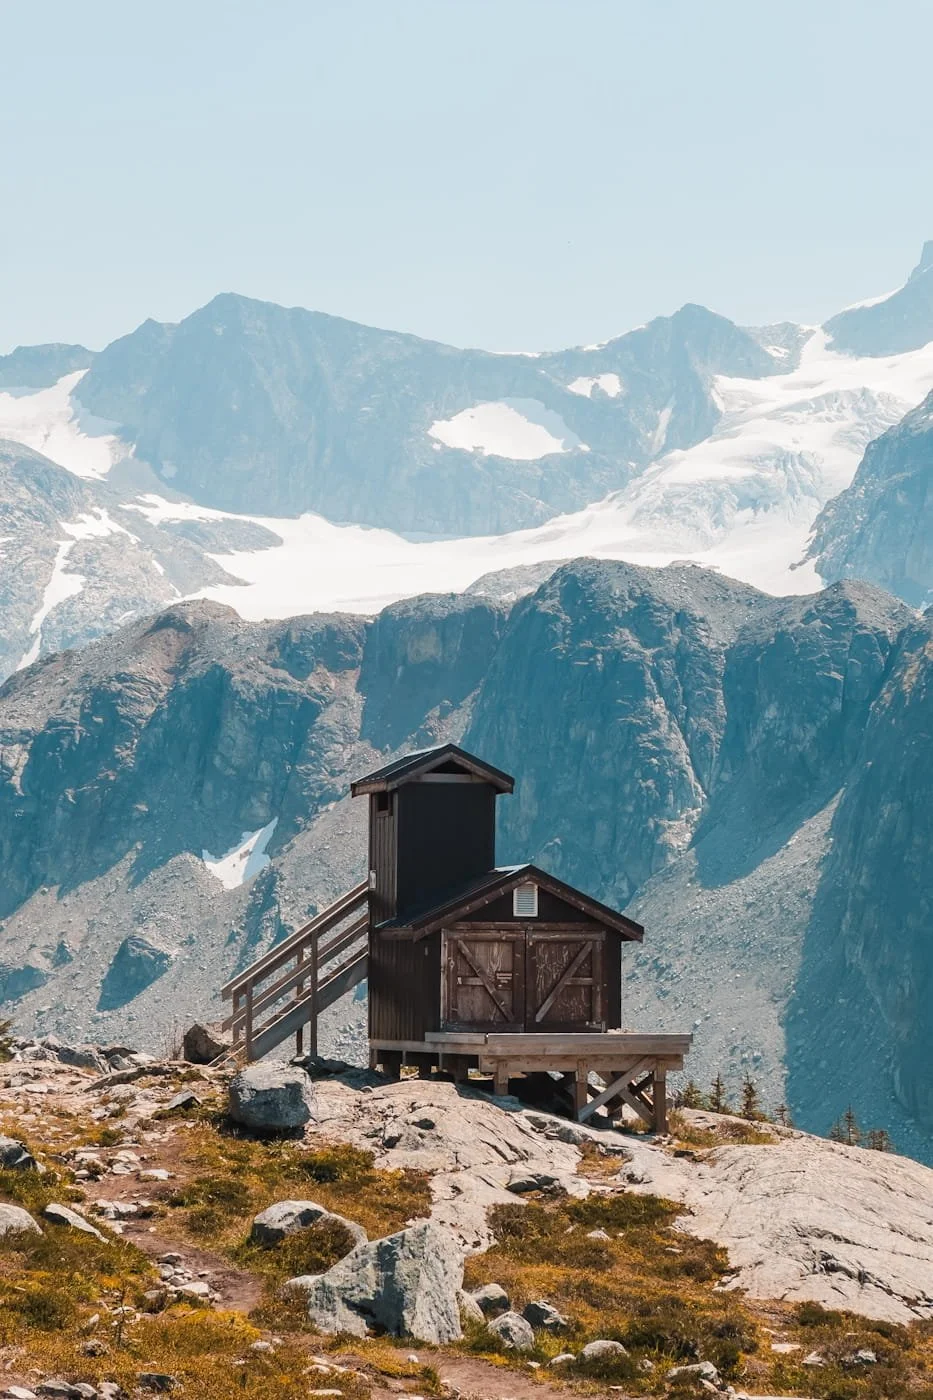
Early views of Wedgemount Lake, the upper pit toilet and emergency shelter
Once past the rock gully, you’ll get your first view of Wedgemount Lake. A short walk downhill and towards the lake, you’ll see the backcountry toilet, emergency shelter, a bear hang and platforms for camping in the upper section. Be sure to bring your own TP for the toilet. Visitors are welcome to go into the emergency shelter and sign the guest book but overnight sleeping is not allowed.
You can continue beyond the upper campground area to the lower campground at the shoreline of the lake by following trail blazes and cairns east towards the lake. The trail down has a short boulder field section but is generally pretty mellow down to the lake shore.
The campsites at the lower campground are spaced along the shoreline. There is a communal bear locker and pit toilet nearby too. The lower campground pit toilet is open seasonally and is typically only open July - September depending on snow conditions.
Continuing to Tupper Lake and the Glacier | 1 km (0.6 mi)
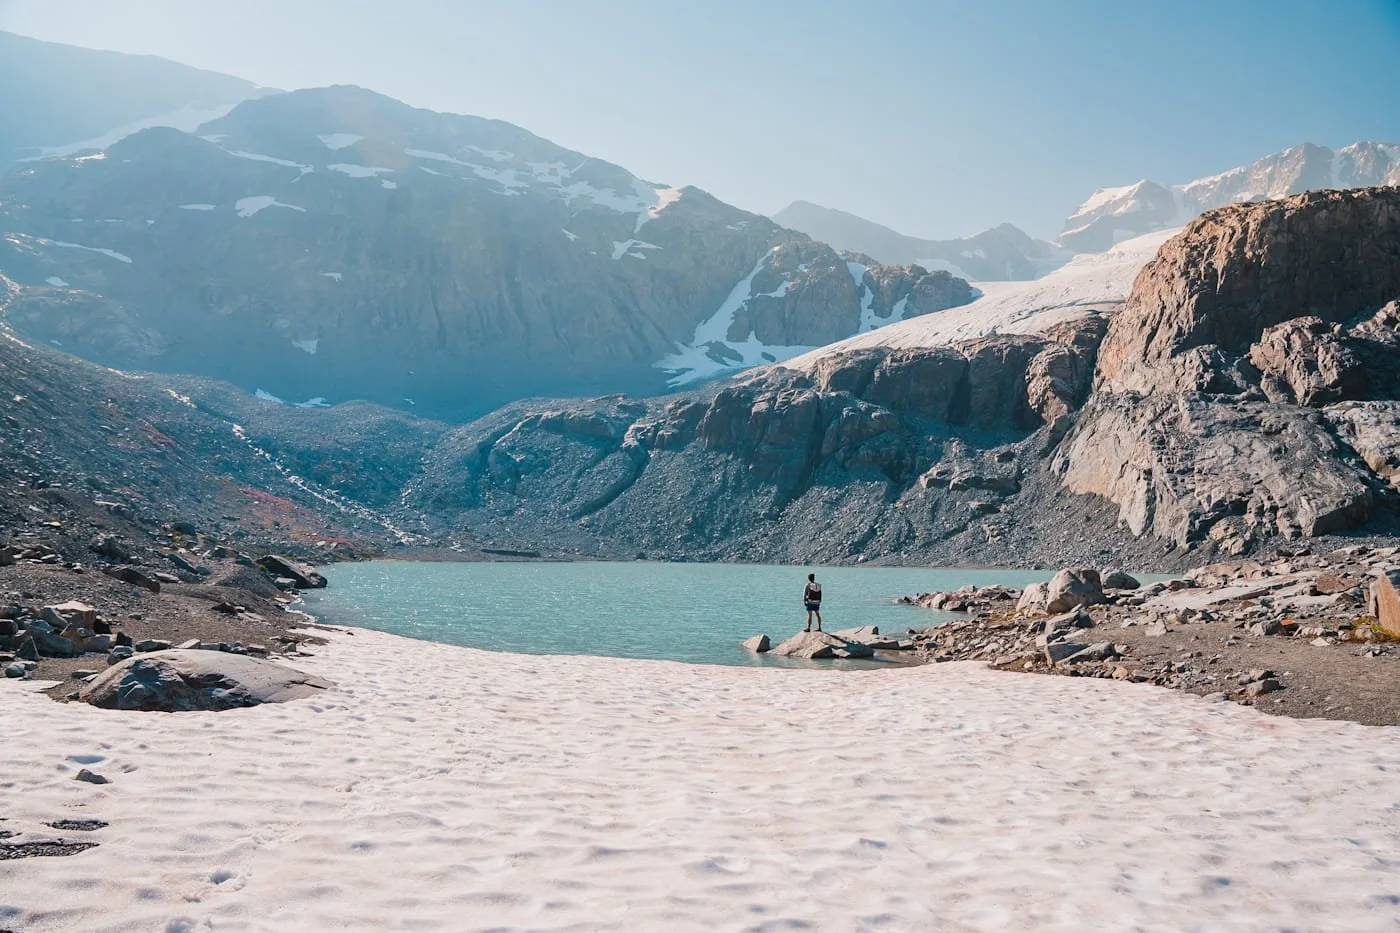
Tupper Lake views a short distance away from the lower camping area
We highly recommend continuing to Tupper Lake as a part of your day hike or an additional trip while camping out. It’s a short, mellow hike up to Tupper Lake. The lake sits at the base of the Wedgemount Glacier and gives you an all-encompassing view of the alpine terrain above. If you do venture closer to the glacier, it’s advised to stay out of unstable ice caves and not to walk onto the glacier as there may be hidden crevasses to fall into.
Additional Weather and Trail Resources to Check Before Your Trip
BC Parks Garibaldi Park Page – Official rules, regulations, closures, and current backcountry camping information
Windy.com forecast For Wedgemount Lake – Detailed hourly and multi-day forecasts for the area
BC Wildfire Service Dashboard – Official updates on wildfire activity and evacuation orders
FireSmoke.ca – Wildfire smoke dispersion forecasts for BC and Canada
GaiaGPS Route - Our downloadable backpacking route, map and camping spots
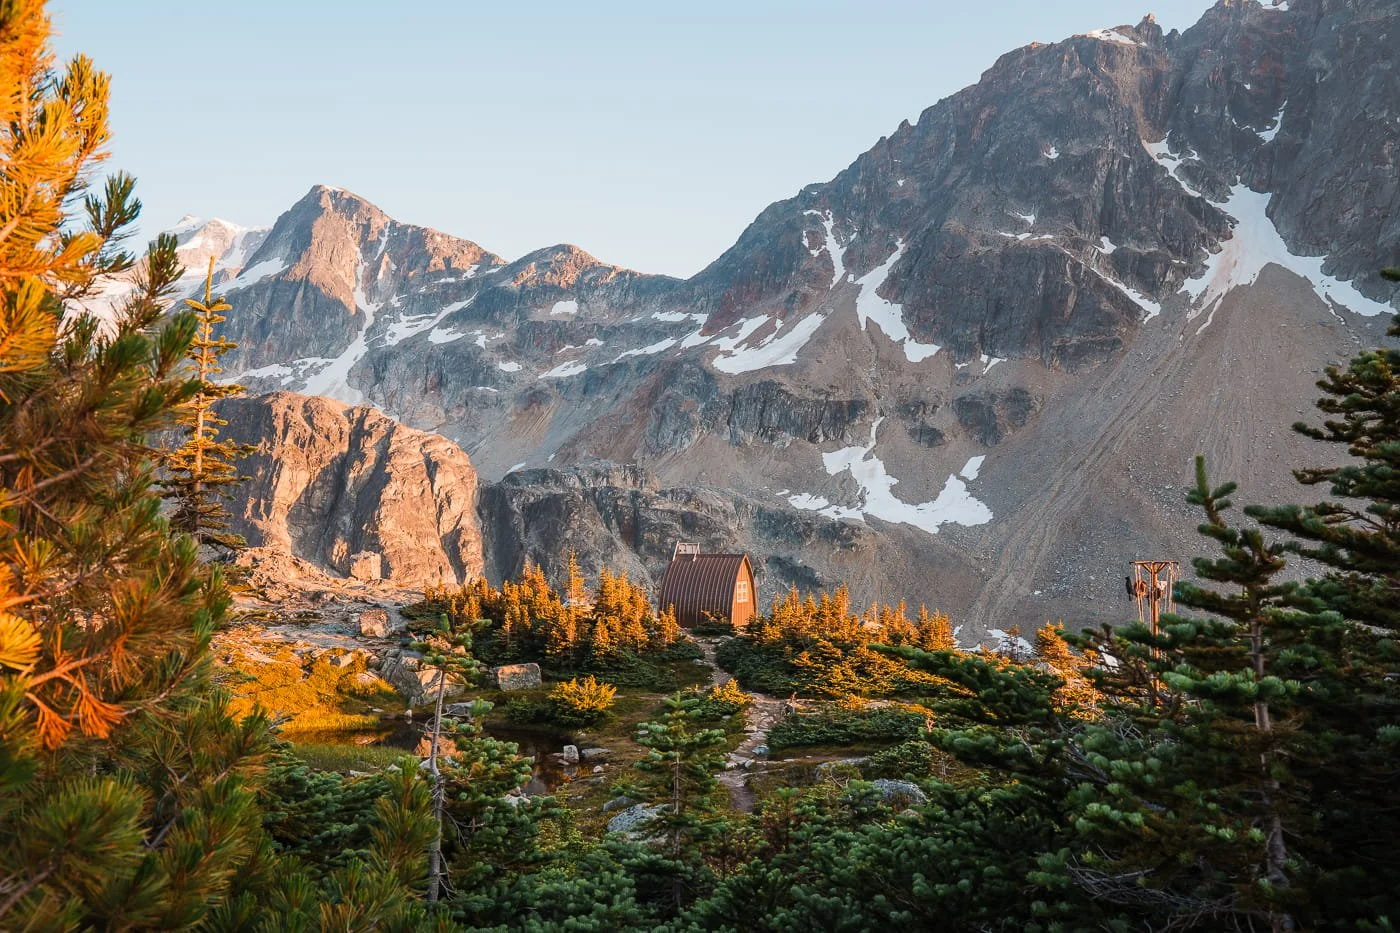
Peaking through the trees at the Wedgemount Lake Emergency Shelter and bear hang
Leave No Trace While Visiting Wedgemount Lake
Wedgemount Lake sees heavy traffic from day hikers and backpackers so Leave No Trace habits are essential to keeping this area pristine. Below are reminders of best practices when visiting.
- Plan ahead and prepare. Book your backcountry camping reservation in advance if staying overnight, download an offline map, and check current trail conditions before you go. This is a steep, exposed trail with no cell service.
- Stick to the trail. The trail is steep and eroded in sections, with exposed roots and a boulder gully near the top. Cutting switchbacks or stepping around muddy sections widens the trail and accelerates erosion. Stay on the marked trails.
- Dispose of waste properly. Pack out all trash, including food scraps. Use the backcountry toilets at either campground, bring your own toilet paper.
- Leave what you find. Leave rocks, alpine flowers, and any natural features exactly as you found them for the next hiker.
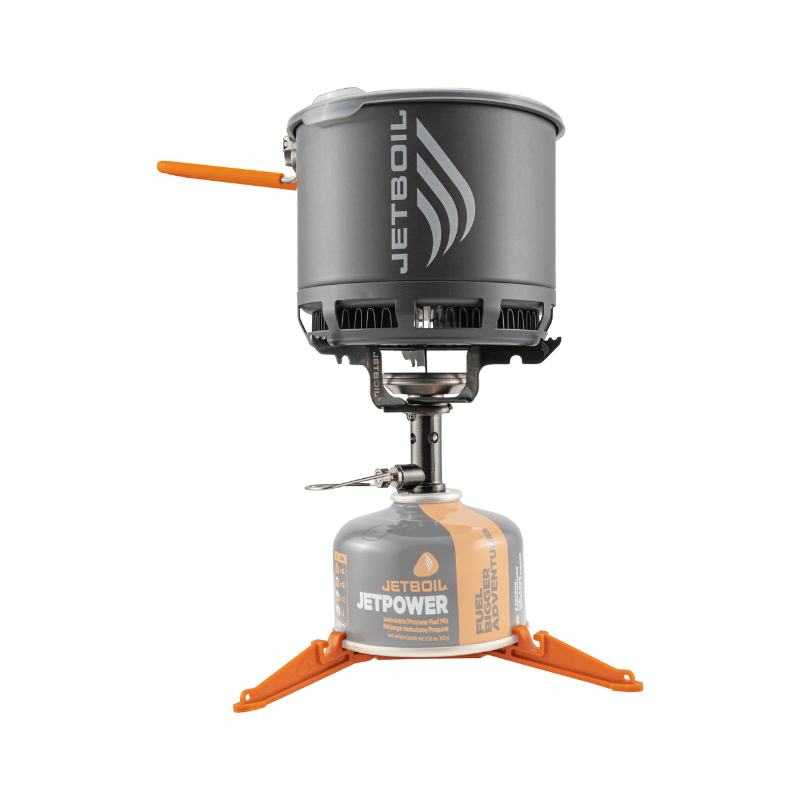
- Minimize campfire impacts. Campfires are not permitted. Bring a stove.
- Respect wildlife. Store all food and scented items in the bear hang at the upper campground or the bear locker at the lower campground. Watch any wildlife you encounter from a distance and never feed it.
- Be considerate of other visitors. This is a popular, narrow trail with a lot of two-way traffic on the steep sections. Yield to hikers heading uphill, keep noise down at the lake, and don't walk through occupied campsites.
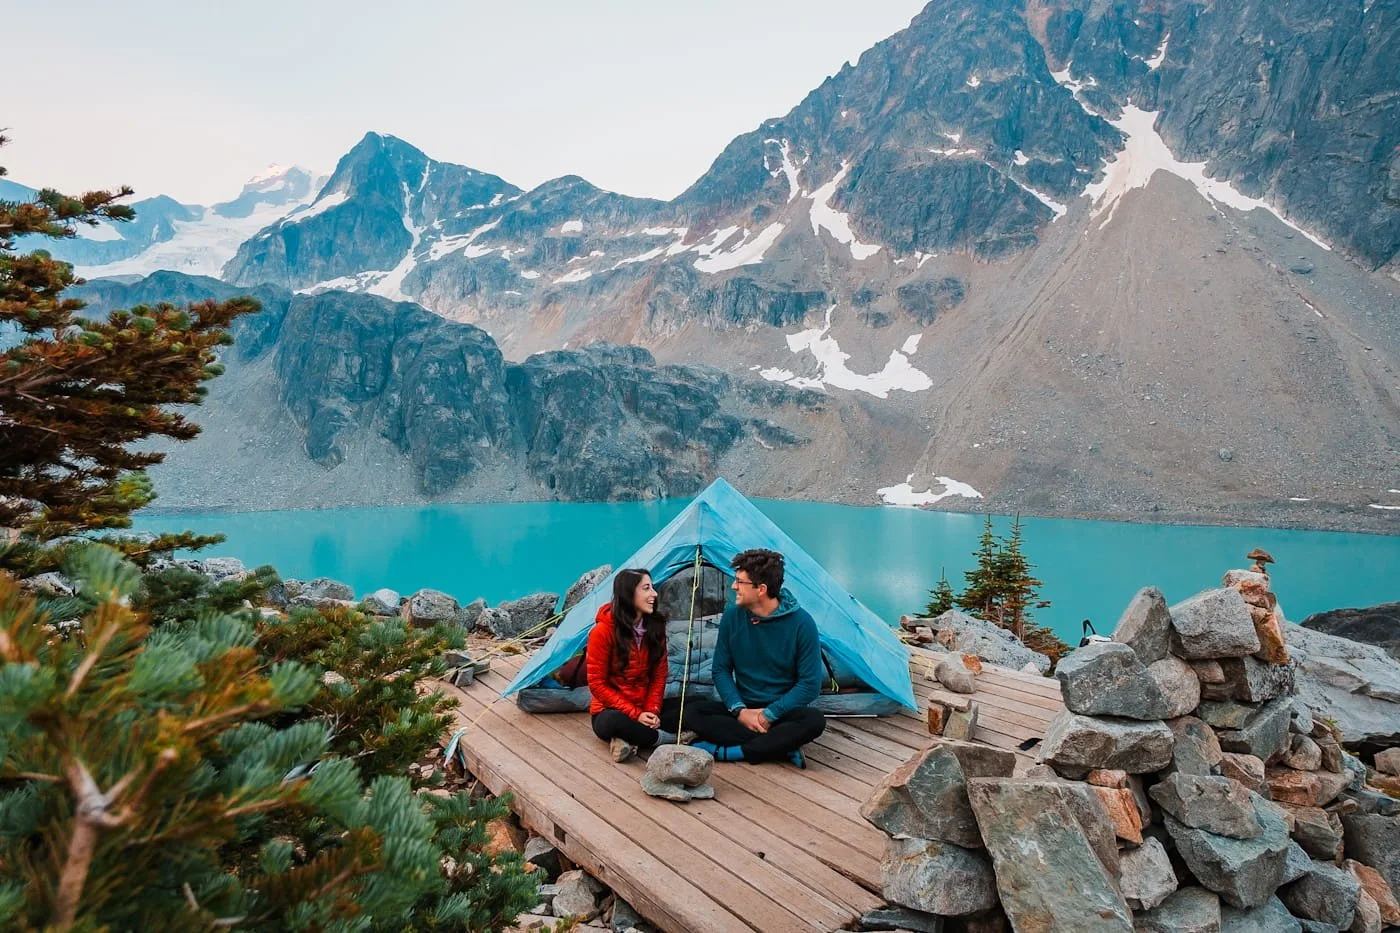
Prime views from the upper Wedgemount Lake camping area
Backpacking Wedgemount Lake: Camping and What to Expect Overnight
If you've decided to stay overnight at Wedgemount Lake you've got two options: the upper campground near the emergency shelter, or the lower campground right on the lakeshore. Below are details of what to expect from each so you can decide which one to aim for.
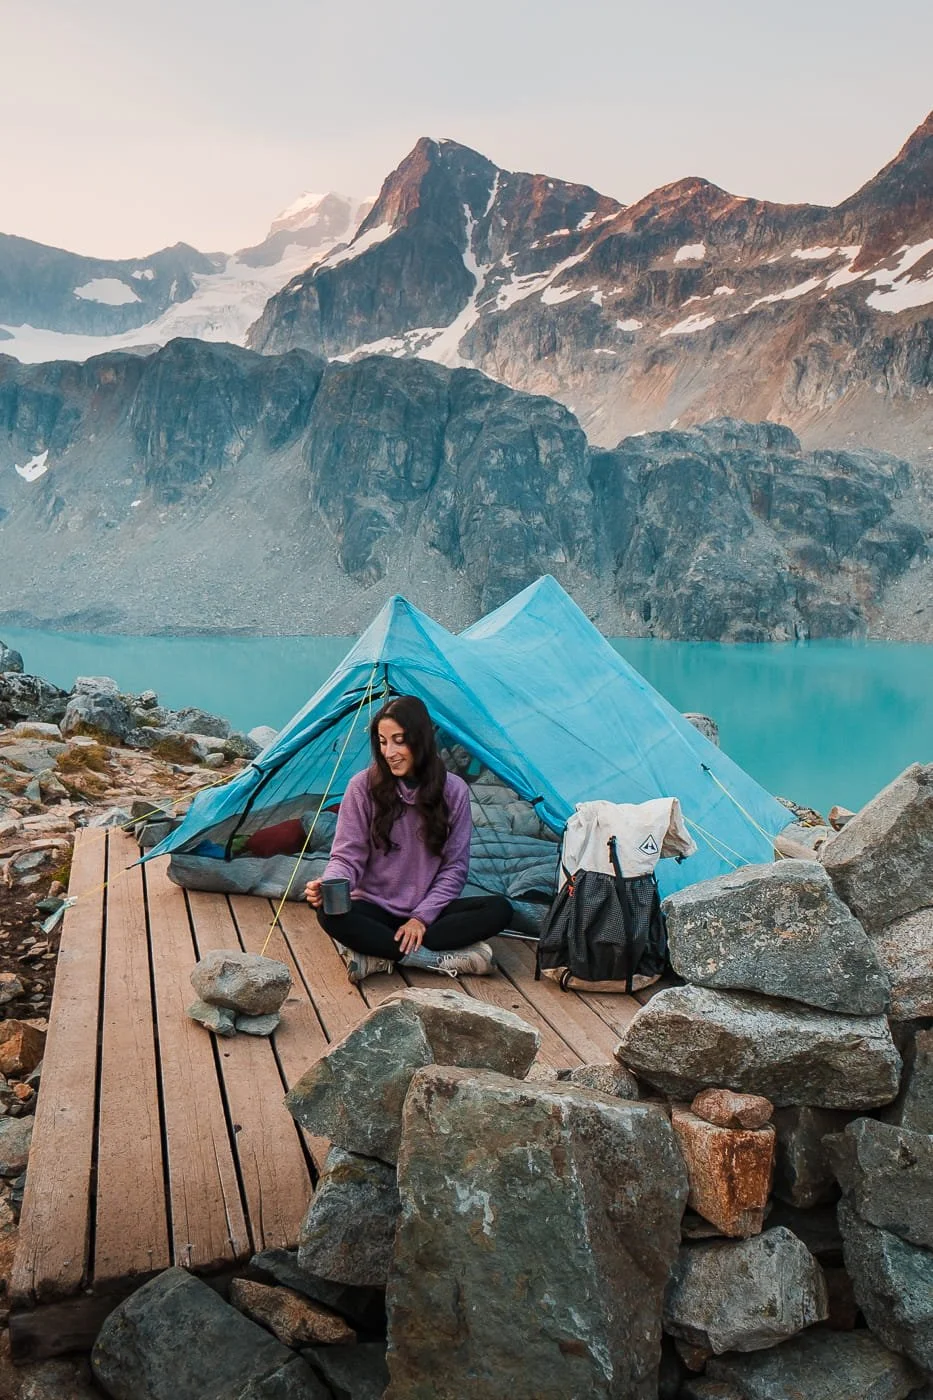
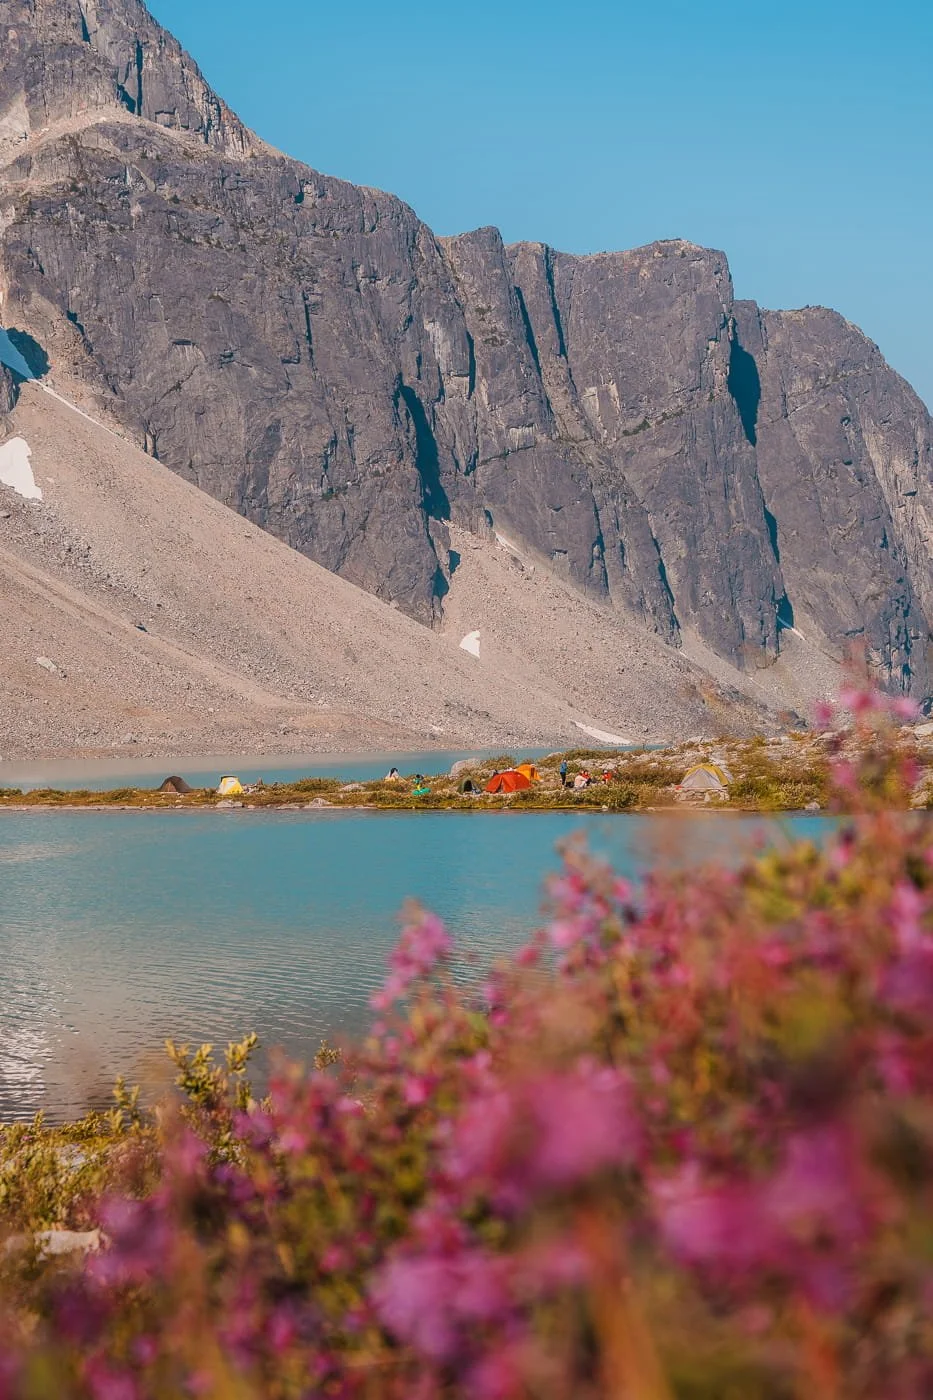
Wedgemount Lake Camping Areas and Facilities
Choosing between staying at the upper and lower camping areas can be tough, they both have their pros and cons and both areas have amazing views. All are first-come-first-serve so we hope to help you make a decision on which area to shoot for when you arrive.
Tent Sites:
The upper campground has first-come-first-serve wooden platforms.
The lower campground has first-come-first-serve dirt patches along the lake shore.
Food Storage:
The upper campground has a bear hang near the platforms. Be sure to bring a bag to hang all food and scented items. If rain is in the forecast, the bag should be waterproof.
The lower campground has a communal bear locker to store all food and scented items.
Water Sources:
The upper campground has seasonal tarns and snow patches (early season) you can get water from.
The lower campground has a glacier-fed creek on the north side. We don’t recommend filtering from Wedgemount Lake as the silty water clogs water filters.
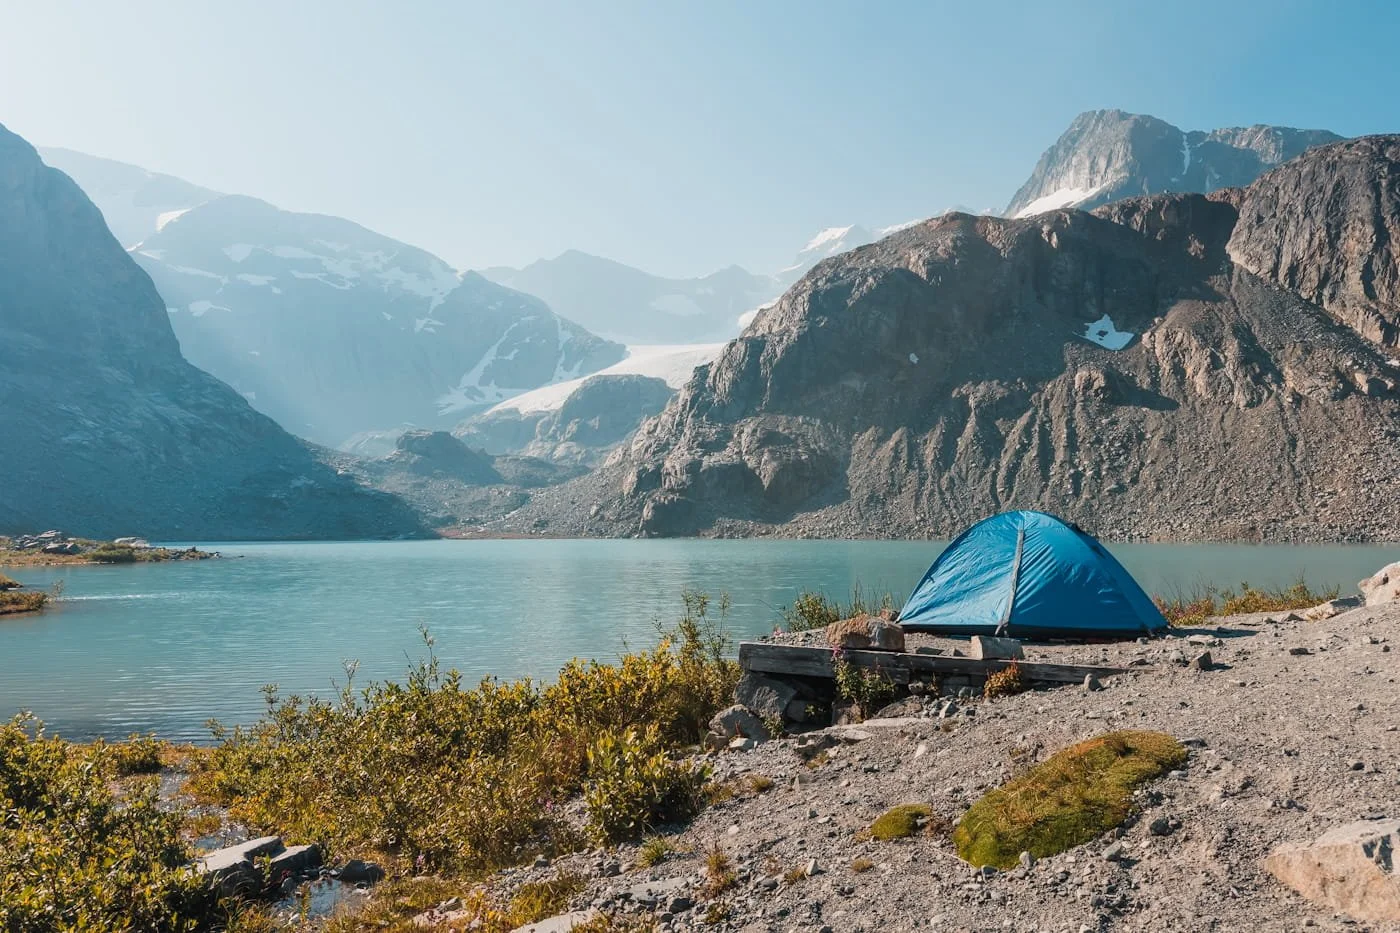
Shoreline views from the lower Wedgemount Lake camping area
Wedgemount Lake Camping Areas Summary
We enjoyed camping at the upper campground above the lake since it had amazing views of the mountains and Wedgemount Lake below, but if you want easy lake access, the lakefront camping is great too. Do note that the toilet at the lower campground is open air with barely any privacy.
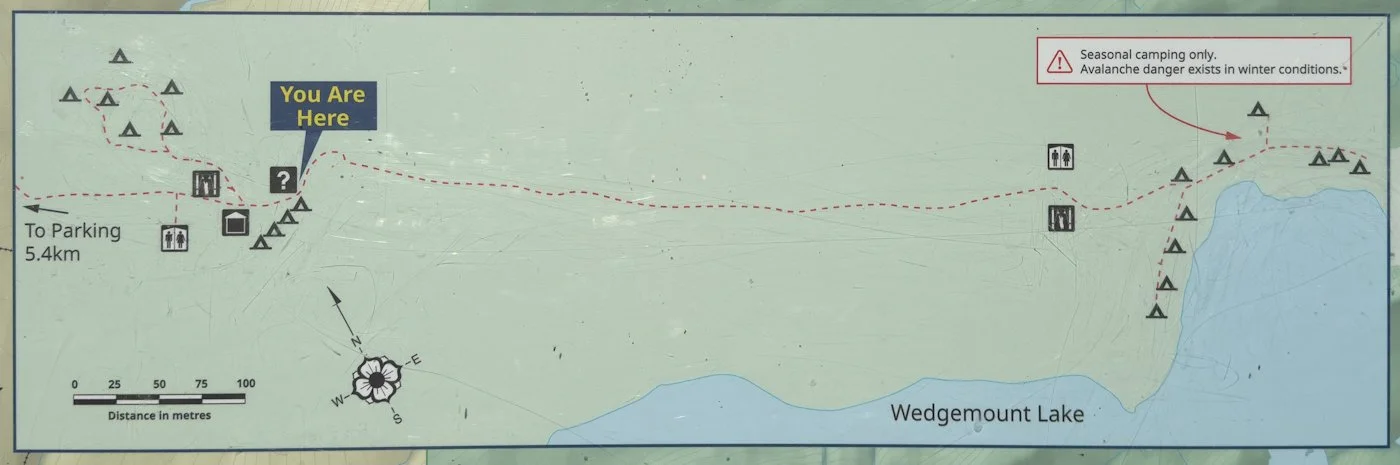
BC Parks map of the Wedgemount Lake upper and lower camping areas
| Camping Area | Setting & Views | Facilities | Best For |
|---|---|---|---|
| Upper Camping Area |
|
|
Hikers who want the classic overlook shot of the lake and glacier from camp, or who want to be closest to the hut and trailhead if conditions turn. |
| Lower Camping Area |
|
|
Hikers who want to be steps from the water for sunrise, sunset, and reflection shots. |
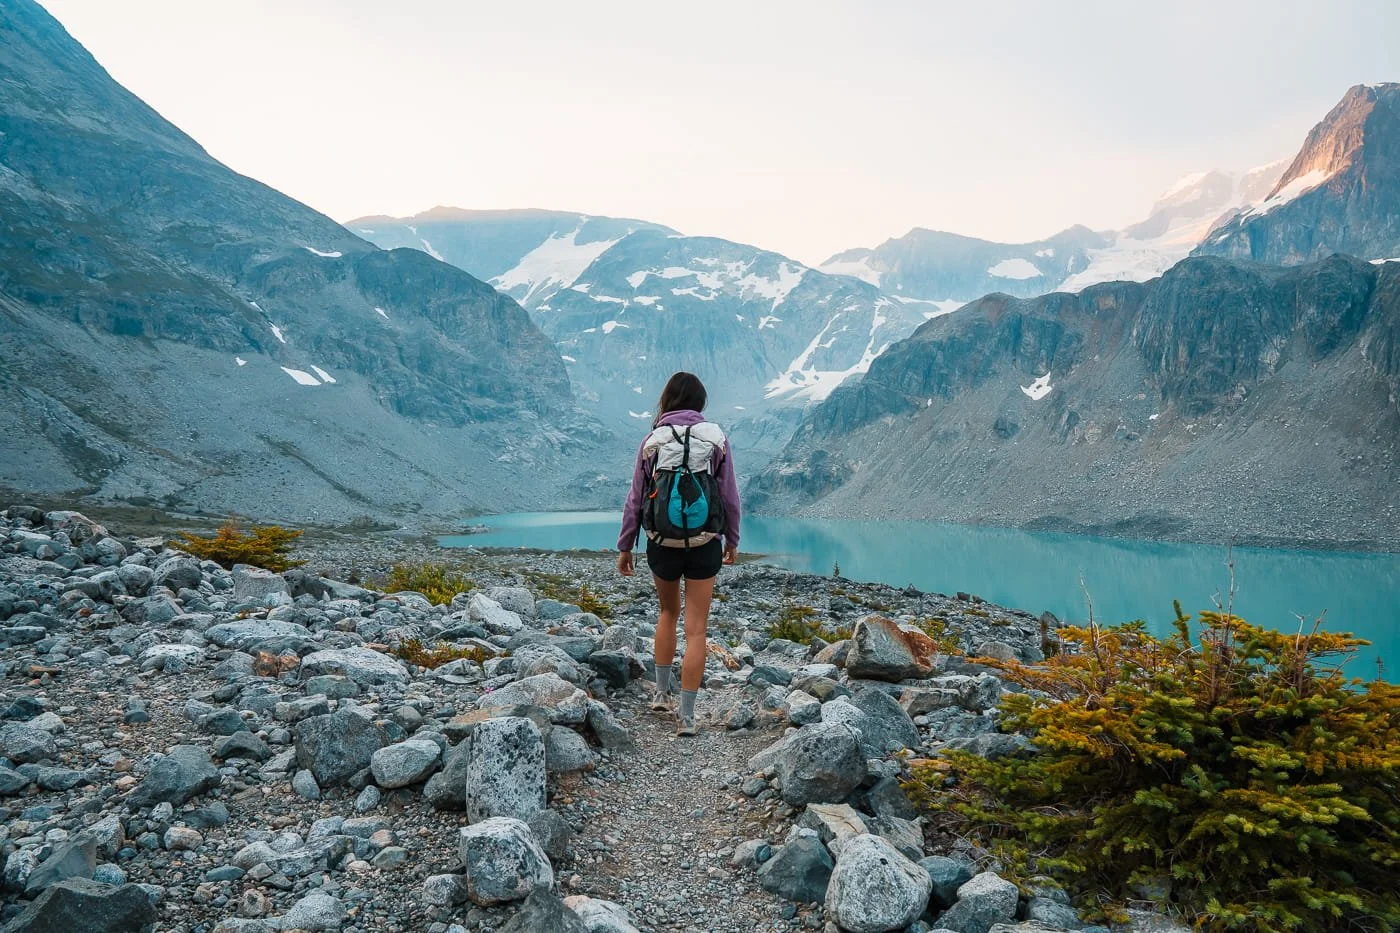
Pathway between the upper and lower Wedgemount Lake camping areas
What to Pack for Hiking Wedgemount Lake
For every trail it’s important to have the right gear with you, especially if you are backpacking. We pack a lot of the same things on most trips, but below is what we recommend packing specific to hiking Wedgemount Lake.
Since more people day hike this trail, we’re starting with hiking gear, but if you are overnighting, scroll down a little to the backpacking gear section.
And if you are looking for full packing lists for your trip, check out the following guides which will be helpful for planning summer trips:
Day Hike Packing Guide - A very in-depth list on what to pack for every hike
Backpacking Packing List - Everything we normally pack for summer and fall overnight trips
Ultralight Backpacking Gear Guide - For those wanting to lighten their pack weight
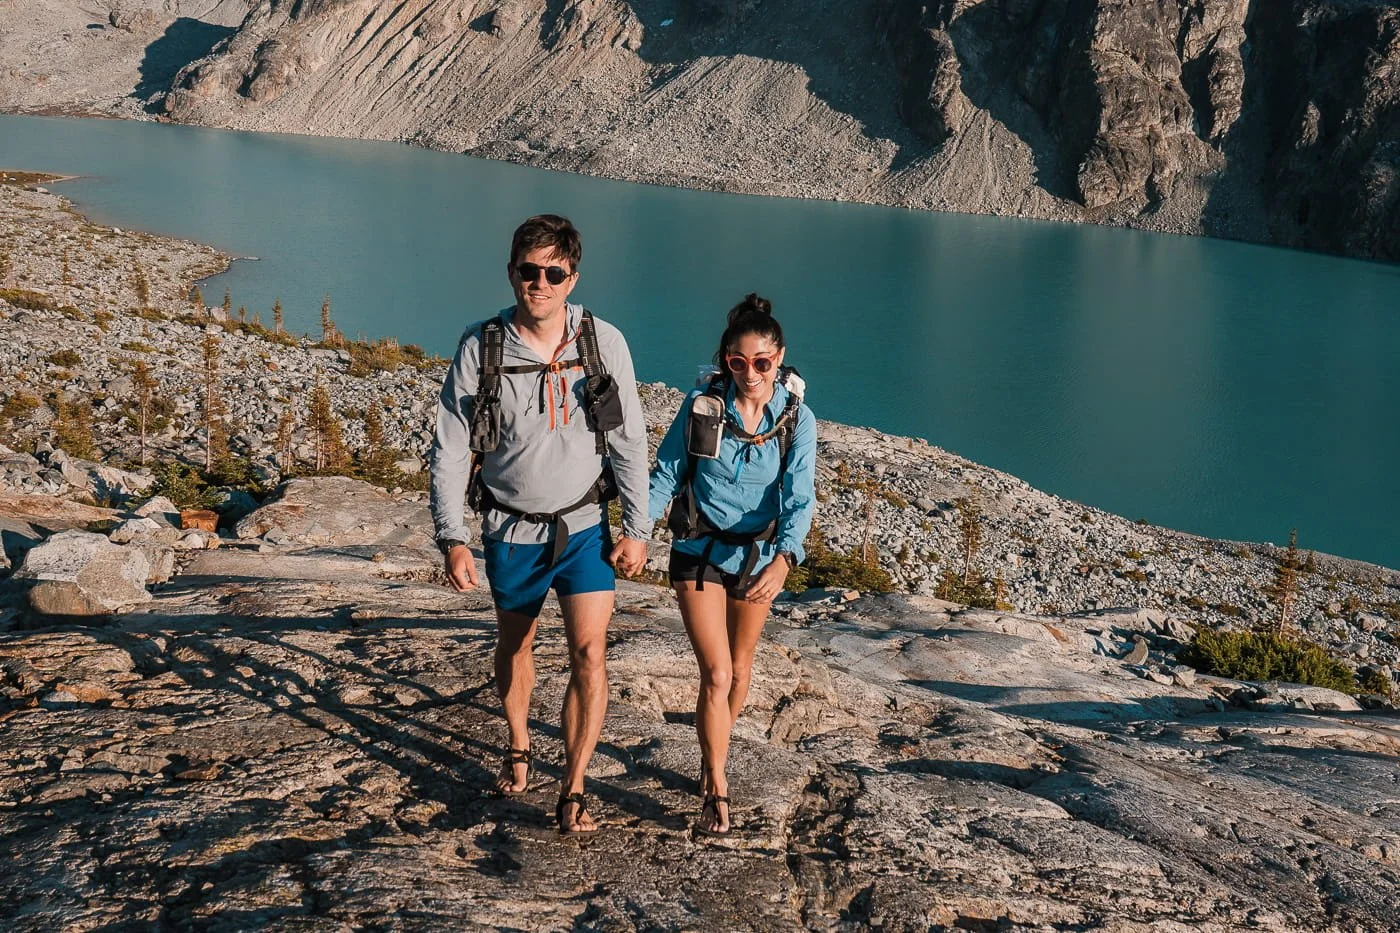
Your authors enjoying a walk up the rock slabs above Wedgemount Lake
What to Pack for Day Hikes
These are the day hike gear essentials we recommend bringing along on your hike. For a more comprehensive list, check out our Day Hike Guide.
Day Hiking Pack
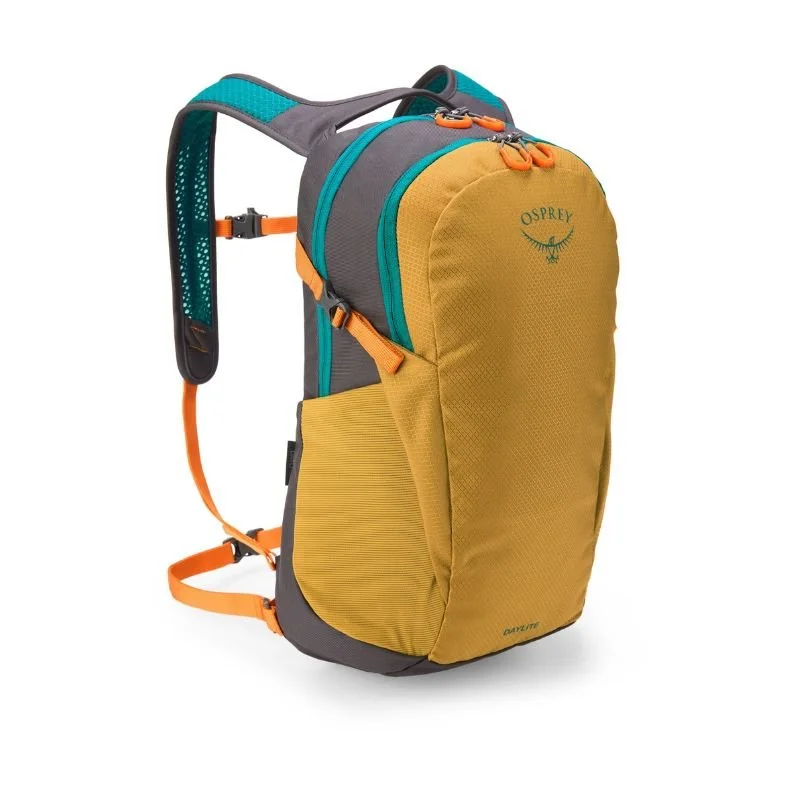
Daypack (15–30L): Enough room for water, extra layers, and food. For short day hikes like Wedgemount, we love hiking with 15L trail running packs like the Hyperlite Pemi or Osprey Daylite packs, but if you prefer a slightly larger pack with more storage options, we recommend the Gregory Jade (women’s) or Zulu (men’s).
Navigation & Safety
Navigation App: We use GaiaGPS to download and view the trail track before and during the hike. It works fully offline, no cell service needed, as long as you download the map area before you leave service. We've mapped the route for you so you can download the area and trail in advance.
Satellite Communicator: As a safety best practice, we always carry our Garmin inReach Mini 3 for SOS capability and backcountry messaging on every hike and backpacking trip.
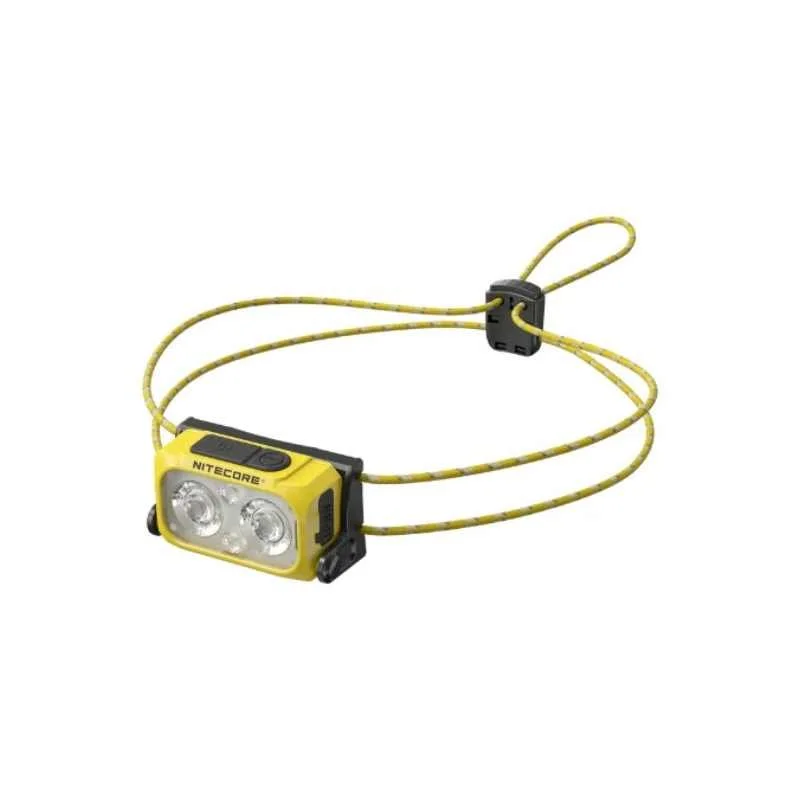
Headlamp: Regardless of whether it’s a day hike or an overnight backpacking trip, we keep our ultralight Nitecore NU25 or super fast charging BioLite Range 500 in our packs.
Basic First Aid Kit: A small first aid kit covers you for blisters, cuts, and the other minor stuff that tends to show up on longer hikes.
Footwear & Trekking Poles
Hiking Boots or Trail Runners: We hike most trails in trail runners and they are super comfortable for us both, even on backpacking trips. But if it’s going to be rainy or snowy, then hiking boots will be a better choice.
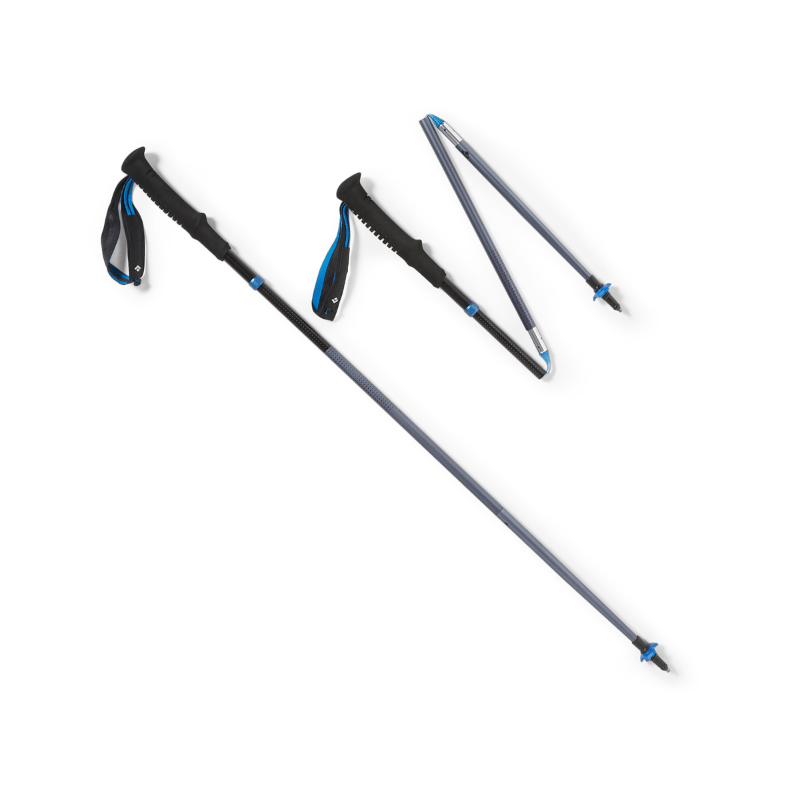
Trekking Poles: With a long, steady climb and steep terrain on the trail, your knees will thank you. We prefer collapsible or Z-style poles for day hikes since they pack down small.
Hydration & Water
Hydration Bladder or Bottle Storage: Whether you carry a water reservoir or bottle, make sure you have at least 1 liter of water, but there are a few streams where you can filter along the way if needed.
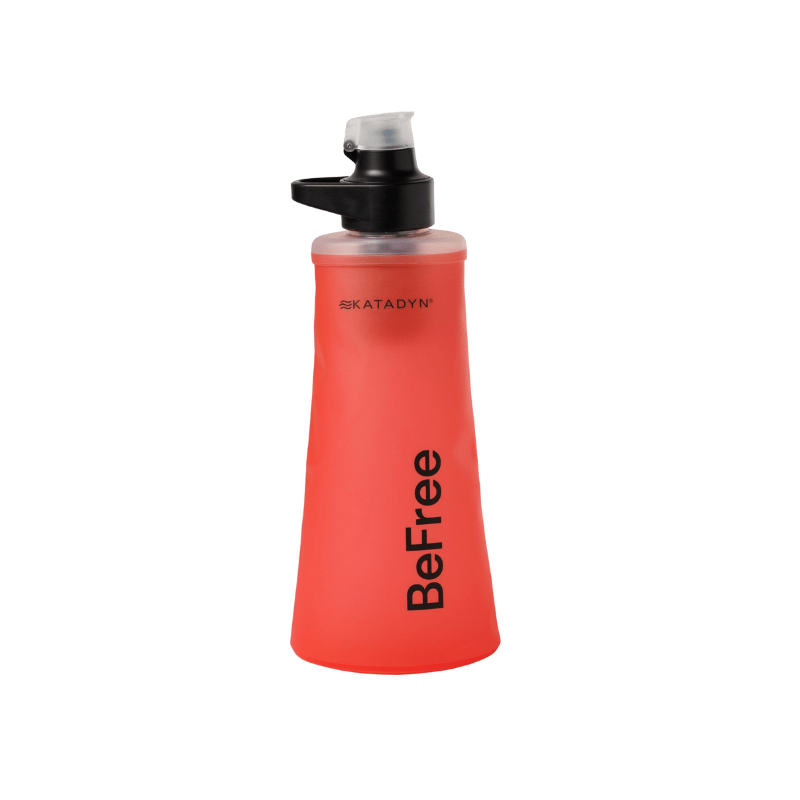
Water Filter and Sources: Our go-to for quick refills is the Katadyn BeFree 1L. There are spots along the trail to filter and refill your water before Wedgemount Lake. We marked refill spots on our GaiaGPS map that we saw during our last visit in early August 2026.
Sun & Bug Protection
Sun Hoodie: There are a few sun-exposed stretches along the way up and you will not find any daytime shade once you reach Wedgemount Lake. We're fans of the Outdoor Research Astroman Air Hoodie, and we go deeper on options in our best sun hoodies for hiking guide.
Extra Layers: Weather shifts when moving from a low valley to an alpine lake. A lightweight and packable rain jacket is helpful to pack if there is a small chance of rain. We also toss in one our favorite fleece mid-layers or light jackets.
Sunscreen: A good sweat-resistant sunscreen is important while hiking, our favorite is Dermatone Sport Sunscreen because it's lightweight and made for active days (use code SKYE15 for 15% off on Dermatone’s website).
Bug Spray: Mosquitoes and flies are unfortunately present along the trail and lake. A DEET or picaridin-based spray works well on the trail.
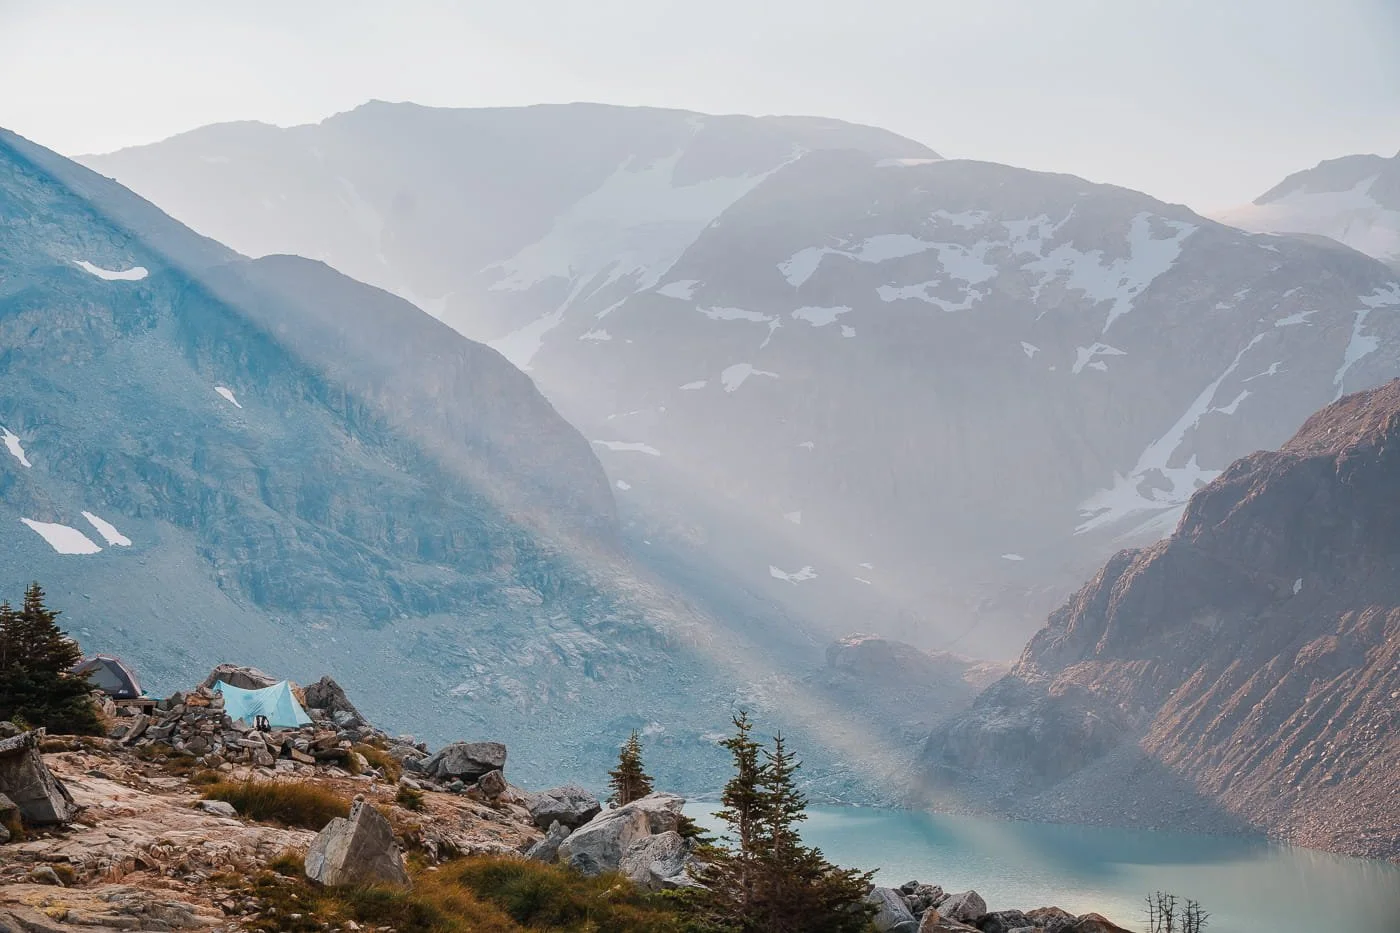
Sun rays shinning down upon Wedgemount Lake
What to Pack for Backpacking Trips
The trip to Wedgemount Lake is short, but don't let that fool you into packing light on the essentials. You're dealing with a steep approach, a ton of elevation gain, and the potential for cold, rainy, or windy nights, even in the summer.
Below we've listed some of our favorite backpacking items you will want for this trip (and every backpacking trip), but make sure to check out our Backpacking Packing List for a full packing list and all the gear we recommend. And, if you're interested in lowering your backpacking base weight and going ultralight (we can’t recommend this enough), we also have a gear guide focused on ultralight backpacking gear.
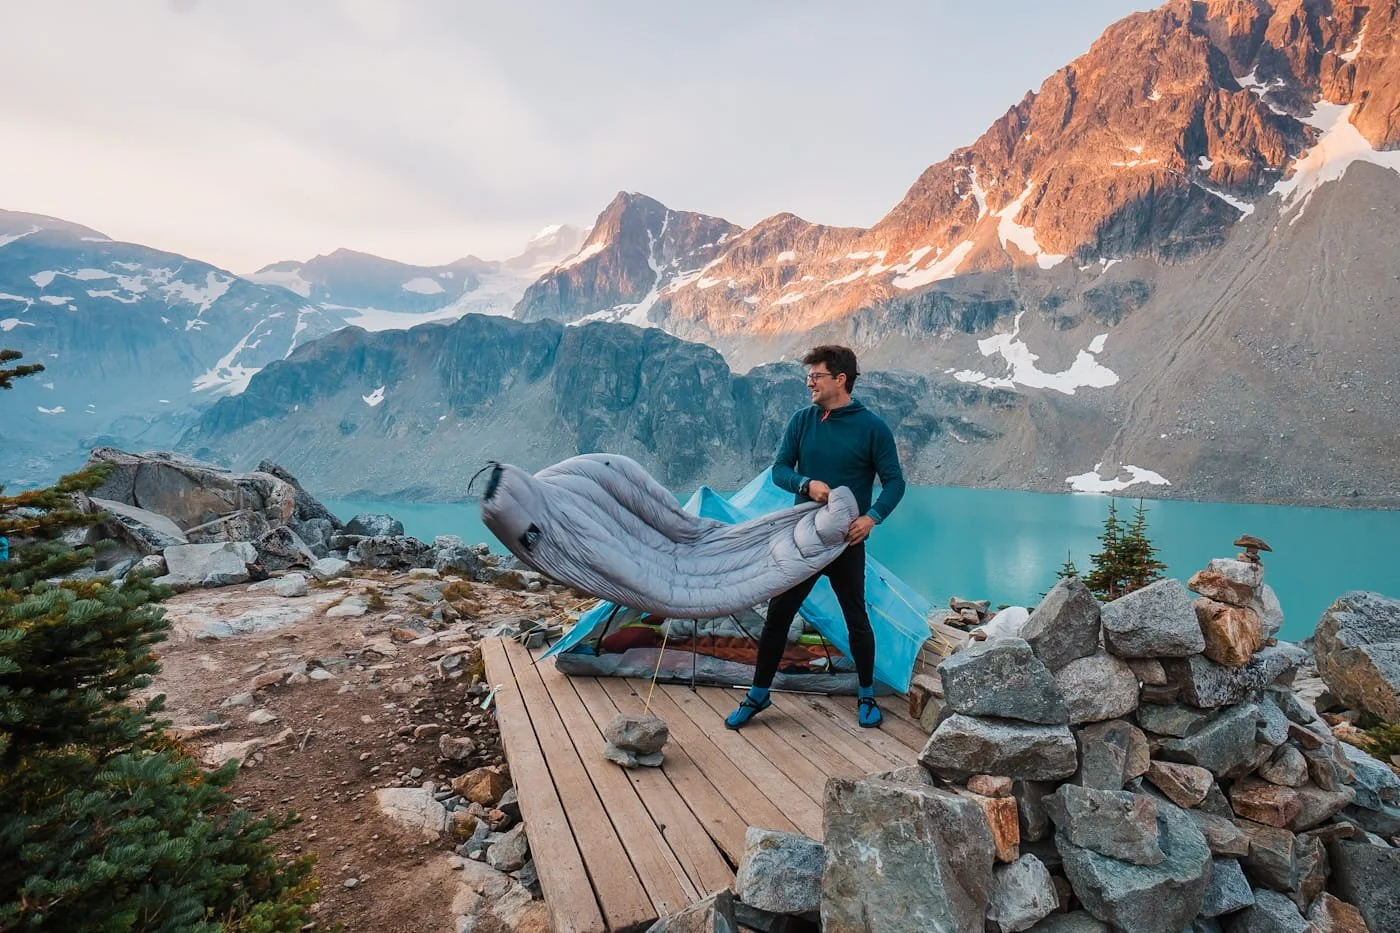
Garrett refreshing his quilt during sunrise
Backpacking Pack, Tent, & Sleep System (the Big Three)
For every backpacking trip, you need your backpacking big three, which includes your pack, tent, and full sleep system (sleeping bag or quilt, sleeping pad, and pillow). Below is what we actually packed for our backpacking trip to Wedgemount Lake.
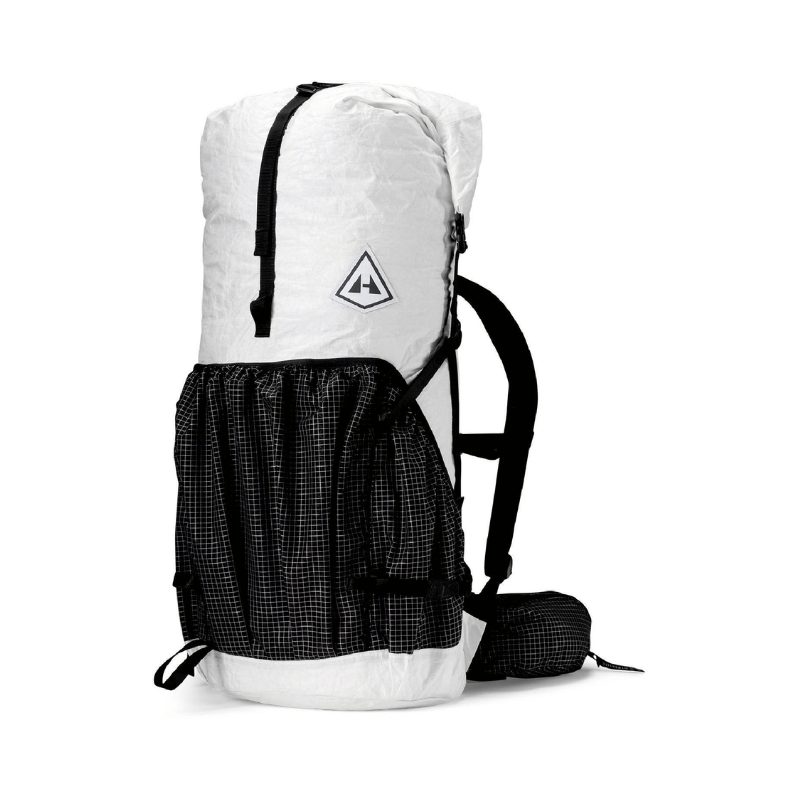
Backpack: A comfortable, lightweight pack in the 40-55L range is ideal for a 1-2 night trip. Our all-time favorite backpacking pack is the Hyperlite Mountain Gear Southwest 55L. Once you know this backpack, you’ll see it everywhere on the trail. We both brought ours on this trip and it was perfect in size and comfort. Plus, it’s a roll top, so you can make it a lot smaller when you have less gear. Ours were not at full capacity for this one night trip.
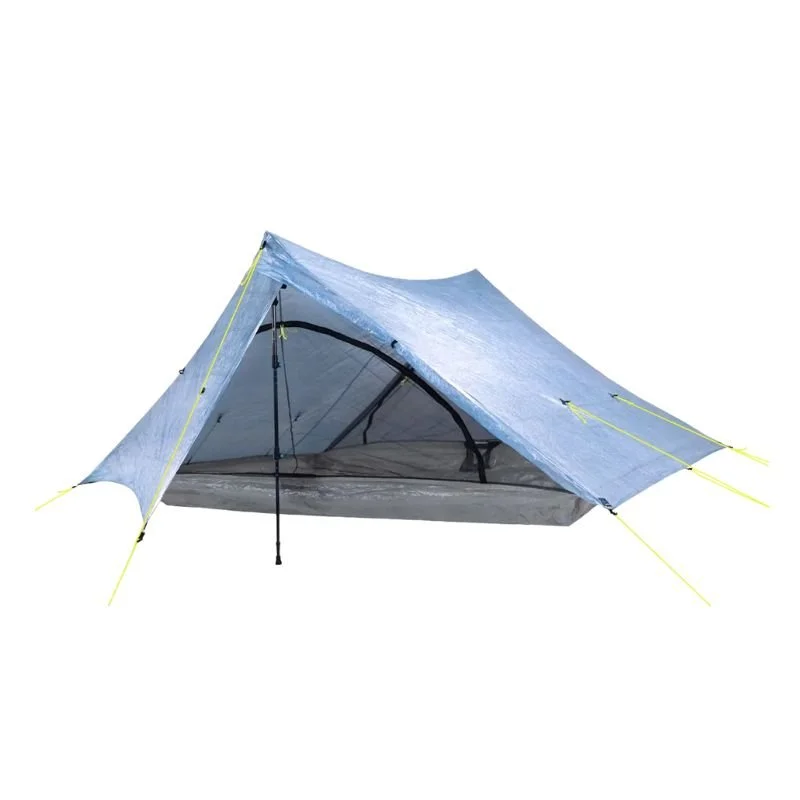
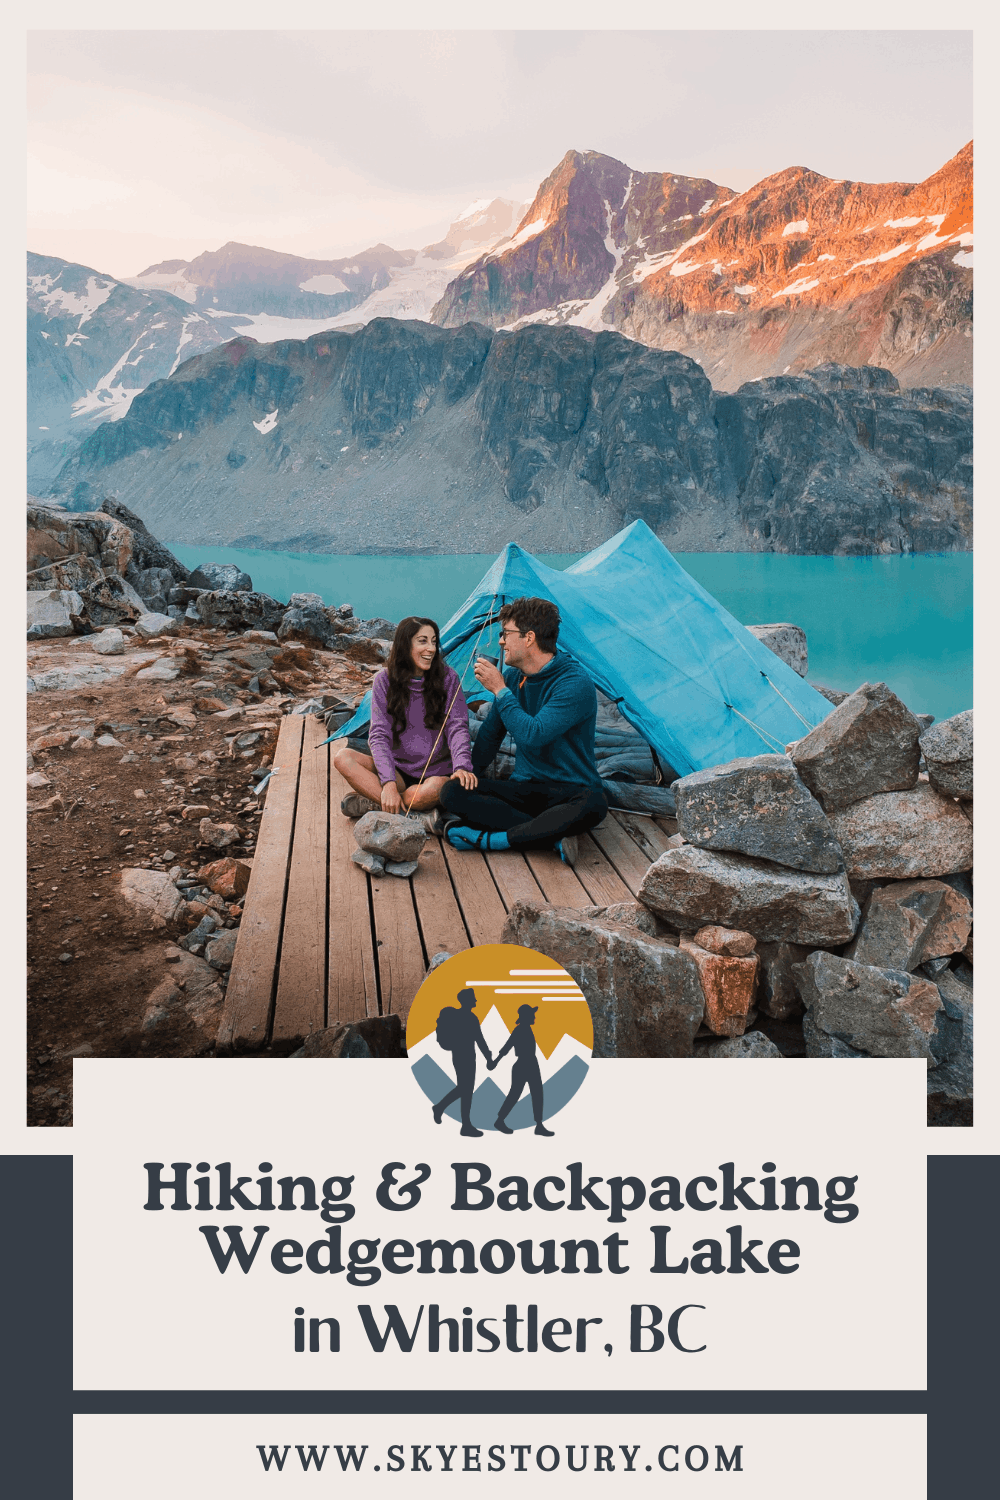
Tent/Shelter: We love lightweight trekking pole tents for backpacking, they are spacious and very lightweight, think 1.5 pounds or less. Just make sure you have extendable trekking poles to pitch your tent with. On this trip we brought our Zpacks Triplex which is about 1.5 lbs for a three-person tent, it’s very spacious for two people which means we can bring our packs and gear inside at night. This style of tent still fits on the wooden platforms but it does take a little more time to get the spacing and tension correct versus a freestanding tent.
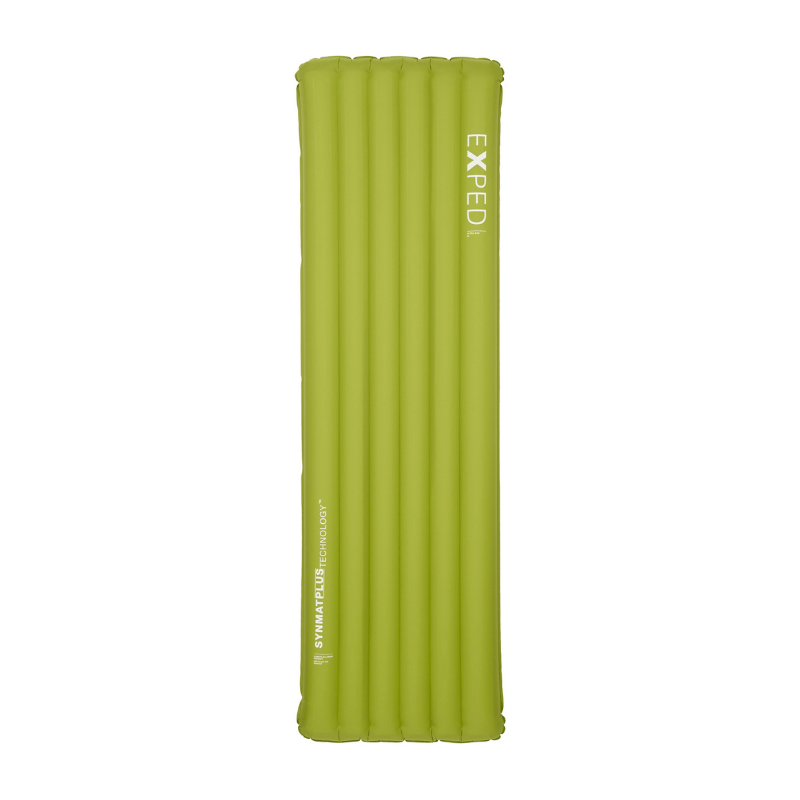
Sleeping Bag or Quilt & Sleeping Pad: We both use lightweight quilts instead of sleeping bags, and brought our 20F- Hyperlite quilts on this trip (it got cold at night so we were happy with the temperature rating). Then we also brought good insulated sleeping pads, we like the Exped Ultra 6.5R and Klymit V PEAK (better for side sleepers) sleeping pads for comfort.
→ For a full packing list and everything you will need to camp, check out our dedicated guide on What to Pack for Backpacking.
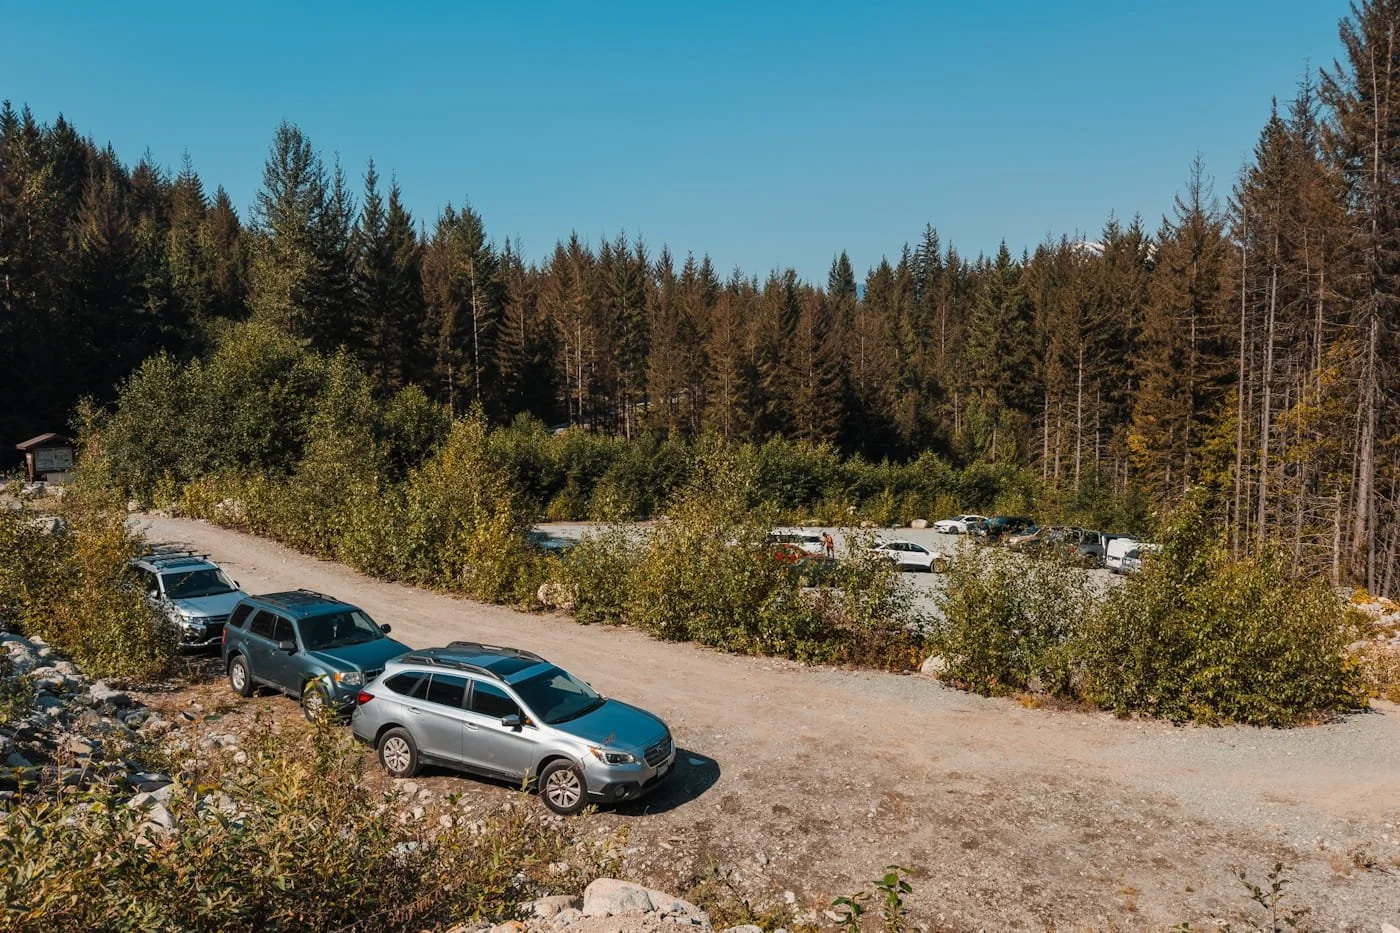
Wedgemount Lake Parking Lot
Getting to and Arriving at the Wedgemount Lake Trailhead
Wedgemount Lake is a short and easy drive from Whistler, BC. Once you exit the highway, you will be on a dirt road the entire way to the parking lot, but the road is fine for all vehicles. We made it in our low-clearance van without a problem, but do expect some potholes and a steep grade at sections.
Parking at Wedgemount Lake
There are two parking lots at the trailhead that both can fill up, so get there early, especially on weekends. There's no parking pass or day-use pass required, and parking is free. There is a pit toilet in the parking lot but in our experience it’s heavily used and under-maintained. Take that as a small warning.
From the parking area, the trail starts right on the north side via a bridge over Wedgemount Creek.
Driving Times and Directions to Wedgemount Lake Trailhead
There is no public transit to the trailhead. You’ll need to drive or you could book a taxi/ride share service from Whistler.
| From | Distance | Drive Time | Directions |
|---|---|---|---|
| Whistler Village, BC | 14 km / 8.7 mi | 15 – 20 min | Get Directions |
| Squamish, BC | 74 km / 46 mi | 60 – 70 min | Get Directions |
| Vancouver, BC | 128 km / 80 mi | 2 – 2.5 hrs | Get Directions |
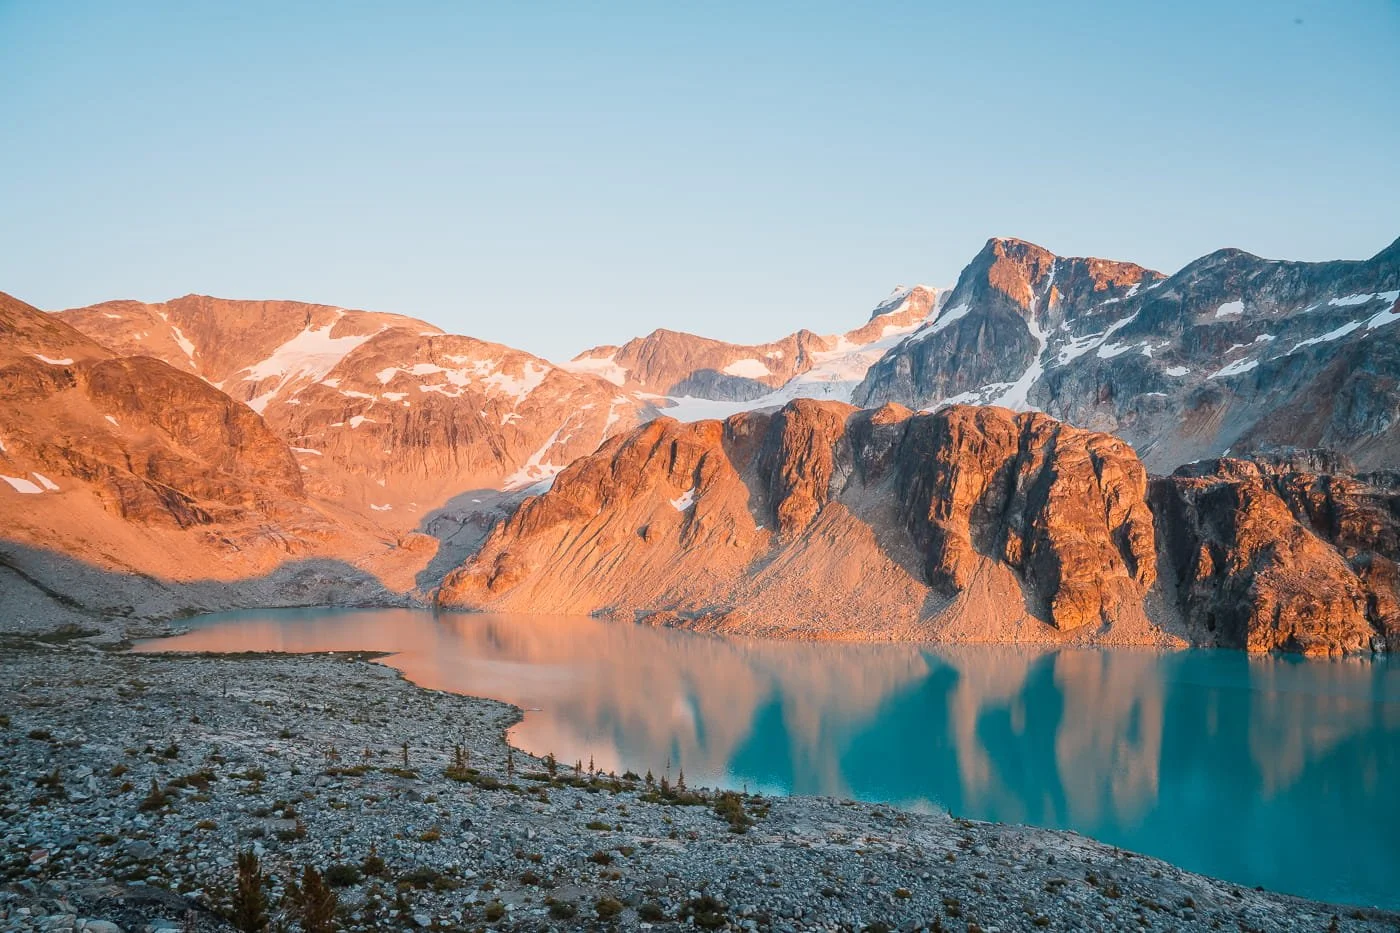
Looking down at Wedgemount Lake
FAQ on Hiking Wedgemount Lake in Whistler
Do I need a permit to day hike Wedgemount Lake?
No. Wedgemount is the one Garibaldi Provincial Park trailhead that doesn’t require a day-use pass, and no permit is needed for day hiking. You only need a reservation if you’re camping overnight.
How hard is the Wedgemount Lake hike?
It's one of the steepest trails in the Sea to Sky corridor — you’re gaining roughly 1,155 m (3,789 ft) over just over 5 km one way. Expect 3–4 hours up and 2–3 hours back down for most hikers. It’s short in distance but relentless in grade, so don't judge the difficulty by the mileage alone.
Are dogs allowed on the Wedgemount Lake trail?
No, dogs are not permitted anywhere in Garibaldi Provincial Park, including the Wedgemount Lake trail.
Is there cell service at Wedgemount Lake?
Cell service is nonexistent for most of the hike and once you’re in the lake basin. We’d recommend downloading your map offline beforehand and carrying a satellite communicator if you have one.
Can I swim in Wedgemount Lake?
Yup, swimming is allowed, though it’s still super cold even in the height of summer.
Is there drinking water on the trail?
Yes, there are a few spots to filter along the trail, and seasonal tarns/snow patches near the upper campground plus a glacier-fed creek near the lower campground once you’re at the lake. We don’t recommend filtering directly from Wedgemount Lake itself, since the silty water tends to clog filters quickly. We marked water sources along the trail during our last visit in early August 2026.
Can I stay in the emergency shelter/hut overnight?
No. The hut at Wedgemount Lake is for emergency use only. You’re welcome to go in and sign the guest book, but overnight sleeping there isn't allowed.
When is the best time to hike Wedgemount Lake?
Late July through early September, once the snow has cleared from the trail and the boulder field near the top. See our full season breakdown above for what to expect during each season.
Do I need a car to get to the trailhead?
Yes, you’ll need a car. There’s no public transit or shuttle service to the Wedgemount trailhead. You could book a taxi/uber from the Whistler Village but you should arrange to have a pickup time as on-demand service is likely limited or non-existent.
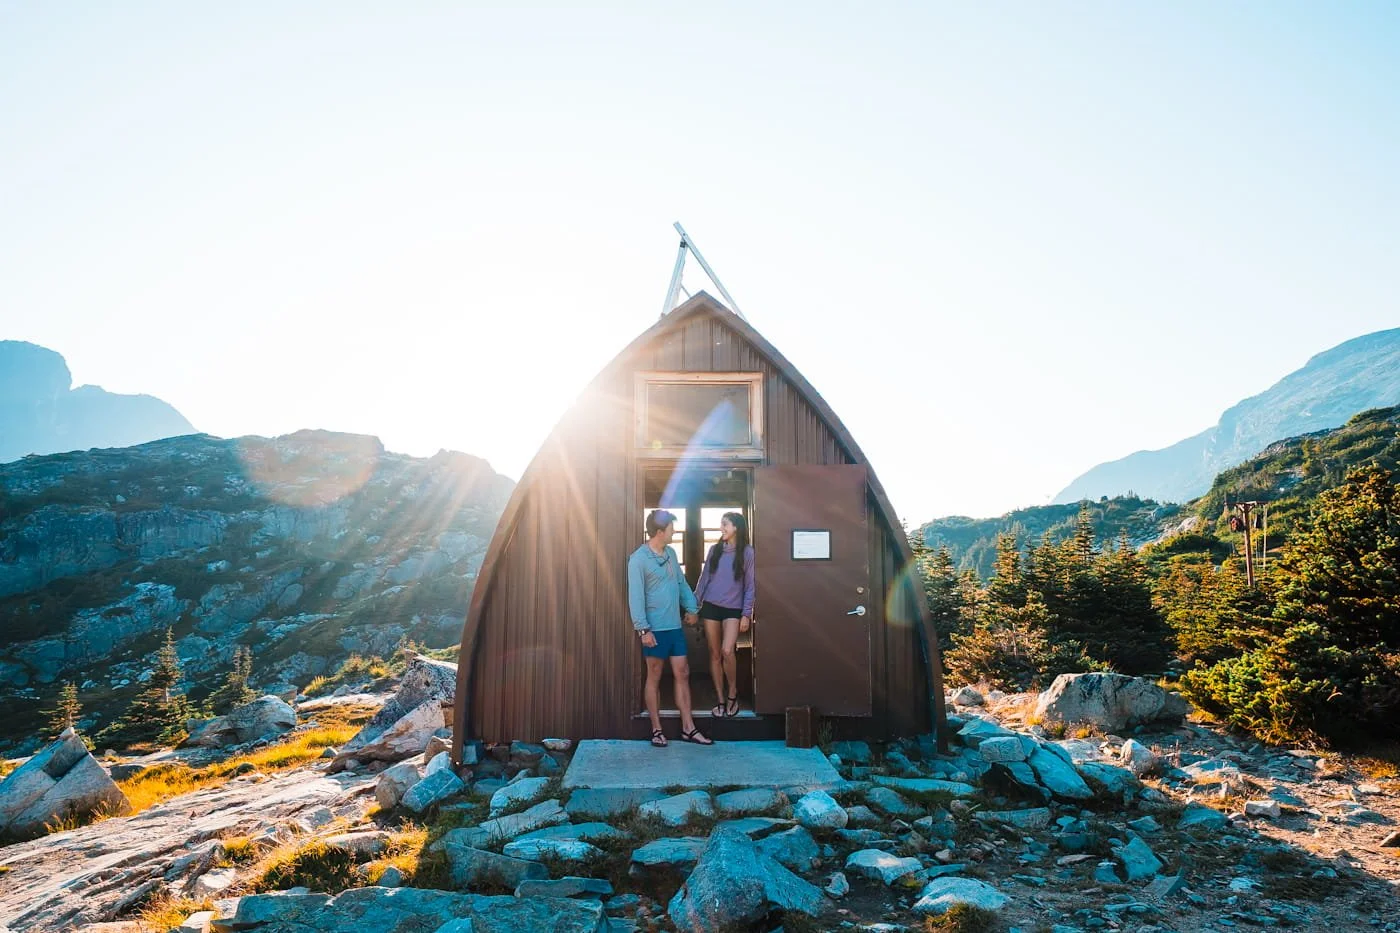
Wedgemount Lake Emergency Shelter. You can visit but cannot sleep inside.
Final Thoughts on Hiking Wedgemount Lake
Wedgemount Lake is one of our all-time favorite hikes in the Whistler area, and one we keep coming back to again and again. Though it is stunning as a day hike, it really was so special to get to overnight here. Both sunset and sunrise were amazing with alpenglow on the peaks surrounding the lake. It’s definitely worth the steep trail with an overnight pack to get to camp here.
We also can’t recommend continuing up to Tupper Lake. Most day hikers stop at the base of the lake, but hiking around and to Tupper Lake was well worth the extra distance.
No matter how and when you hike to Wedgemount Lake, you are in for a treat. Enjoy the hike!
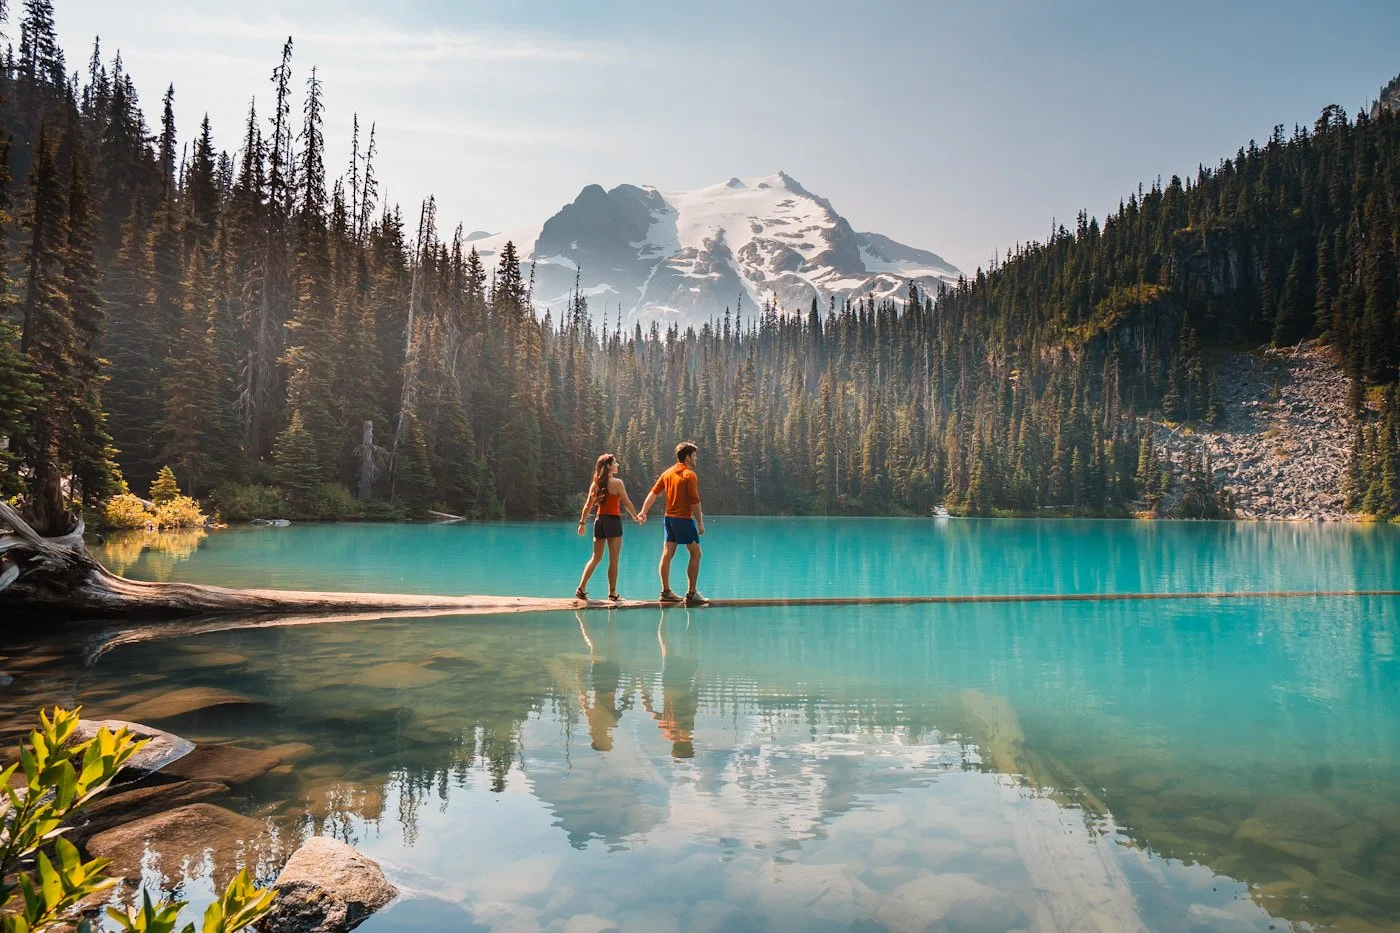
Joffre Lakes day hike
More British Columbia Hiking Guides
Bucket List Trails & Trips in BC:
The Climb vs. Sea to Summit Trail: Hike to the Top of the Sea to Sky Gondola in Squamish, BC
Hiking & Camping on Unnecessary Mountain on the Howe Sound Crest Trail
Hiking Gear Guides & Packing Lists:
Liked this Post? Pin it & Save it for Later
The Ultimate Squamish, BC Weekend Itinerary: Best Hikes, Adventures, and Things to Do
The Ultimate Travel Guide to Banff and the Canadian Rockies
This image is copyrighted and owned by Skye Stoury Photography and skyestoury.com, if you would like to licence any images on this site, please email us at hello@skyestoury.com