
The Climb vs. Sea to Summit Trail: Hike to the Top of the Sea to Sky Gondola in Squamish, BC
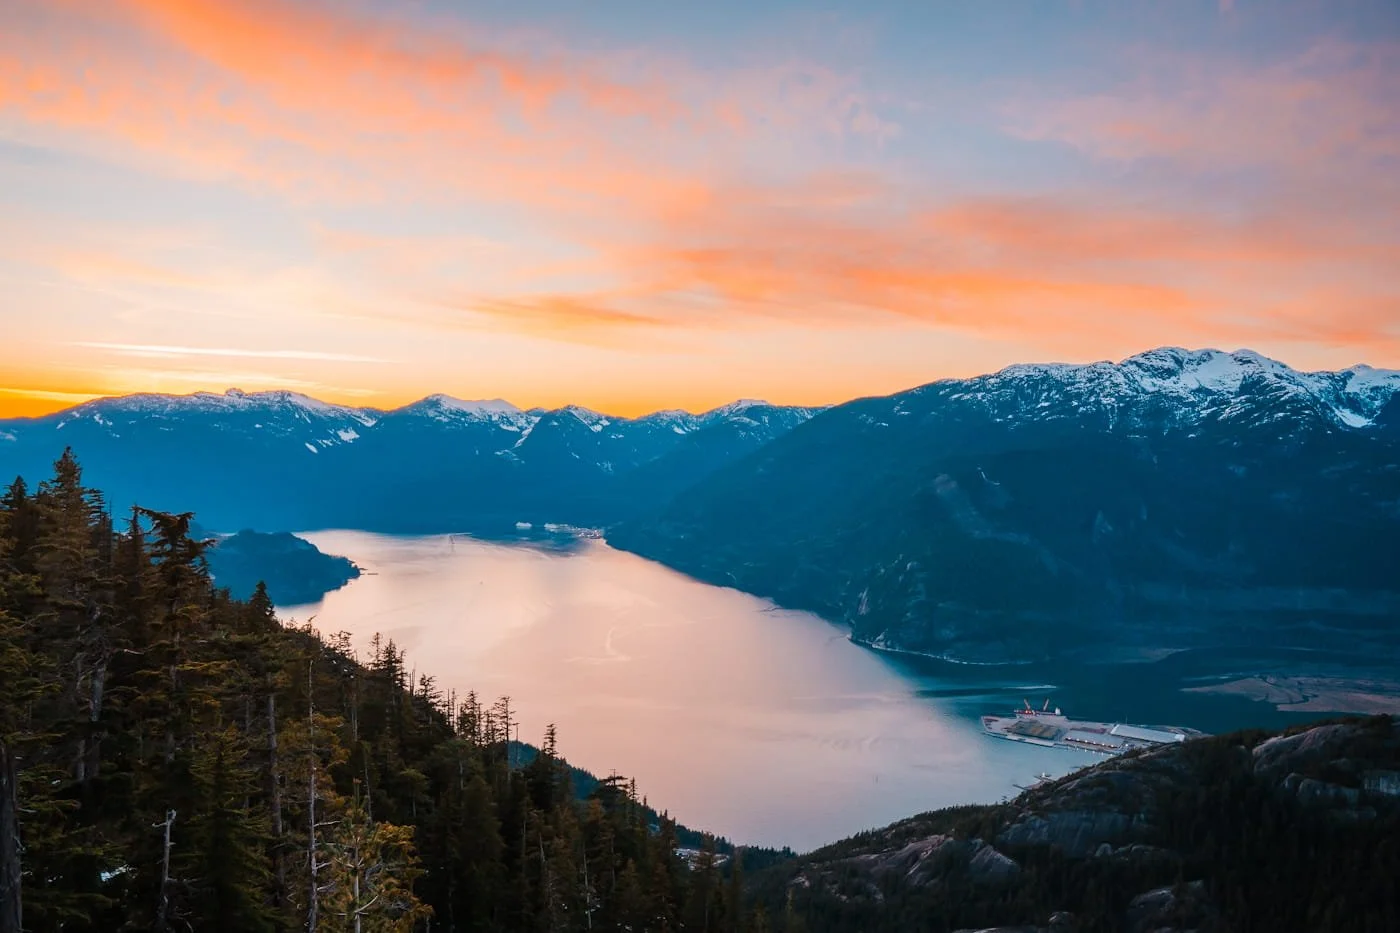
Hike to the Top of the Sea to Sky Gondola
Visiting the Sea to Sky Summit at the top of the gondola is a must-do when visiting Squamish, British Columbia. And you can do so without having to pay for a round trip gondola ticket. We’ve hiked both of these trails, and taken the gondola round trip, and in all honesty, as hikers and climbers, we love hiking up.
If you want to earn the view at the top of the Sea to Sky Gondola instead of just riding up and down there are two main trails that will get you to the summit. The Climb (Skatshn) is steep the entire way, and technical with hand lines, ladders, and high steps. The Sea to Summit Trail is longer, a bit more gradual, and a little more forgiving but still has lots of steep terrain and some extra distance. Both trails start at the base of the gondola in Squamish and end at the Sea to Sky Summit Lodge at the top of the gondola.
We wanted to lay out both options side by side, so instead of just covering one trail, this guide breaks down the differences in distance, elevation, difficulty, and overall experience between The Climb and the Sea to Summit Trail.
Whichever trail you pick, you will be treated to a hard yet rewarding hike, and amazing views! We recommend hiking up and taking the gondola down ($19-25 CAD), it allows you to stay for sunset and not have to hike down in the dark, and saves your knees. These trails are both steep and would not be fun to hike back down, especially not in the dark. So all of our trail stats in this guide are one way, assuming you'll ride the gondola down afterward rather than retracing your steps.
→ Looking for more to do in Squamish? Check out our guide on How to Spend the Perfect Weekend in Squamish.
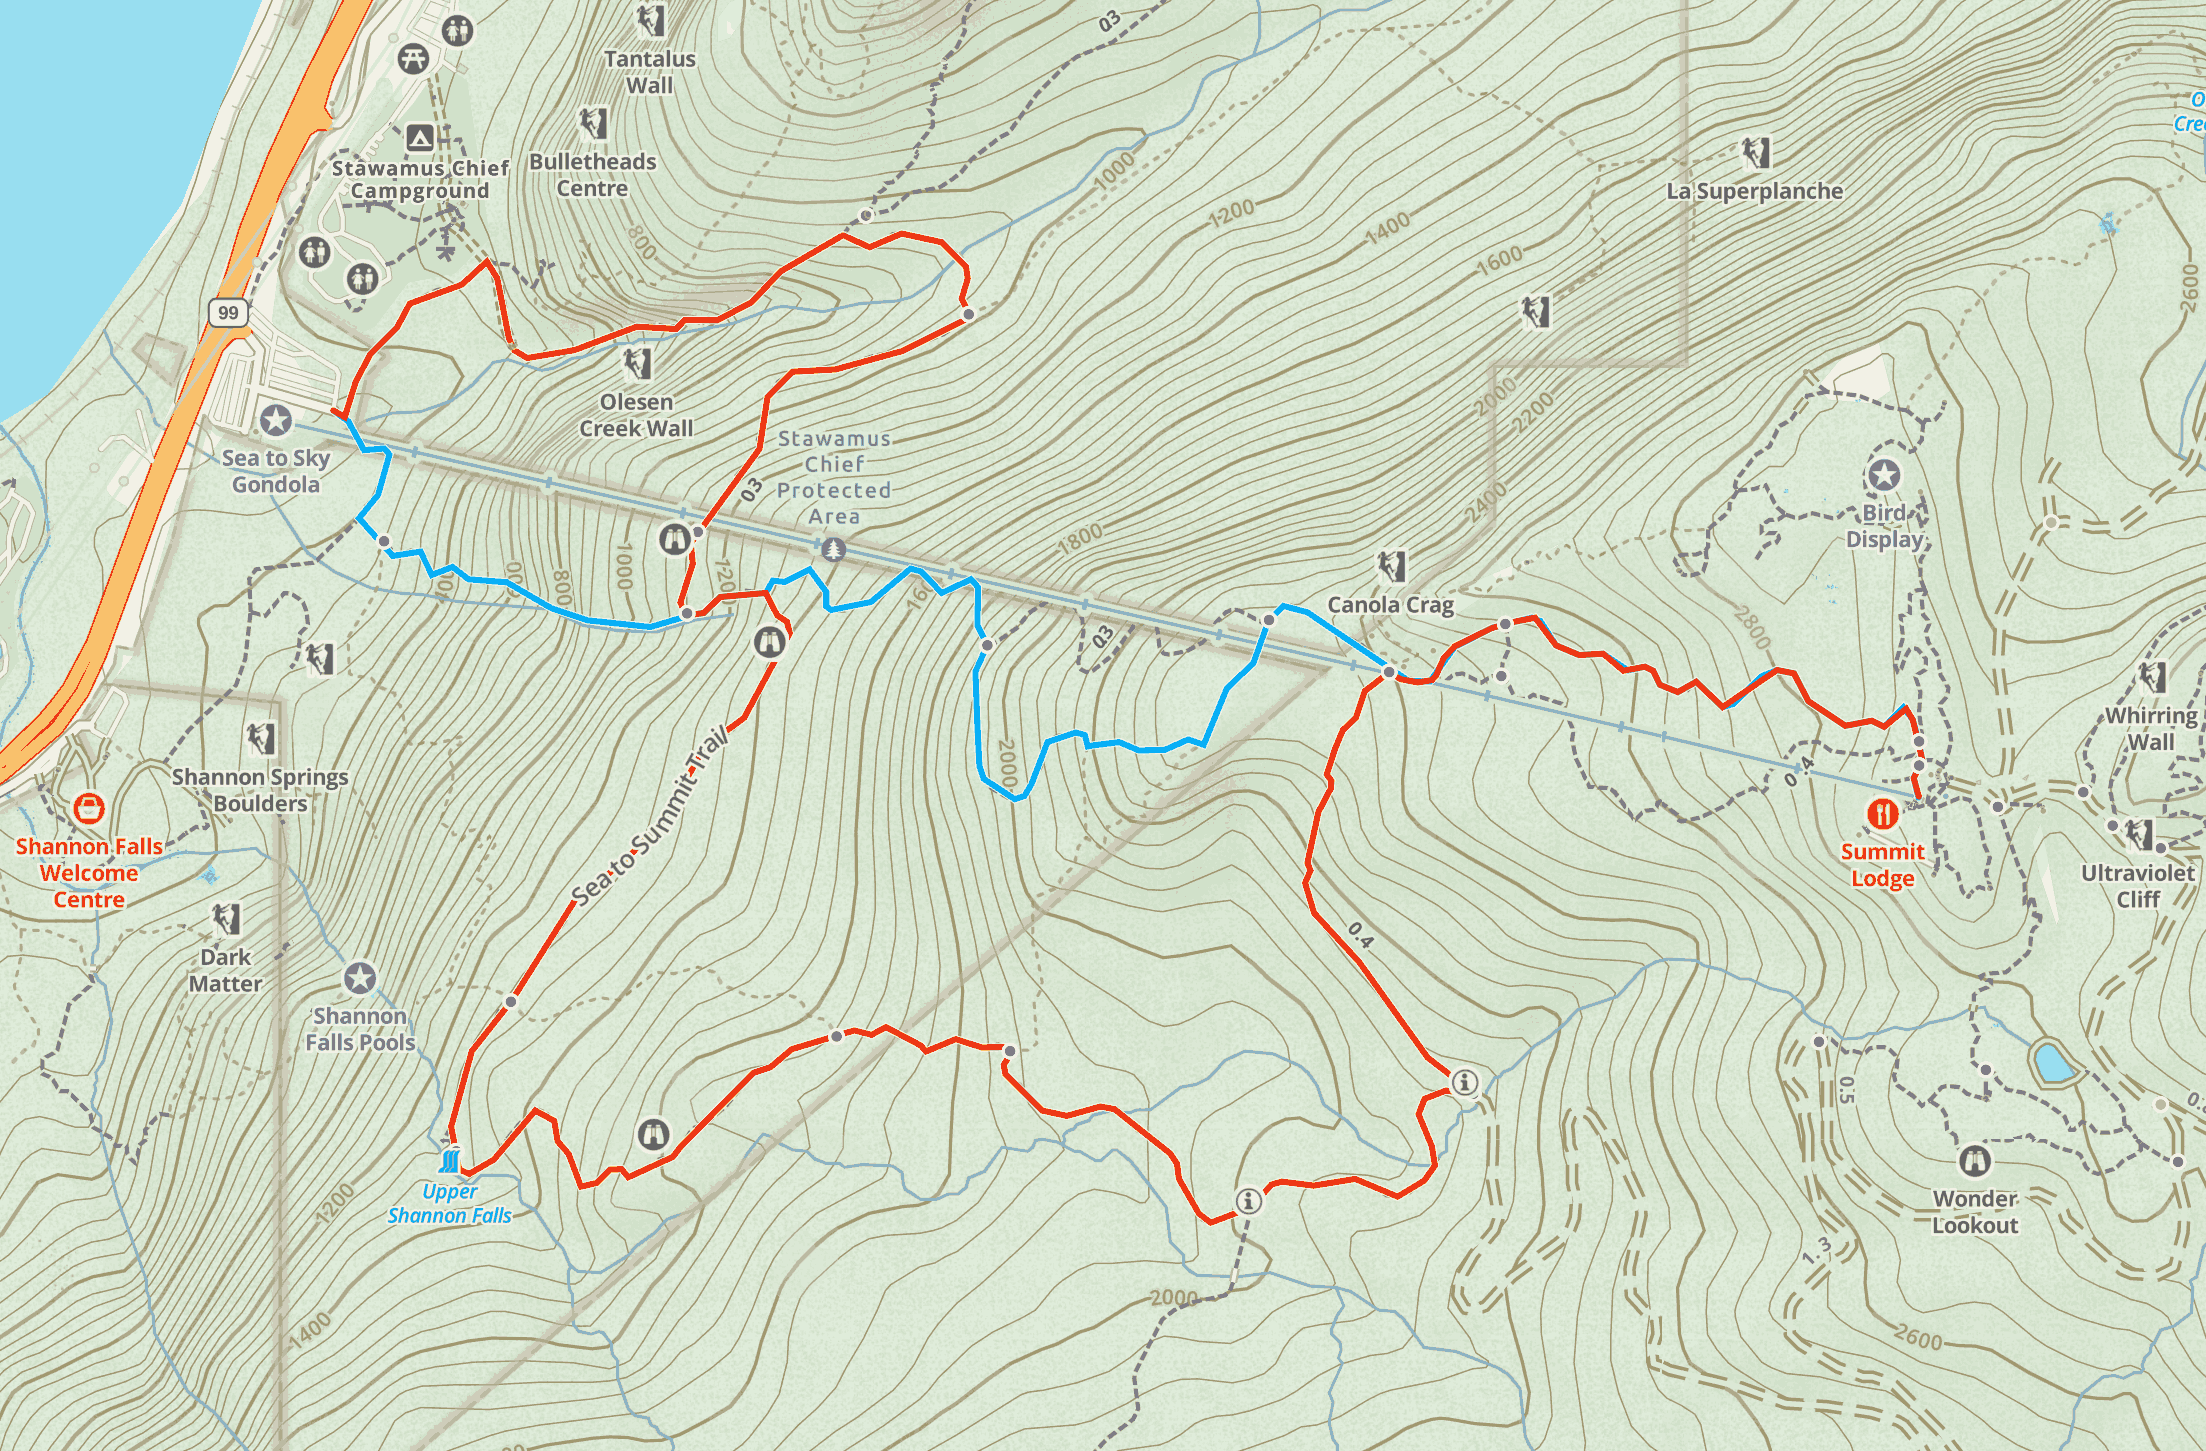
The Climb shown in blue and the Sea to Summit trail in red, both connecting before reaching the Sea to Sky Summit Lodge
Quick Hit Trail Comparison
| The Climb (Skatshn) | Sea to Summit Trail | |
|---|---|---|
| Distance (One-Way) | 2.8 km (1.7 mi) |
5.6 km (3.5 mi) |
| Elevation Gain | 750 m (2,460 ft) |
924 m (3,031 ft) |
| Difficulty | Very Difficult | Difficult |
| Estimated Time | 2 – 4 hours |
3 – 5 hours |
| Terrain |
|
|
| Water Sources | None — carry all the water you'll need |
Option to filter from several creek crossings |
| Dogs Allowed | Yes, off-leash if under control |
Yes, off-leash if under control |
| Getting Down | Ride Down Only ticket — $19 CAD online / $25 CAD window per adult |
Ride Down Only ticket — $19 CAD online / $25 CAD window per adult |
| Best For | Hikers who want the shortest, steepest route to the summit |
Hikers who want a longer, more varied hike with some gentler graded sections |
Affiliate Disclaimer: This blog post contains affiliate links, meaning we receive a small commission on every purchase made with our links at no additional cost to you. Sometimes there is even a discount code for our readers which we specify next to the links.
Table of Contents
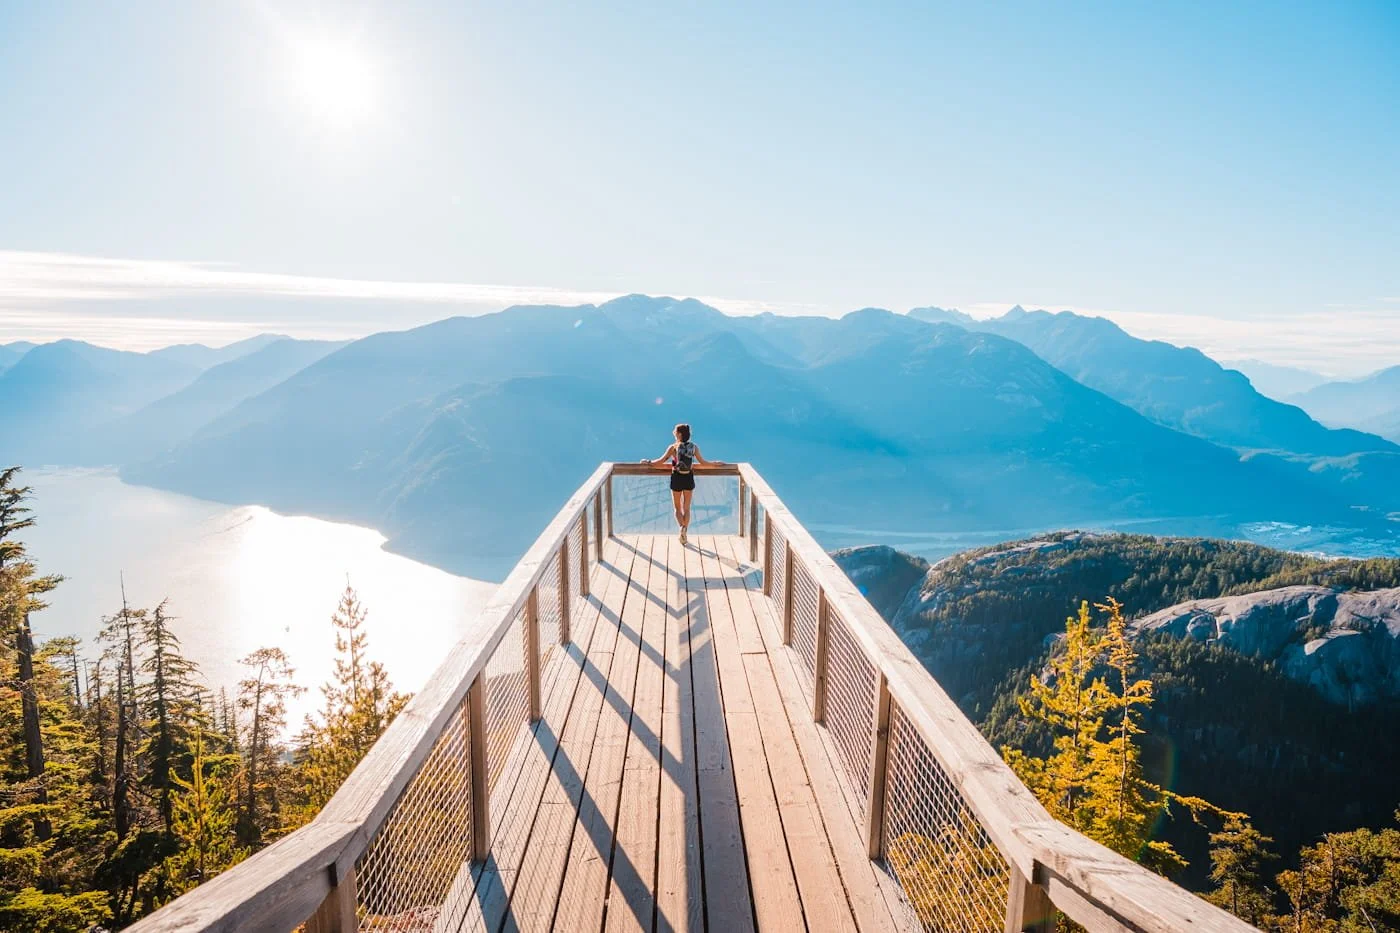
Chief Overlook Viewpoint along the Panorama Trail near the summit
Why You Should Hike to the Top of the Sea to Sky Gondola
The Sea to Sky Gondola will get you to the same summit in about fifteen minutes, so why hike up instead? Honestly, it comes down to earning the view and the welcome rewards at the top. We have hiked both of these trails and really enjoyed the effort that went into them, and the views along the way (that you don’t get from the gondola).
Experiencing either, or both trails to the top, feels almost like a rite of passage when visiting Squamish. Of course you can take the gondola up, but you miss out on the amazing views and work out that you get when you hike. We will always choose to hike up, but it’s also okay to take the gondola round trip if both trails sound like too much effort after reading through this guide.
In terms of the summit experience, how many times have you reached a summit and secretly wished there was a restaurant, bar or even just a fast track back down the mountain after all that effort? There's a different kind of satisfaction in reaching the Sea to Sky Summit Lodge on your own, and both of these trails offer a really good workout with stunning views and extra perks at the top. Whether it’s the reward of a cold drink on the patio or just doing a little stride of pride past the others who just rode the gondola up.
Both trails also give you a totally different perspective on the terrain than the gondola does. You'll pass viewpoints, waterfalls, and dense forests that are completely invisible from inside a gondola cabin.
→ Looking to backpack in the area? Check out Wedgemount Lake in Garibaldi Provincial Park!
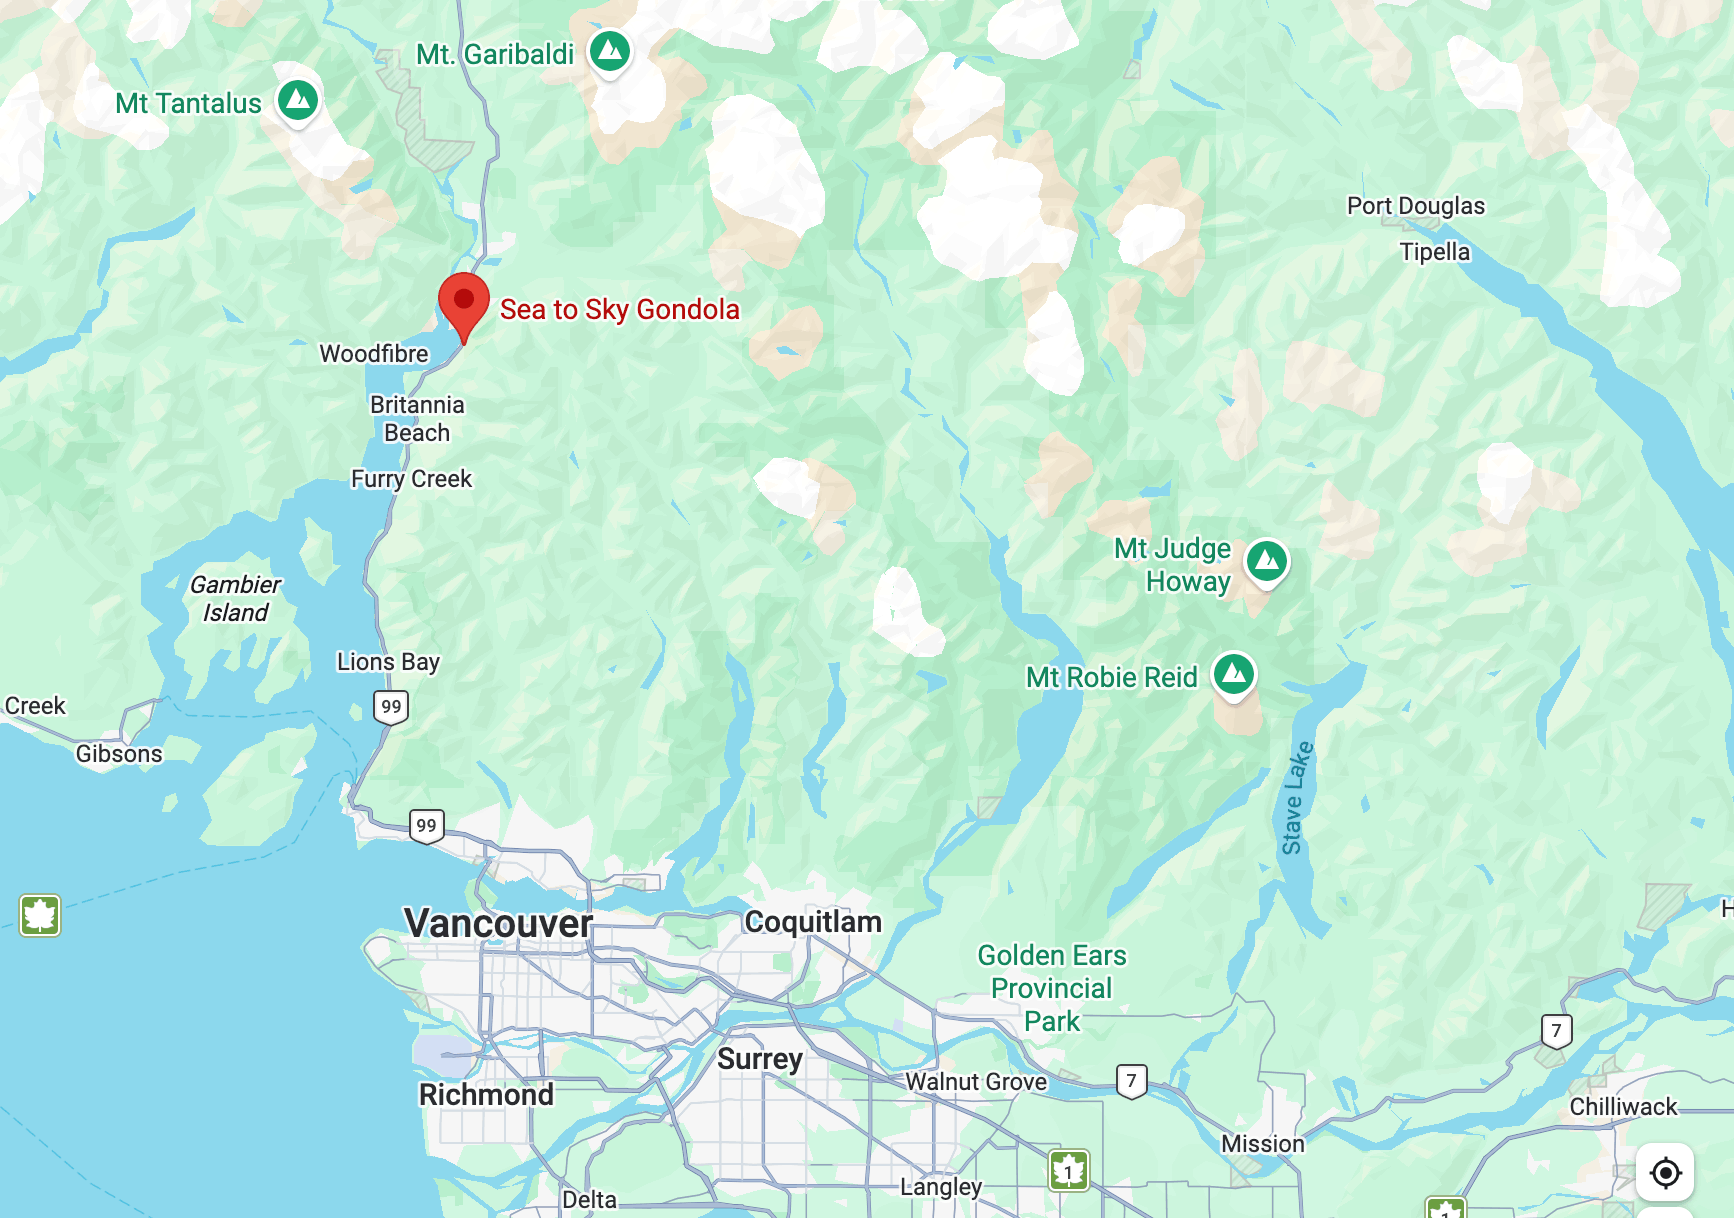
Sea to Sky Gondola location and surrounding region
Where is the Sea to Sky Gondola Located?
These hikes and the gondola are located in Squamish, British Columbia, about a 45-60 minute drive from Vancouver. The base of the gondola and parking area is right off the Sea to Sky highway (highway 99), before you reach downtown Squamish. Both of these hikes work well as a day trip from Vancouver, or as part of a weekend or week long trip to Squamish (we can’t recommend spending as much time here as you can). Squamish itself has so many outdoor activities, and we spend months here each year.
Parking at the Sea to Sky Gondola
Parking at the base of the Sea to Sky Gondola is $10 CAD for the day. The main lot sits right off Highway 99 at the gondola entrance. The dirt lot is large but does fill up and it’s always great to get an earlier start if you can. There are public restrooms at the base near the gondola gift shop.
Drive Times By Car
| From | Distance | Drive Time | Directions |
|---|---|---|---|
| Vancouver, BC | 60 km / 37 mi | 45 – 60 min | Get Directions |
| Whistler, BC | 60 km / 37 mi | 45 – 50 min | Get Directions |
| Seattle, WA | 296 km / 184 mi | 3.5 – 4 hrs | Get Directions |
Public Transit
You can also park at the lot across the street at the Squamish Adventure Center and ride the South Parks #5 bus to the Gondola Trailhead. The South Parks #5 bus also has stops throughout downtown Squamish.
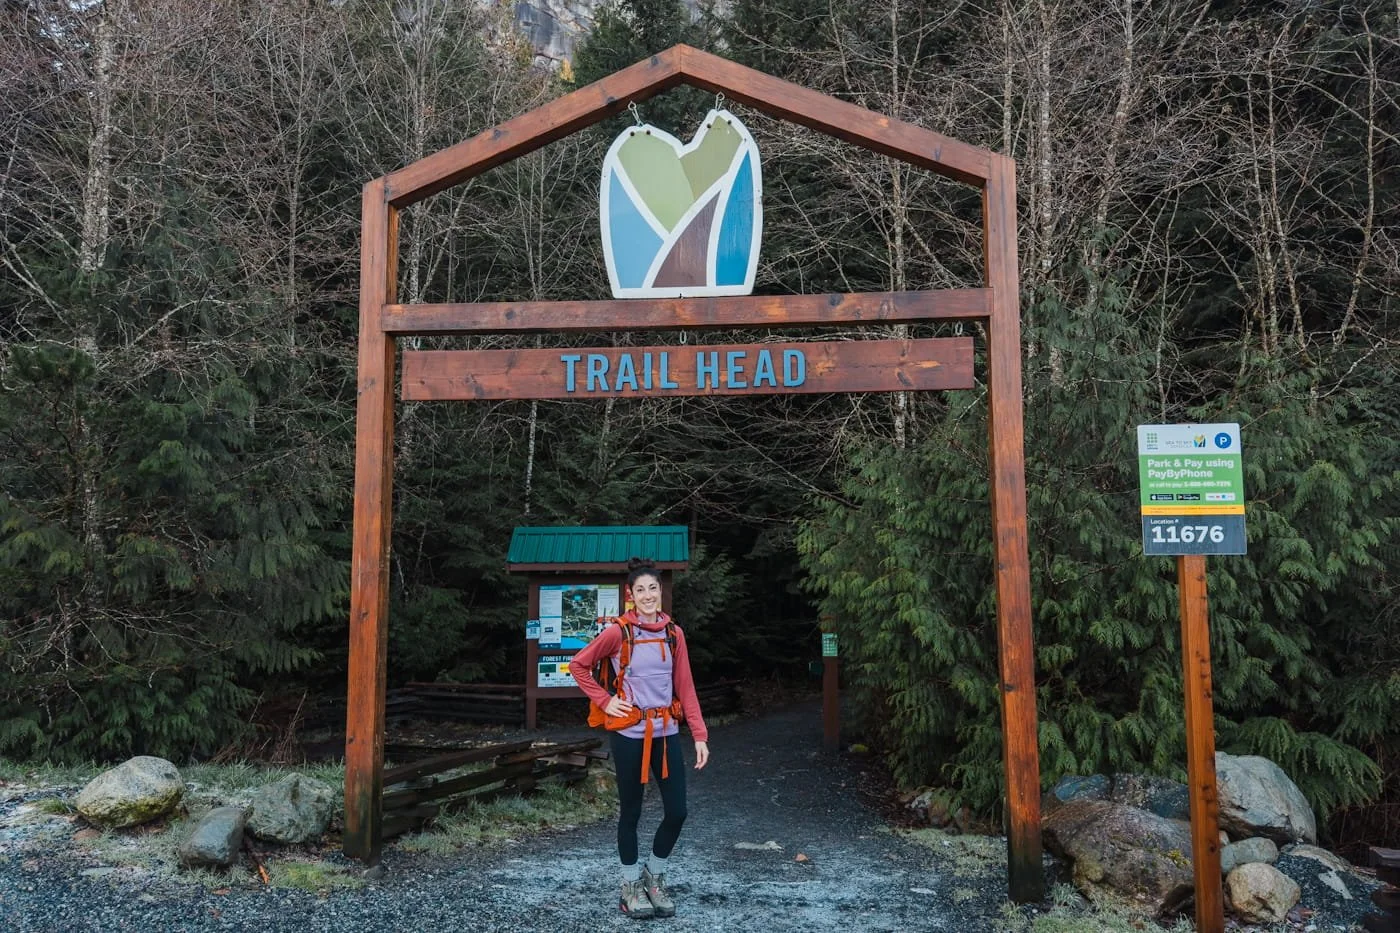
Trailhead for Sea to Summit and The Climb
Everything You Need to Know to Hike The Climb (Skatshn) and the Sea to Summit Trail
Each route has its own appeal with different views, elevation gain, and scenic stops along the way. For those looking for a quick but very steep hike, we recommend The Climb, it will get you up faster, but it is steeper and includes some ladders and hand line sections. And if you are looking for something a tiny bit easier and have more time, hike the Sea to Summit trail. It’s still steep, but a little more gradual and it gives you views of upper Shannon Falls along the way.
Both trails start at the same trailhead, directly behind the gondola. The Climb heads straight in from there, while the Sea to Summit trail breaks off the left and takes you on to the beginning section of the Chief Trail, before forking off back towards the gondola. If you want to combine the two, you can start on The Climb and then catch onto the Sea to Summit trail where they intersect, we did this in July and it worked out well.
Below is an overview of each trail’s highlights and the key differences between distance and elevation gain.
The Climb (Skatshn)
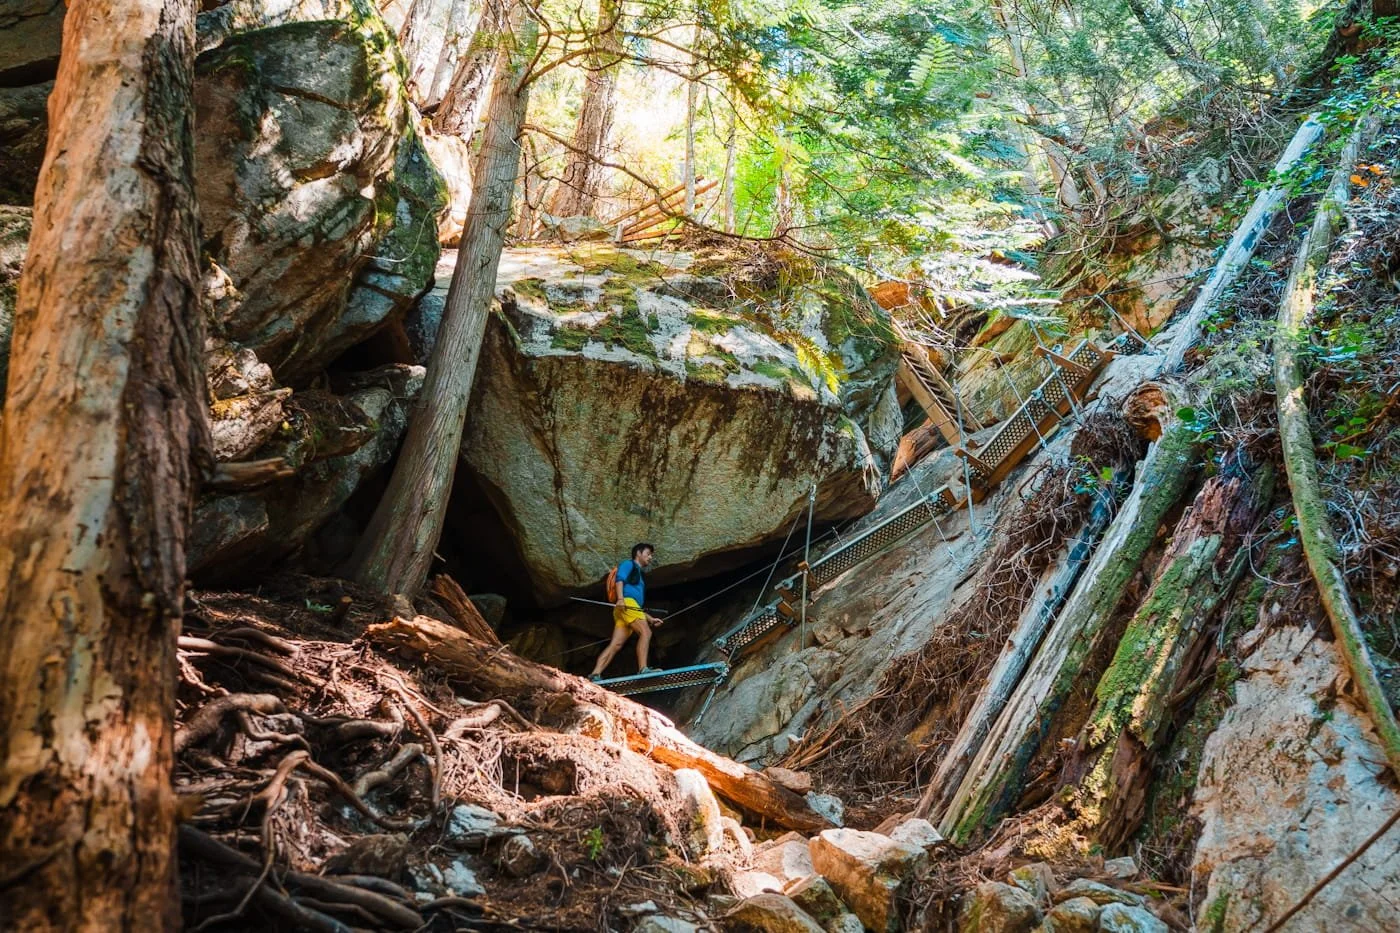
Steep and exciting section along The Climb
Distance: 2.8 km (1.7 miles) | Elevation Gain: 750 m (2,460 feet)
From the trailhead behind the Gondola Basecamp, The Climb heads almost immediately upward. There's no flat warm-up section here; the grade kicks in right from the first few steps and rarely lets up until you reach the Sea to Sky Summit Lodge. This trail prioritizes elevation gain and speed to the top.
The trail follows a steep, direct line up the mountainside, roughly parallel to the gondola line above. Expect a mix of rooty, rocky single-track, a handful of short scrambling sections, and stretches where hand lines and ladders have been installed to help you manage the steeper, scramble sections. Beware of slippery roots and kicking down loose rocks on people below you.
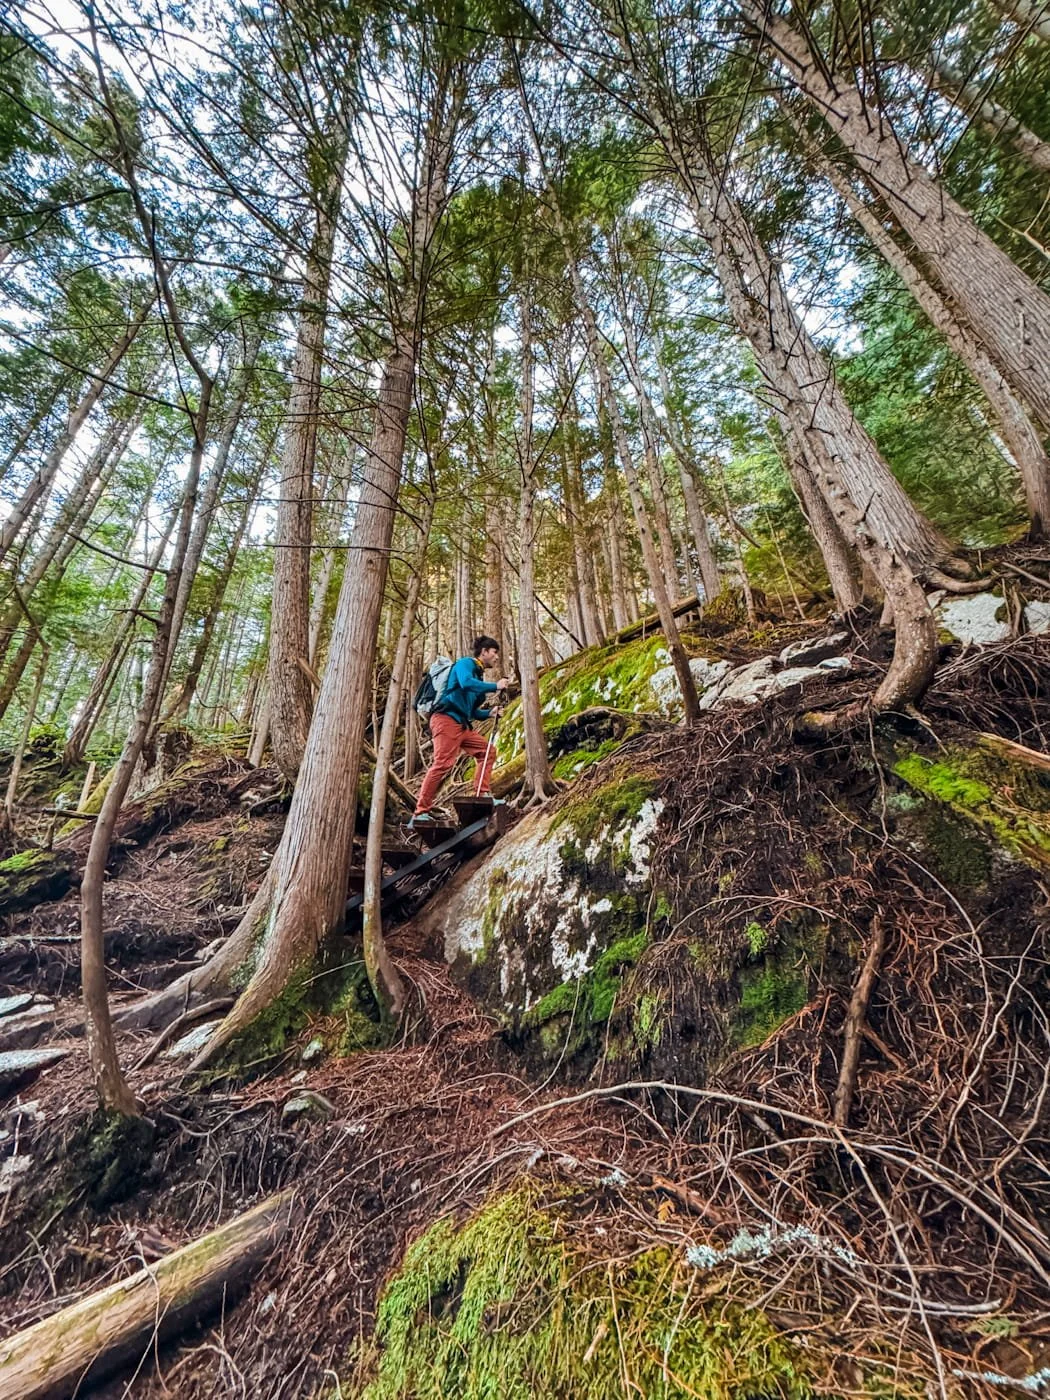
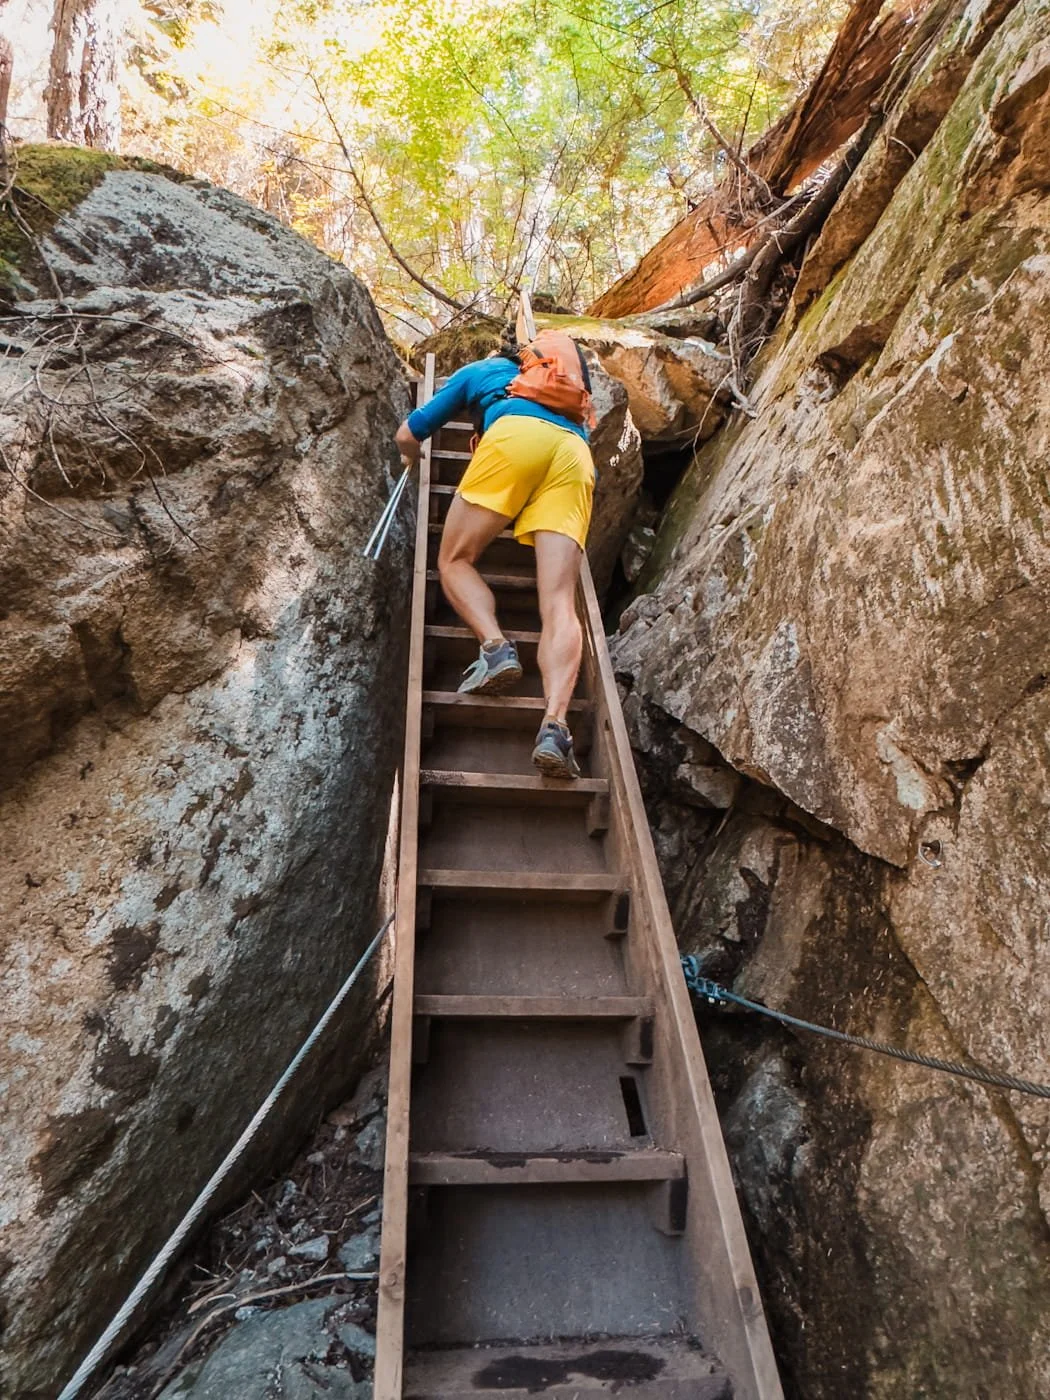
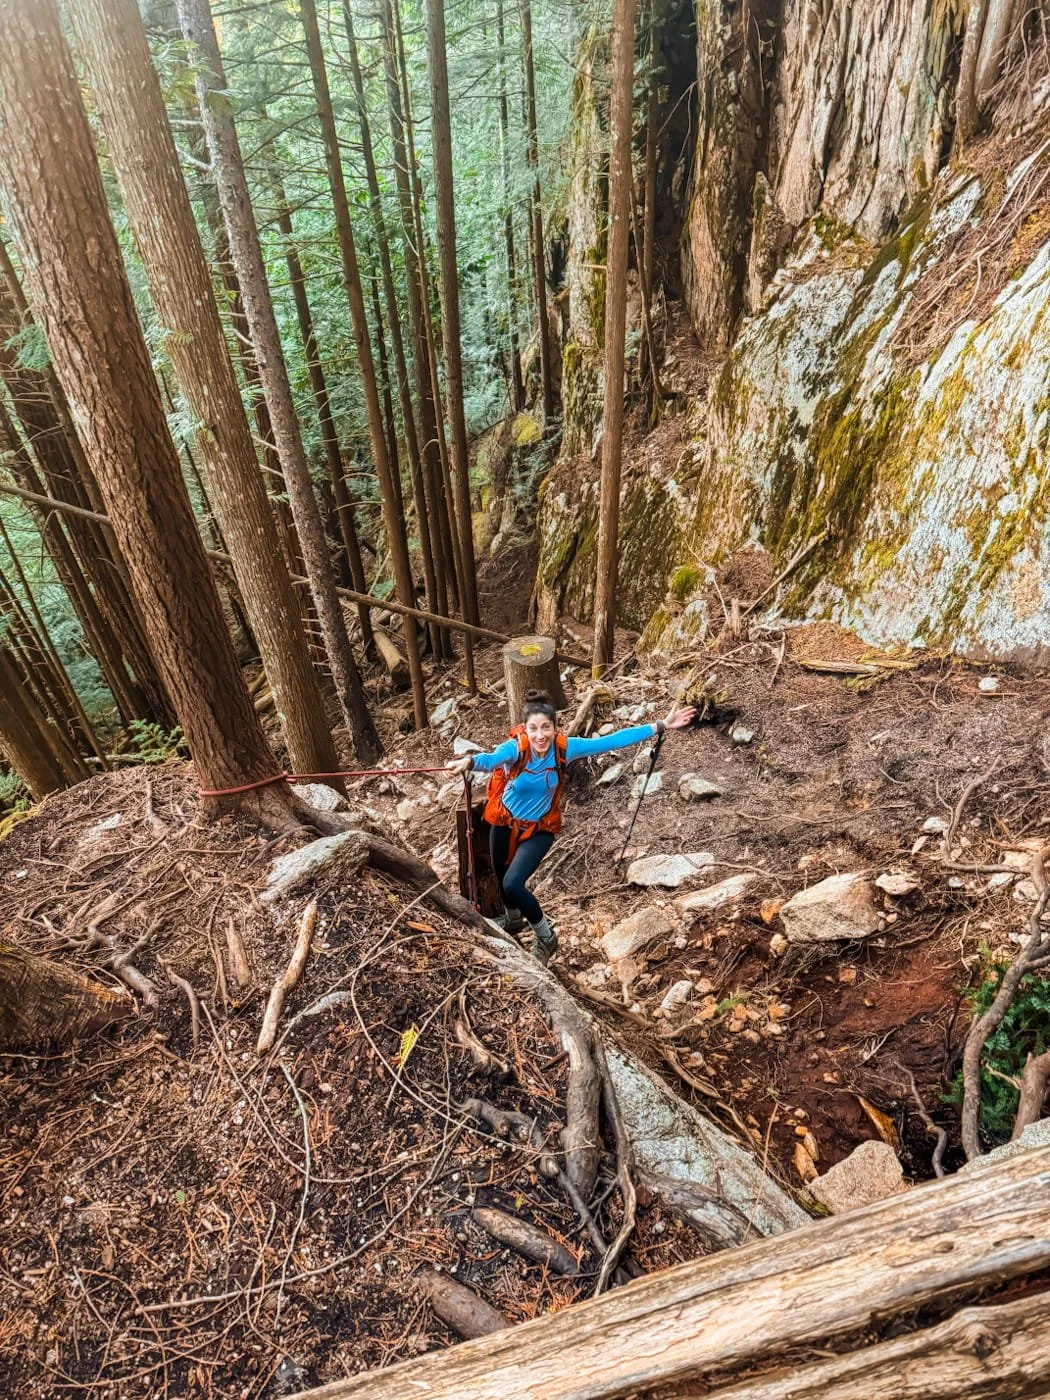
If you visit during the winter or after a heavy rain, also be ready to have some running water in spots along the trail (you can still hike this in the winter, we did in January, but be prepared for patches of snow along the way and once you reach the top).
As you climb, you’ll be rewarded with views of downtown Squamish and the Howe Sound below. The trail is shaded the majority of the way, but as you near the summit, the forest starts to thin in some spots. You’ll certainly notice the change on a hot sunny day.
A Few Notes on The Climb:
We definitely recommend you pack trekking poles to help with the climb up and be ready to sweat!
There are no reliable water sources along the trail so be sure to bring 1-2 liters of water. You can refill at the Gondola summit.
This trail can be quick for fast and fit hikers, but may take others longer depending on your fitness level. Expect 2-4 hours on average.
The trail forks are well marked with diamond blazes and signage.
Sea to Summit Trail
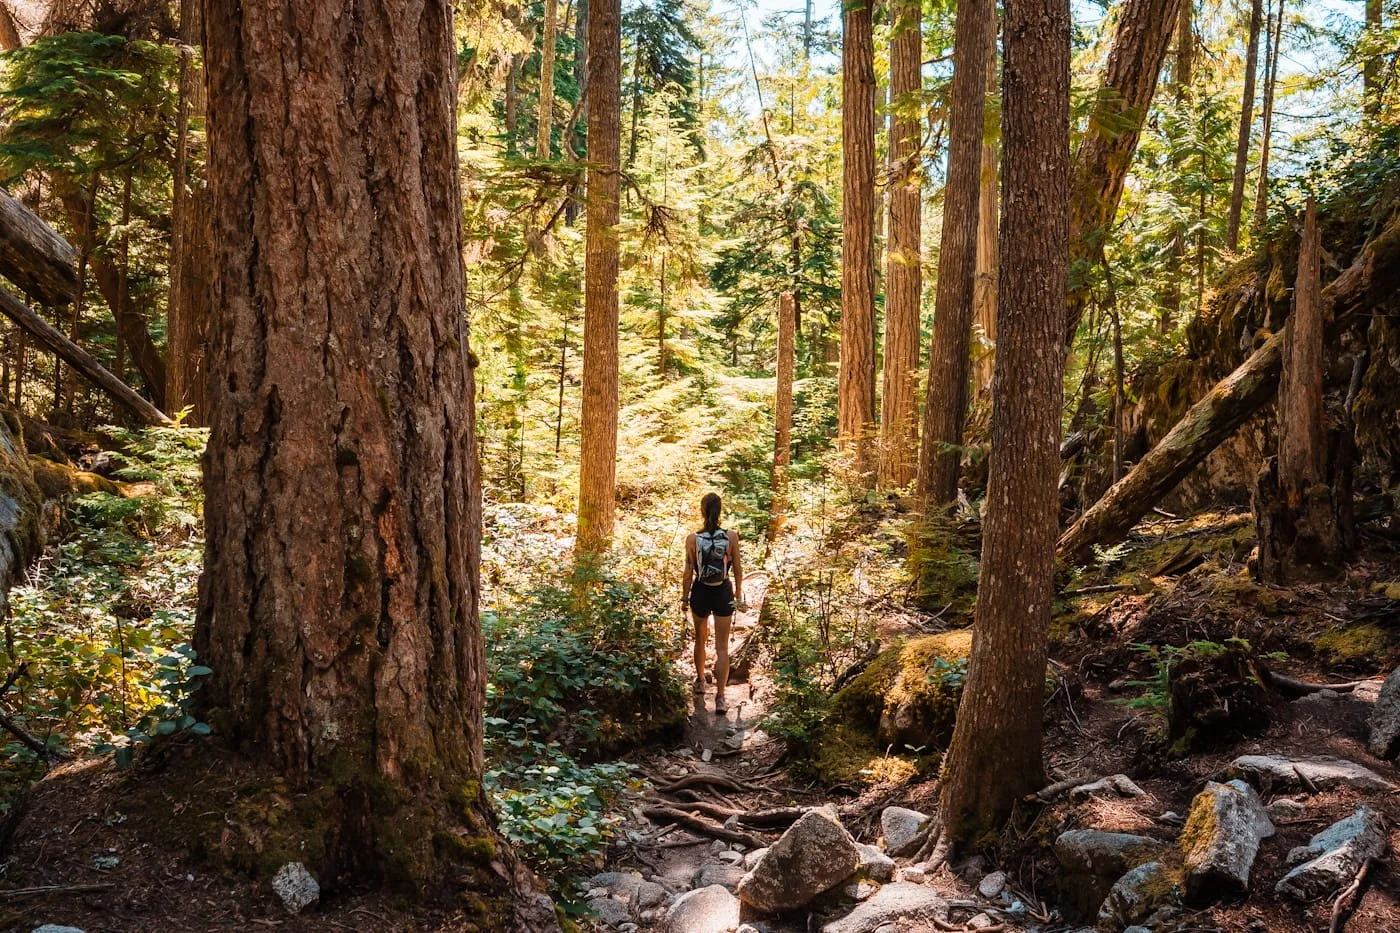
One of the few flat sections along the Sea to Summit Trail
Distance: 5.6 km (3.5 miles) | Elevation Gain: 924 m (3,031 feet)
The Sea to Summit Trail shares the same trailhead with The Climb but takes a longer and generally more gradual trail to the summit. That said, this trail still has plenty of steep sections and it’s more of a marathon than a sprint to the summit!
The trail starts by linking up with the Chief Trail and climbing up a very steep section of stairs. The trail eventually forks off to the right and traverses across a valley back towards the Gondola. The trail then crosses The Climb as it goes straight up the hill slope. Note you do have the option to start The Climb and then also link up with the Sea to Summit Trail at this point.
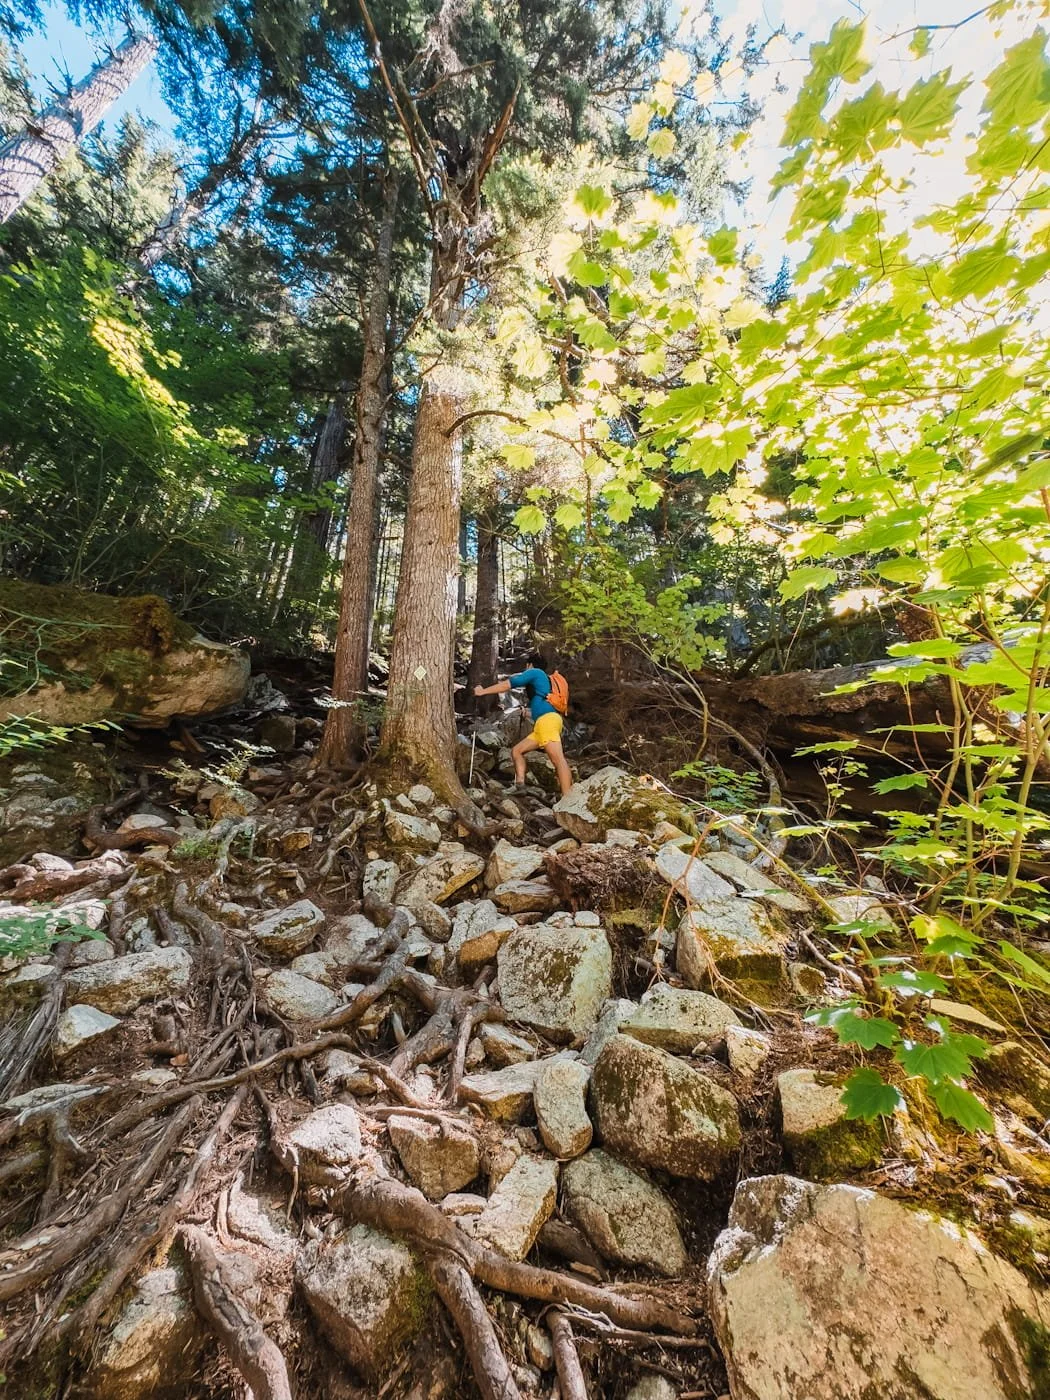
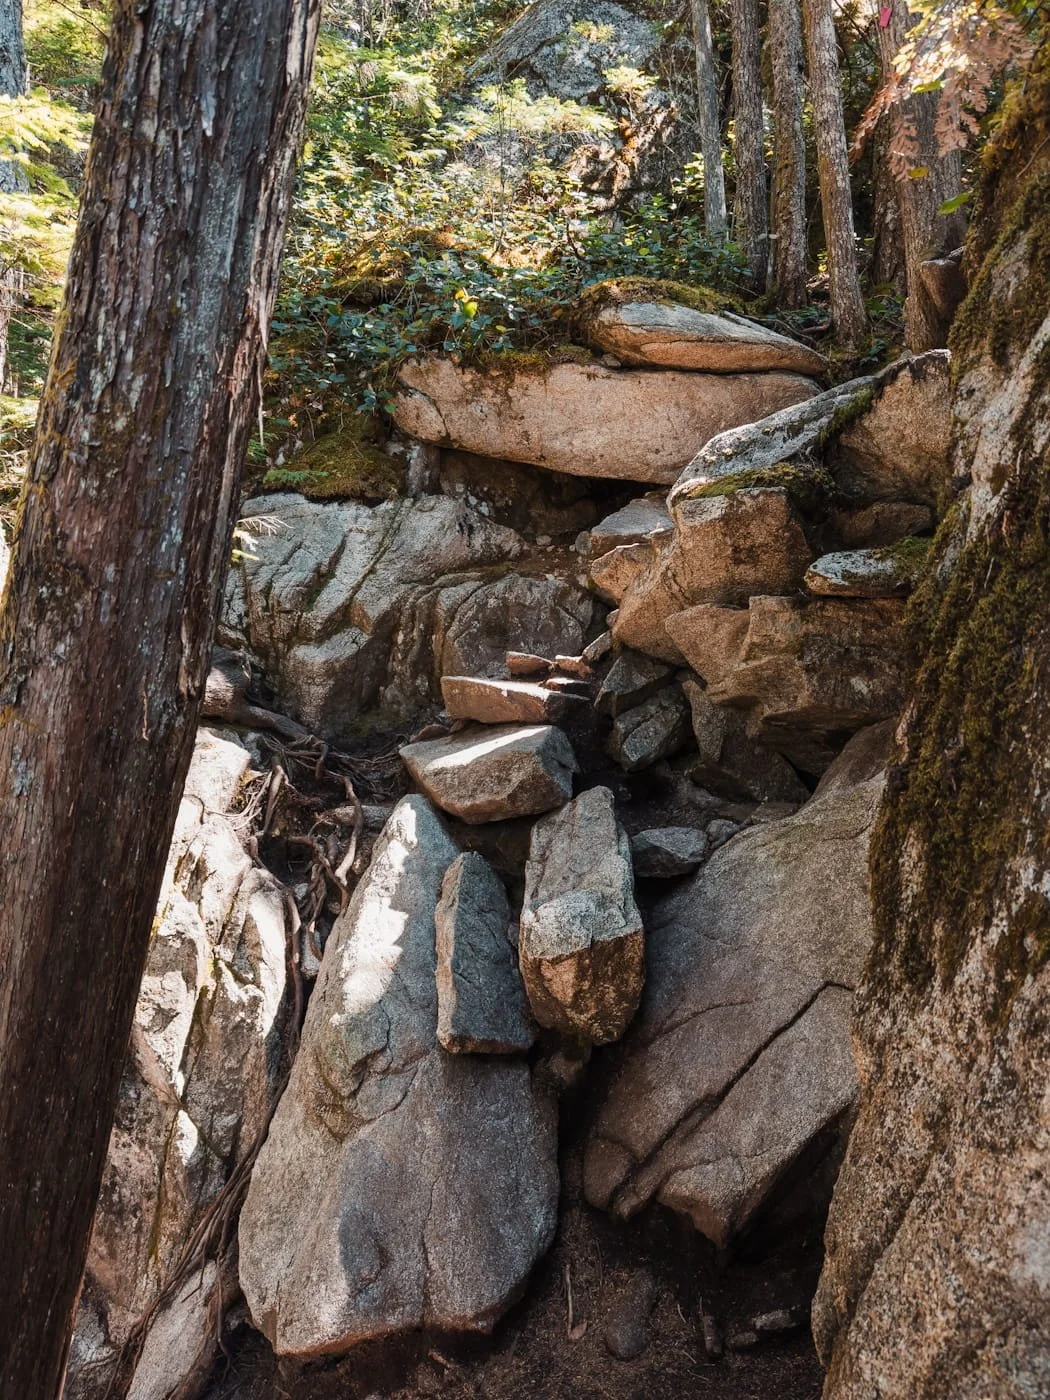
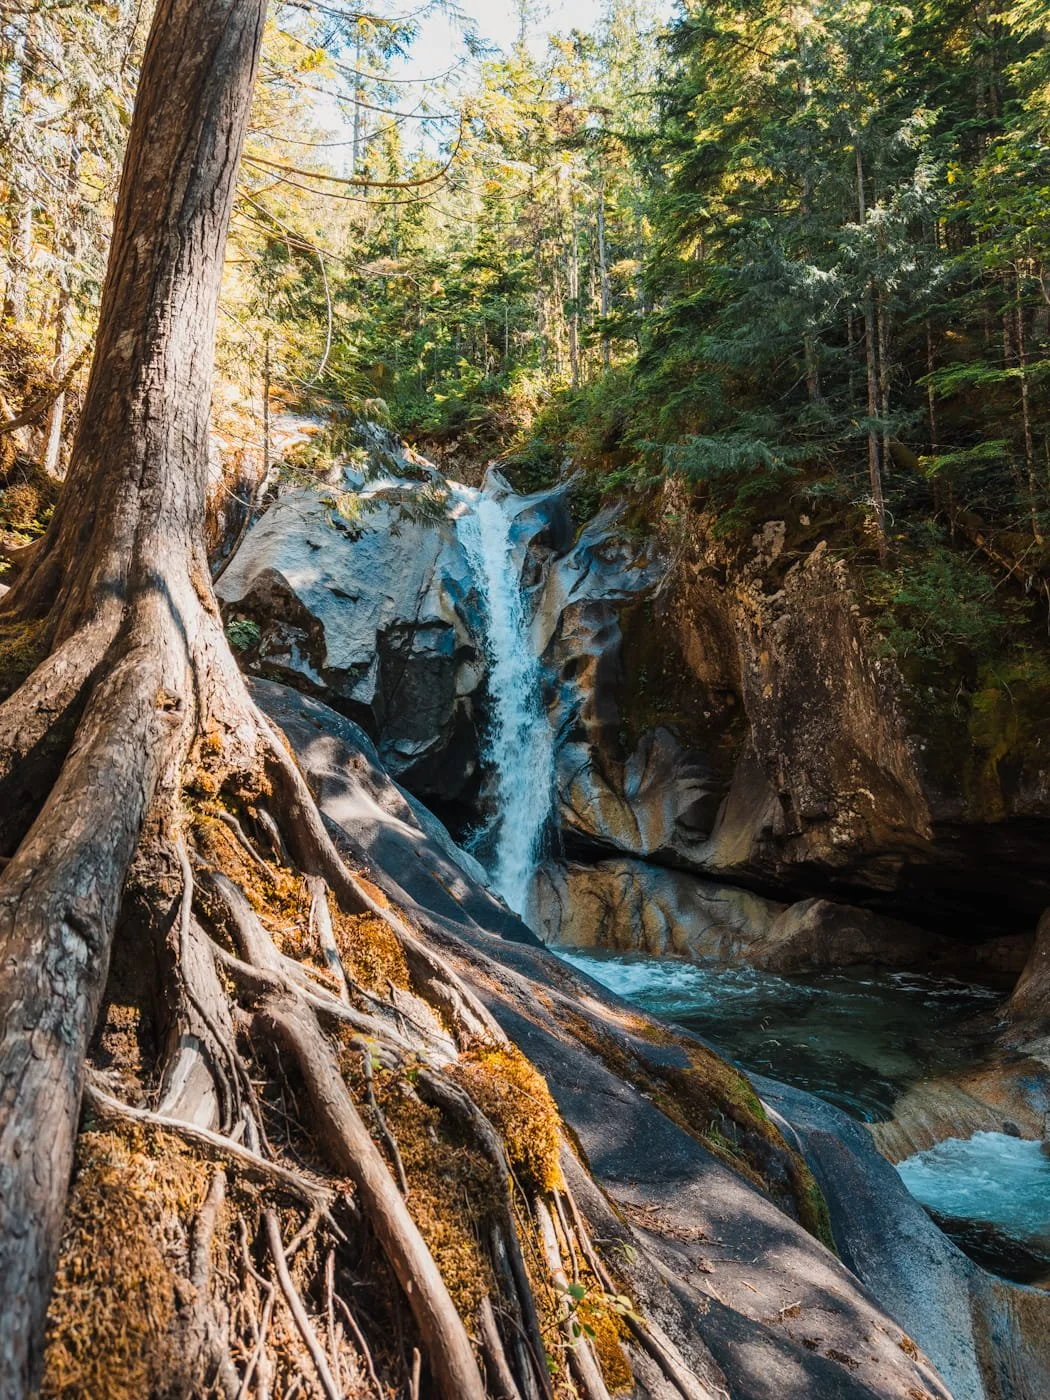
From here the trail climbs up with some chains and then traverses the hill slope, before descending a little to meet up with the upper section of Shannon Falls. This is a great spot to stop for a quick break, a swim on a hot day, or to just stop and enjoy the view before continuing on. If you do swim, be careful of swift water near the fall and keep children/pets close.
Soon you’ll encounter a short section with a very short hand line along a rock slab and you’ll be rewarded with additional views of the area below.
Then the trail continues up and traverses back towards the gondola where it meets up again with The Climb trail. Continue along The Climb trail up until you reach the summit, or continue farther onto the Shannon Basin Loop (easier and relatively flat along a forest road) to Wonderland Lake and then on to the Sea to Sky Summit Lodge.
A Few Notes on the Sea to Summit Trail:
We also recommend you bring trekking poles to help with the elevation gain on this trail as well.
There are a few reliable water sources along the trail (where you pass Shannon Falls) but it’s generally easier to just take 1-2 liters of water with you from the base and refill at the Gondola summit.
This is the longer trail by both time and distance, typically taking 3–5 hours, so pace yourself for a multi-hour effort even though the grade feels more manageable than The Climb's.
The trail and forks are well marked with diamond blazes and signage.
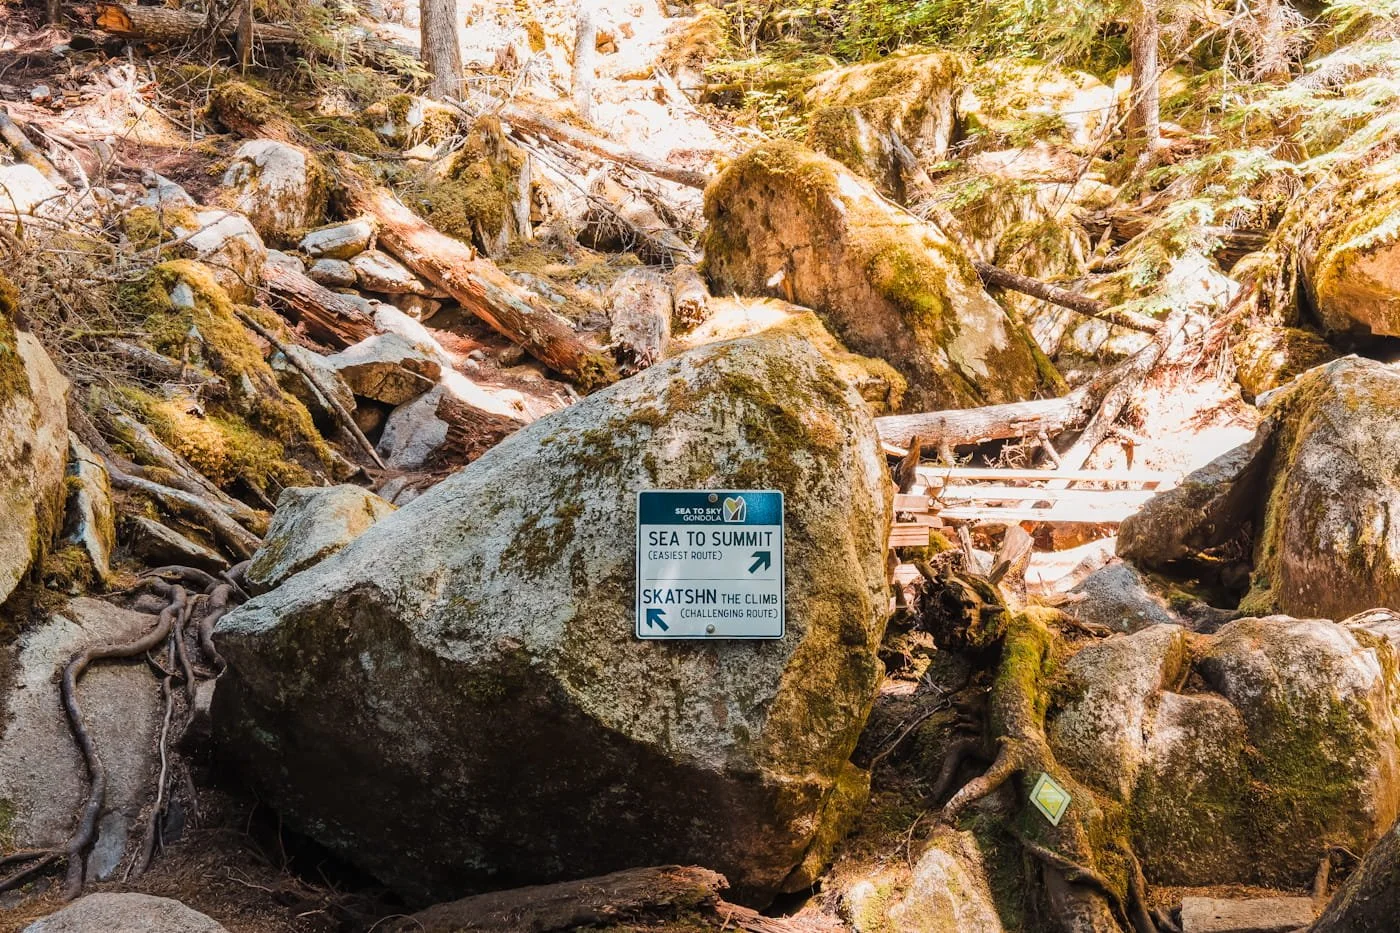
The trails intersect and fork off part way through the hike.
Comparing The Climb vs. Sea to Summit Trails: Which Should YOU Hike?
If you want the shortest possible route to the summit and don't mind a steep, technical grind, The Climb is the better pick. It's over in a fraction of the distance, though the sustained steepness and scrambling make it feel harder.
If you'd rather have a longer, more varied hike with a gentler average grade and a couple of scenic stops along the way, the Sea to Summit Trail is the one to choose. It takes more time and covers a lot more ground even if the total effort ends up fairly similar.
Or better yet, hike them both on different days. We chose to hike The Climb in January and were treated to snowy mountain views at the top, and then we did the Sea to Summit trail in July, which was awesome to get to see Shannon Falls. Honestly, we would do each again, and really do recommend both options.
The Climb (Skatshn) vs. Sea to Summit Trail Comparison
Sea to Summit — 5.6 km (3.5 mi)
Sea to Summit — 924 m (3,031 ft)
Elevation Profile: Gondola Trailhead to Summit
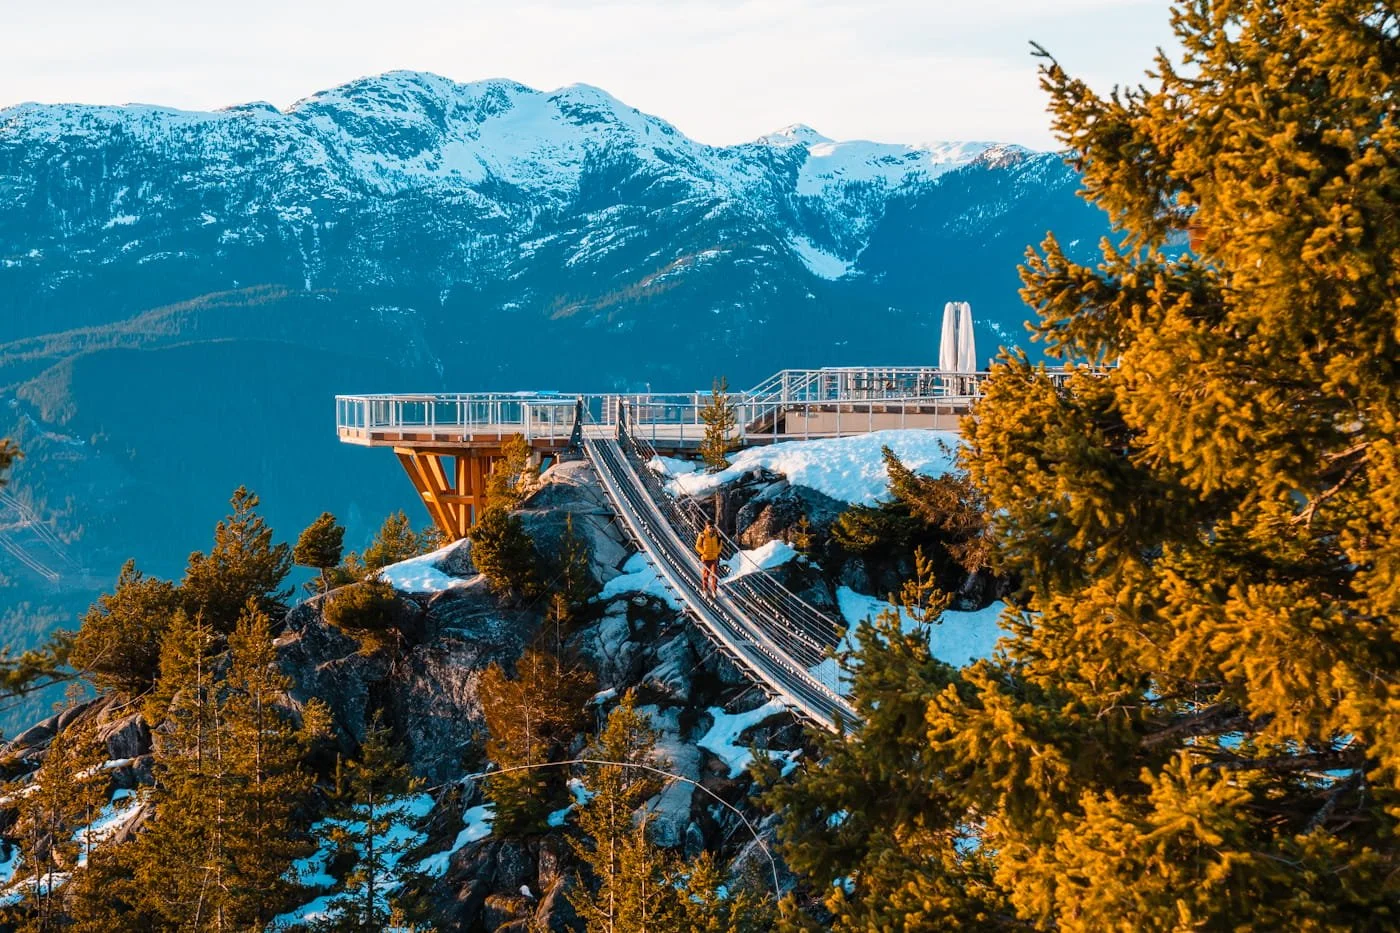
Sky Pilot Suspension Bridge at the summit
Seasonal Trail Conditions & Considerations
The trail and Sea to Sky Gondola are open year round but conditions and operations times vary. The best time is going to be the summer months with longer daytime hours, summit events (concerts and dinners) and gorgeous views. Though we honestly loved hiking up in the winter and getting to see all the mountains with snow on them and a lot less crowds at the top.
Below is a comparison and our recommendations for each season.
| Season | Conditions | Recommended Gear | Recommendation |
|---|---|---|---|
| Winter December – February |
|
|
Both trails stay open, but this is for experienced hikers only since your daylight window is shorter. Check current trail conditions and the gondola's winter hours before you go. |
| Spring March – May |
|
|
Conditions swing widely this time of year. Check current trail conditions before you go. |
| Summer ★ Top Pick June – August |
|
|
This is the best window for both trails with drier conditions and the longest gondola hours to work with. |
| Fall September – November |
|
|
A quieter time on both trails if the weather cooperates. Check current conditions and the gondola's fall hours before you go. |
Additional Weather & Trail Resources to Check Before Your Trip
Environment Canada Point Forecast - Detailed hourly and 7-day forecasts, including sunrise/sunset times for the area.
Sea to Sky Gondola Webpage - Official schedule, ticket purchase and pricing information
Sea to Sky Gondola Daily Conditions Page - Updates on summit weather, trail conditions and summit activities.
BC Wildfire Service Dashboard - Official page for wildfire updates and evacuation orders
FireSmoke.ca - Wildfire smoke dispersion forecasts for BC and Canada
GaiaGPS Route - Our downloadable hiking route to the summit for both routes
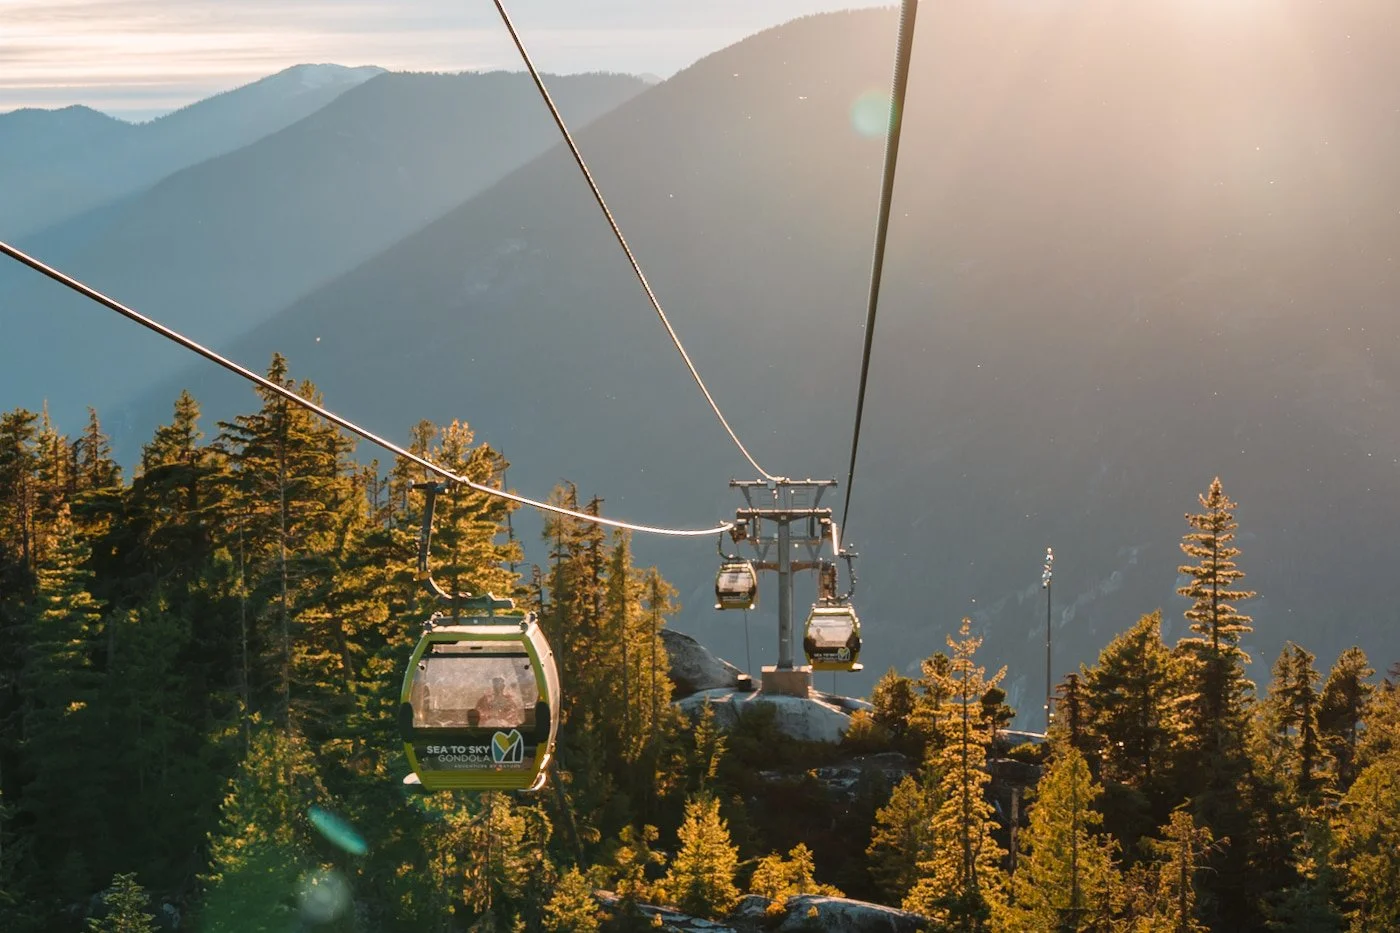
Thrilling sunset views riding the Sea to Sky Gondola down
Sea to Sky Gondola Ticket Pricing & Pet Policy
Since this is a unique hike to the top of a gondola, there are some key things beyond a standard hike that you should know about ticket pricing (to get down), pet restrictions, and what else you can do once you reach the summit. Like we said before, we highly recommend hiking up and taking the gondola down, which means you will want to purchase your ride down ticket in advance to save a little money.
Gondola Ticket Pricing
Since you're hiking up and riding down, you don't need a full round-trip Day Lift Ticket. The Ride Down Only ticket costs $19 CAD purchased online in advance, or $25 at the ticket window, both are per person, regardless of which trail you hiked up. If you plan to hike with a dog, be aware that there is a dog ticket to take them down the gondola with you (see pricing below).
We included all the pricing here in case some members of your party want to ride up the gondola and meet you at the summit.
| Ticket Type | Window Price | Online Price |
|---|---|---|
| Ride Down Only | $25 | $19 For hikers riding down after a one-way hike up |
| Dog Ride Down Only | $19 | $19 Dogs can't ride up, only down |
| Adult (19–64) | $81.95 | $73.95 |
| Senior (65+) | $76.95 | $68.95 |
| Youth (13–18) | $51.95 | $43.95 |
| Child (6–12) | $37.95 | $29.95 |
| Family (2 Adults + 2 Child/Youth) | $191.95 | $165.95 |
| Child (5 and Under) | Free | Free We don't recommend this hike for children |
Dog Tickets & Pet Policy
Dogs are allowed on both The Climb and the Sea to Summit Trail while hiking, but they are not allowed on any of the trails at the summit. So if you want to experience more of the summit trails at the top or head into the lodge, we don’t recommend bringing them along.
Here's what you need to know about hiking with your dog and getting them back down:
- Dogs are not permitted to ride the gondola up. Hiking up a trail is the only way for your dog to reach the summit.
- Dogs can only ride down the gondola. Purchase a Dog Ride Down Only ticket online at the base or at the summit ($19 CAD).
- Dogs can be off-leash on the trail itself. They must be under control and not disturbing other hikers and be leashed at the trailhead, in the parking lot, at the summit, and while boarding the gondola. Also leash them or watch them closely near the swift water of Upper Shannon Falls.
- At the summit, dogs are restricted to the designated Dog Parking area. The Dog Parking area has shade, picnic tables, and water bowls. Dogs are not allowed on the Sky Pilot Suspension Bridge, the Summit Lodge Viewing Deck, other viewing platforms, or the summit's easy front-country trails (Panorama Trail, Spirit Trail, Wonderland Lake Loop).
- Clean up after your dog. Waste bins are available at the trailhead and summit.
- Read the Full Sea to Sky Gondola Pet Policy on their website.
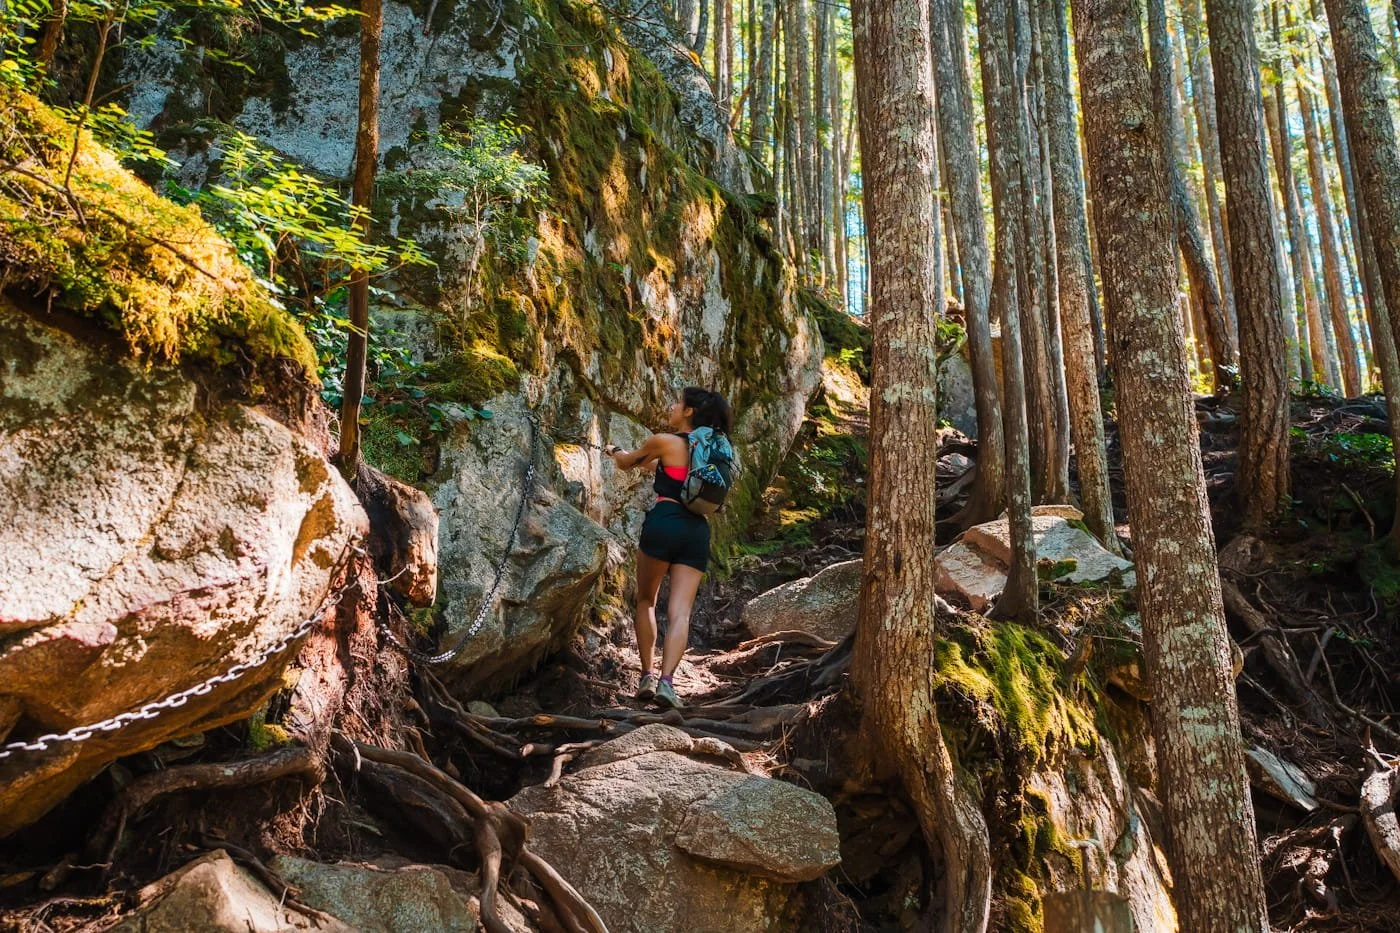
Chain hand lines along the Sea to Summit Trail
Leave No Trace While Hiking to the Sea to Sky Summit
Both The Climb and Sea to Summit see heavy traffic since they end at a major gondola attraction, so Leave No Trace habits matter even more here than on a quieter backcountry trail (though you should always follow them on every hike).
- Plan ahead and prepare. Check the gondola's Daily Conditions page and current hours before you go, and know the last ride down time so you're not caught rushing off-trail at dusk.
- Stick to the trail. Both routes climb steep, eroding terrain with ladders, hand lines, and switchbacks. Cutting switchbacks or stepping around muddy sections widens the trail and accelerates erosion — stay on the marked tread even when it's crowded.
- Dispose of waste properly. Pack out all trash and food scraps, including fruit peels and cores. Waste bins are available at the trailhead and summit, but pack it out yourself if a bin is full. This goes for dog waste too.
- Leave what you find. Leave rocks, plants, and any historical or cultural features exactly as you found them for the next hiker.
- Minimize campfire impacts. Not really a concern on a day hike like this one, but skip any open flame on the mountain — both trails run through dry forest that's prone to wildfire in summer and fall.
- Respect wildlife. Watch any wildlife from a distance and never feed it. If you're hiking with a dog, keep it under control and leashed where required, especially near other hikers and at the summit.
- Be considerate of other visitors. Both trails and the summit get busy with gondola day-trippers alongside hikers. Yield to hikers heading uphill, keep noise down, and take turns on narrow ladder and hand line sections rather than crowding them.
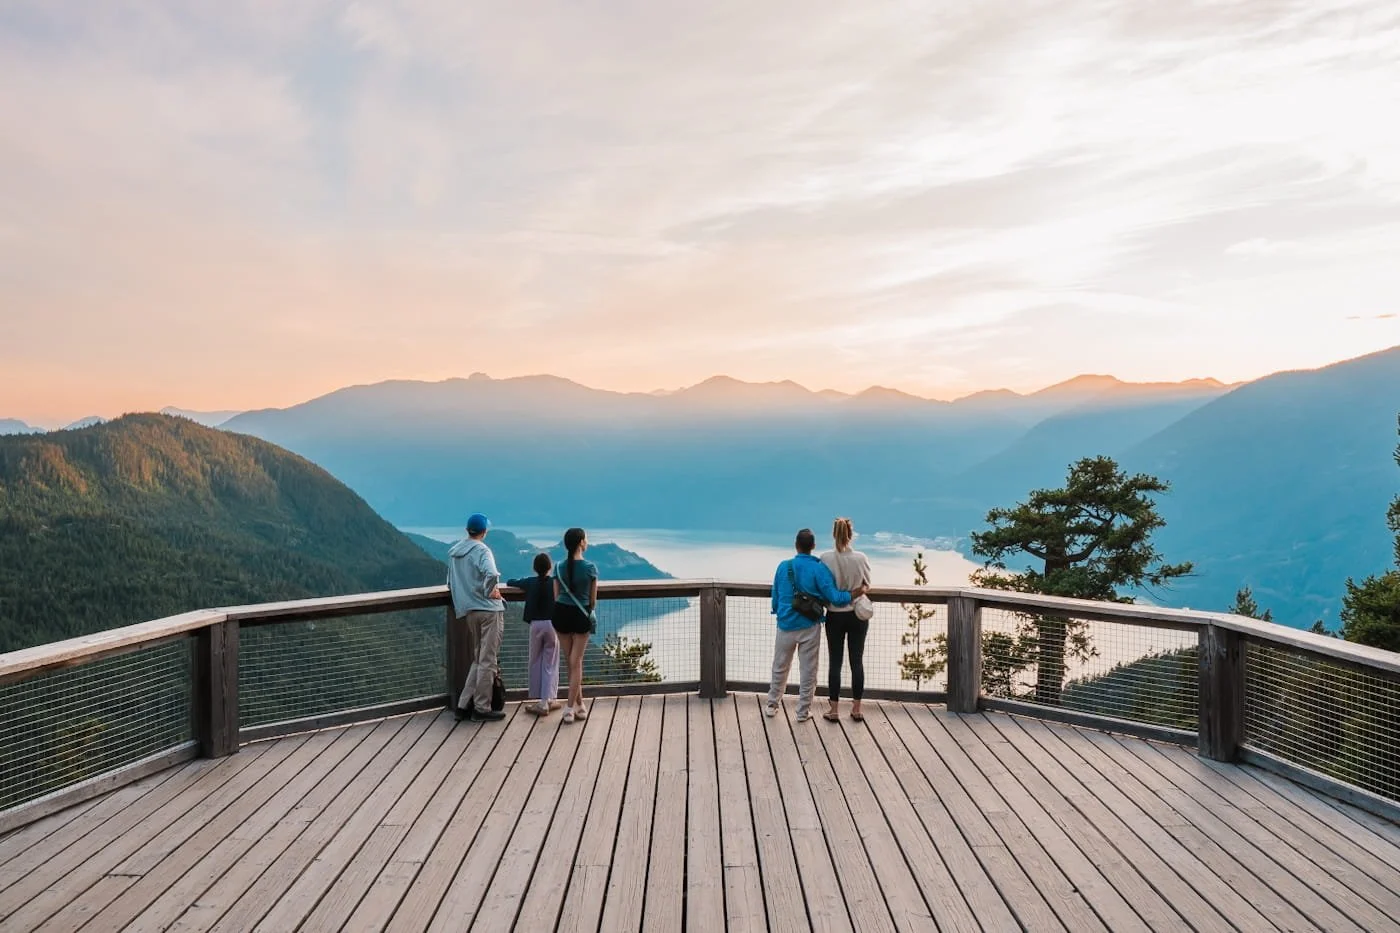
Viewing deck at the other end of the bridge at the summit
What to Do at the Sea to Sky Summit: Trails, Viewpoints, & Amenities
Once you reach the top, whichever trail you took, there's plenty to see beyond just catching your breath. Depending on the season, time of day and even day of the week there could be live music (Friday nights in the summer), yoga (mornings during the summer), food and drinks at the Sea to Sky Summit Lodge, and plenty of expansive views along short trails to viewpoints.
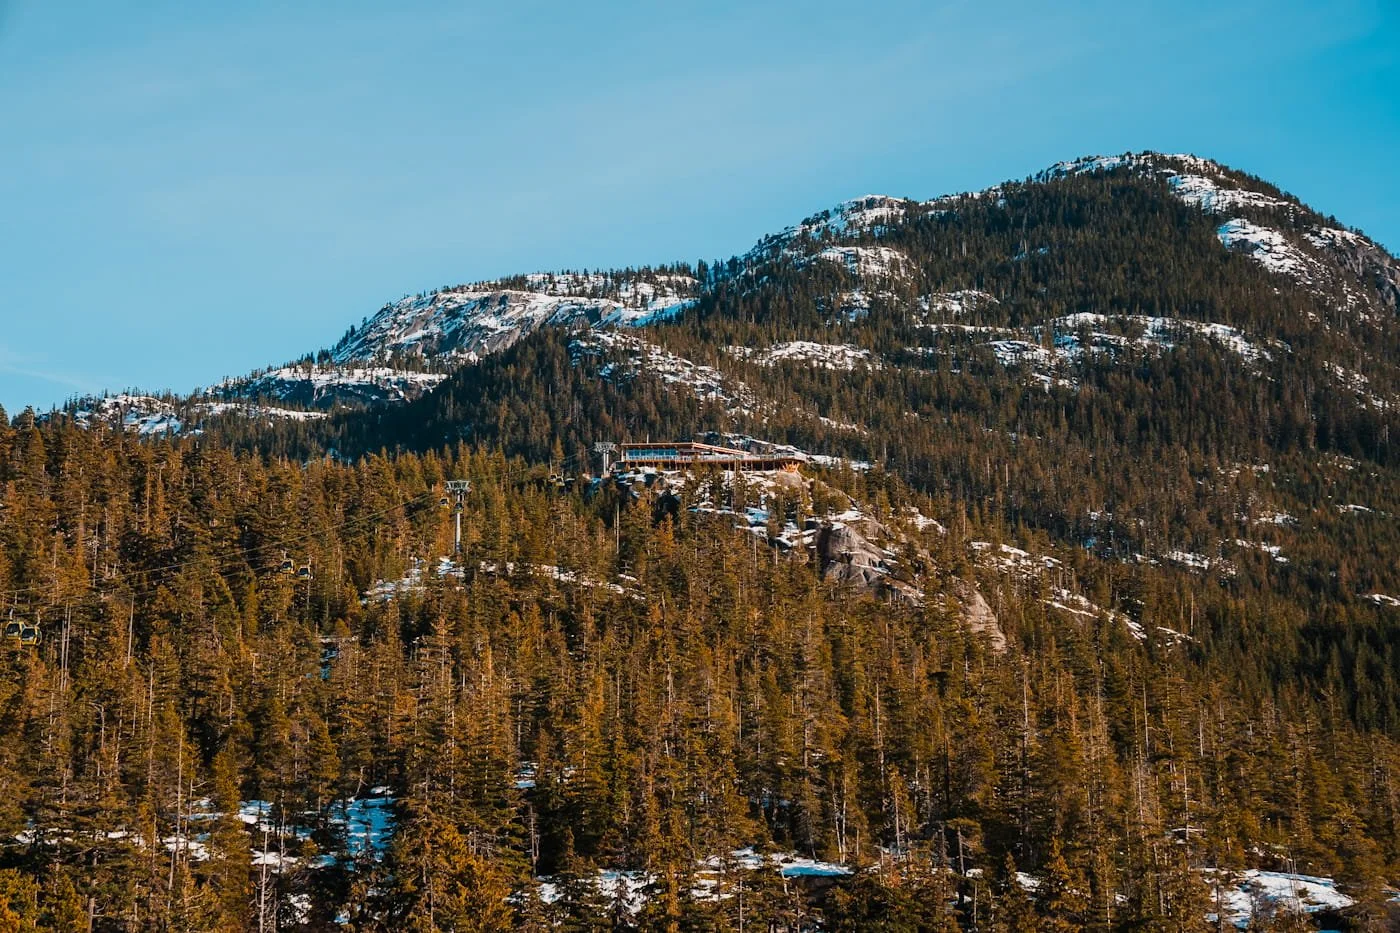
The Sea to Sky Gondola and Summit Lodge
Visit the Sea to Sky Summit Lodge
The Sea to Sky Summit Lodge is the hub of everything at the top, with a large viewing deck, a gift shop, and a couple of dining options including the Sky Pilot Smokehouse, Co-Pilot Cafe, and Edge Bar. It's a good spot to refuel after a steep climb before exploring further.
There is a water refill station in the main cafeteria area and bathrooms on the ground floor. If you’re looking to time your visit, definitely check the events calendar for their Mountain Music series and Taste of the Summit events.
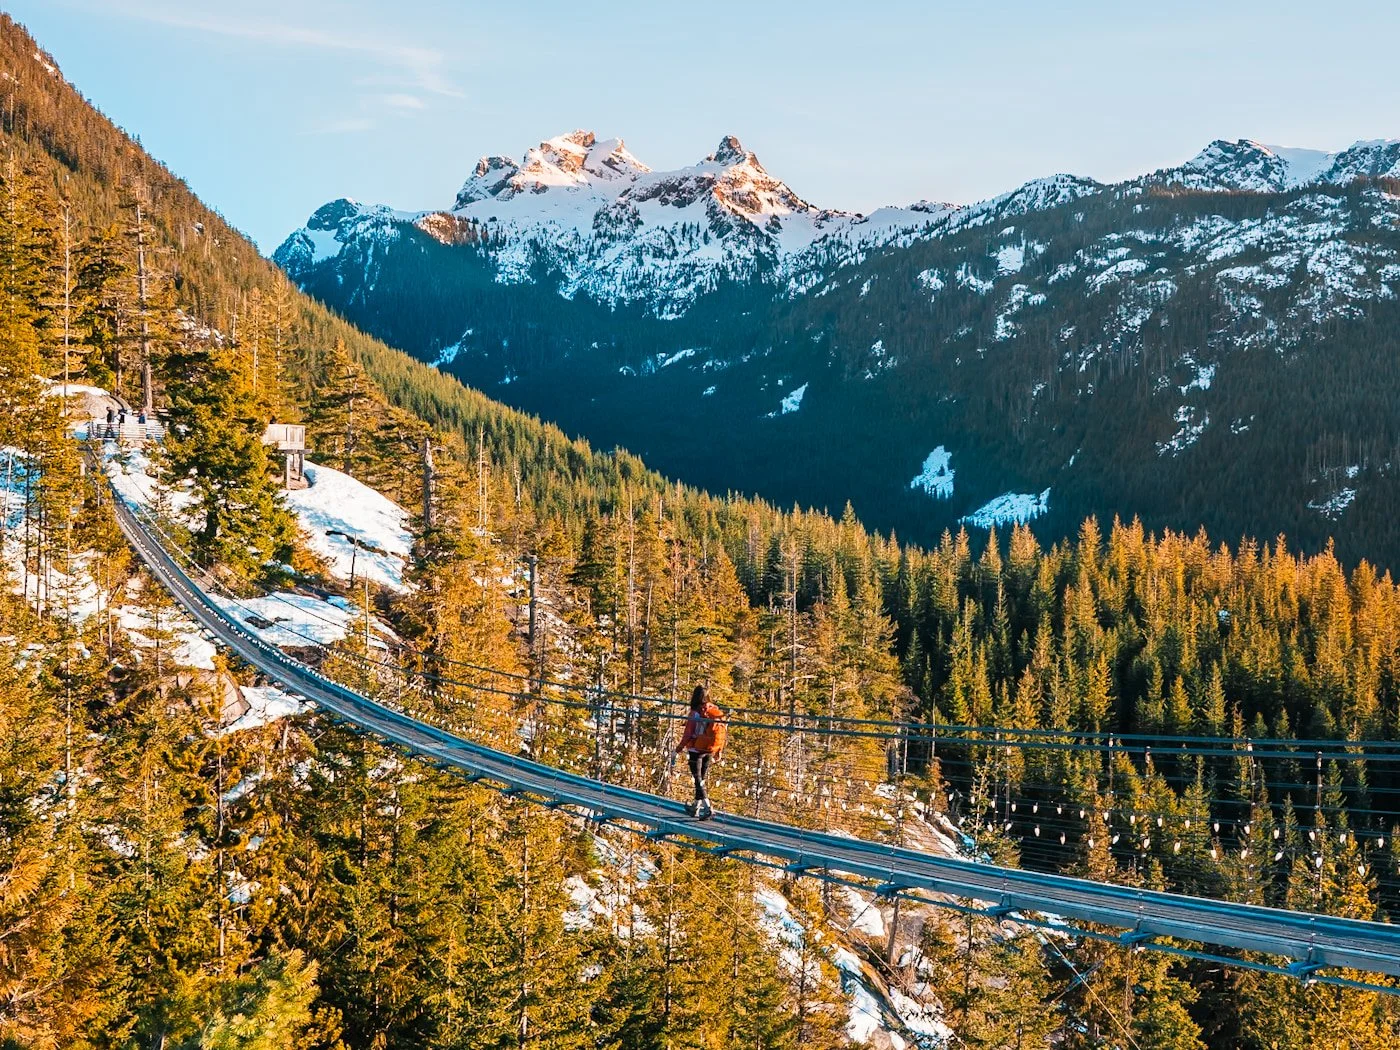
Sky Pilot Bridge with views of Sky Pilot Peak
Walk Across the Sky Pilot Suspension Bridge
One of the most photographed features at the summit, the Sky Pilot Suspension Bridge stretches around 100 meters and connects the Sea to Sky Summit Lodge area to the Spirit Viewing Platform on the other side. We especially love to stick around for sunset to capture photographs with fewer people and enjoy the alpine glow from the bridge.
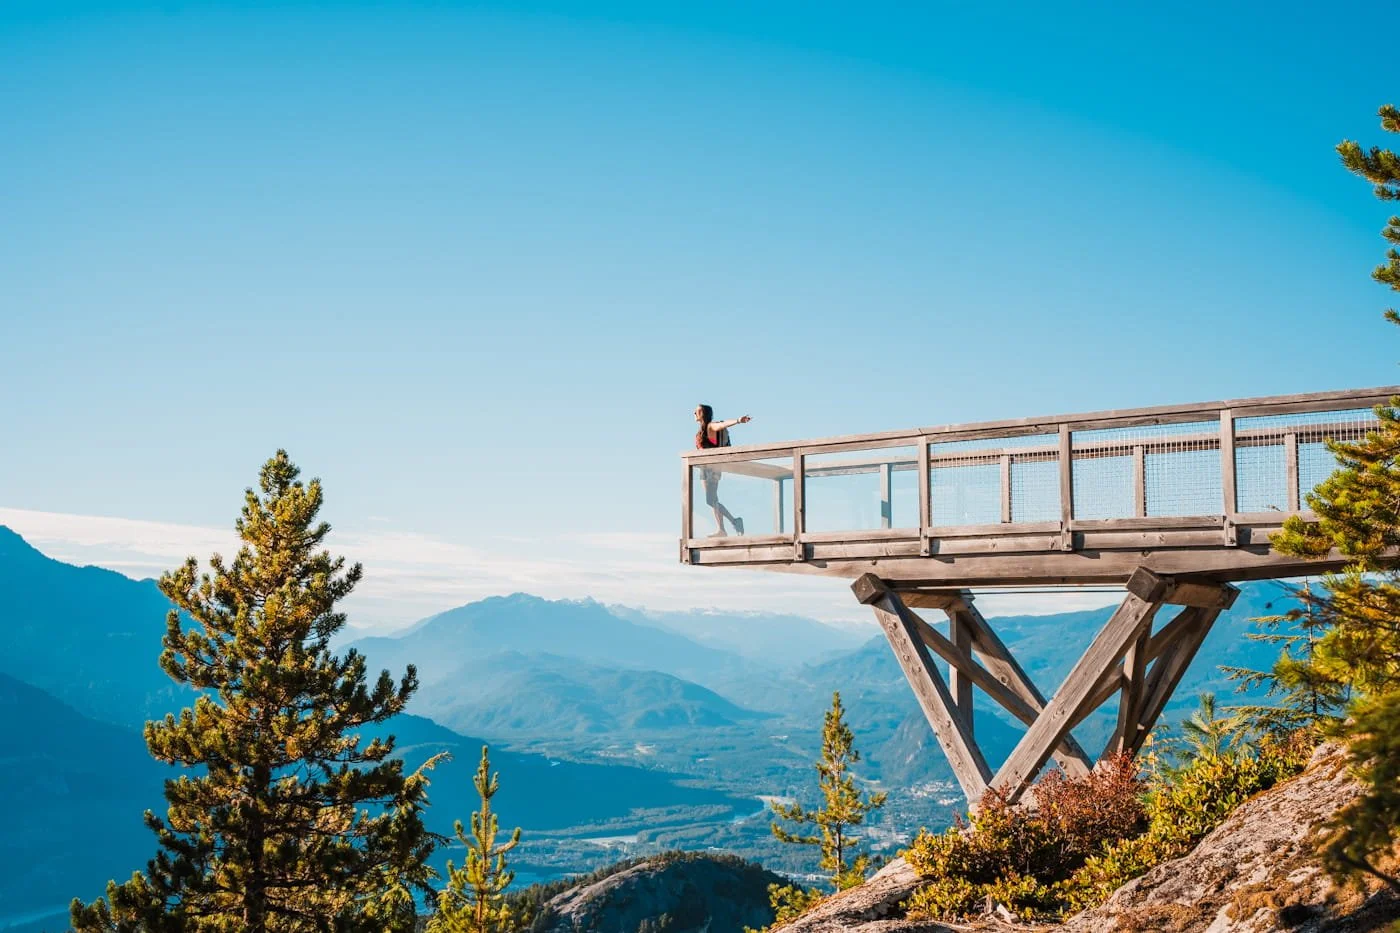
Chief Overlook viewpoint along the Panorama Trail
Hike the Panorama Trail
Our favorite loop hike at the summit, and an easy 1.6 km loop through old-growth coastal forest, connecting the Sea to Sky Summit Lodge to the Chief Overlook Viewing Platform. This very short walk includes a couple stunning view points that are some of the most scenic parts of the Sea to Sky Summit area.
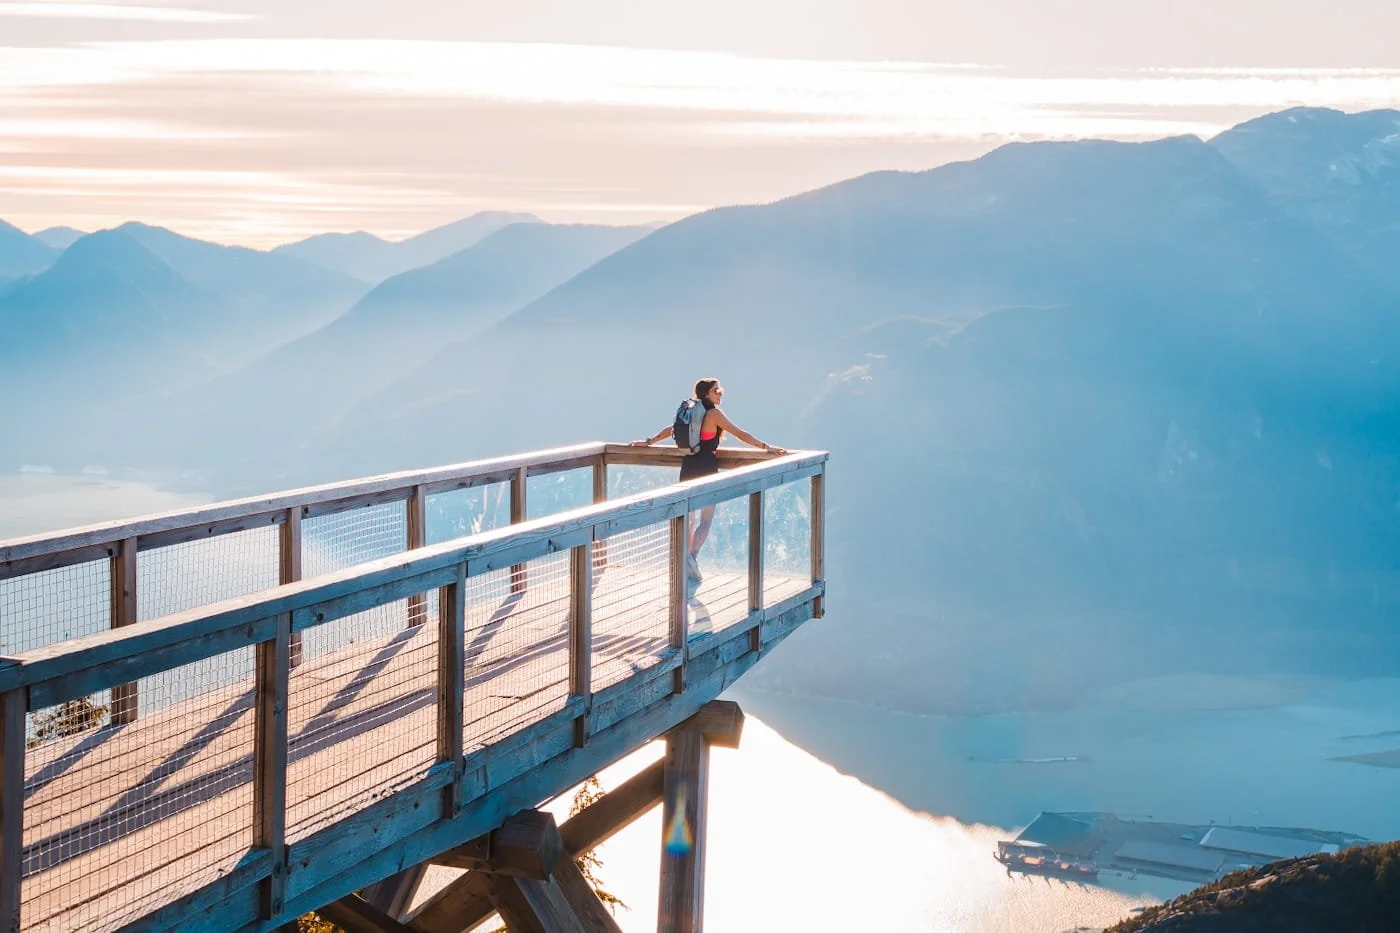
Taking in the big views from the Chief Overlook viewpoint
What to Pack for Hiking to the Summit of the Sea to Sky Gondola
For every day hike, it's important to pack the necessary gear to have a fun and successful hike. Unfortunately we see a lot of people on both of these trails without packs, carrying nothing but a phone or a bottle of water in their hand. Don’t do this, make sure to be prepared for your hike. These trails climb fast, so it's worth having the capacity to carry your hiking essentials.
Below we're listing a lot of what we recommend you carry for these two hikes, but for a more comprehensive packing list, check out our Day Hike Packing Guide for a very in-depth list on what to pack for every hike.
Day Hiking Pack
Daypack (15–30L): Enough room for water, extra layers, and food. We actually love hiking with 15L trail running packs like the Hyperlite Pemi or Osprey Daylite packs for short day hikes like these, but if you prefer a little larger of a pack with more storage options, we like the Gregory Jade (women’s) or Zulu (men’s) packs. A hip belt also matters more than usual here since it keeps your hands free for the hand lines and ladders on The Climb.
Navigation & Safety
Navigation App: We use GaiaGPS to download and view the trail track before and during the hike. It works fully offline, no cell service needed, as long as you download the map area before you leave service. We've mapped both routes for you.
Satellite Communicator: As a safety best practice, we always carry our Garmin InReach Mini 3 for SOS capability and backcountry messaging. That said, you should have cell phone service throughout this entire hike.
Headlamp: Between an early start and time spent lingering at the summit, there's a real chance you're hiking out closer to the gondola's last ride down than planned. We keep our ultralight Nitecore NU25 or super fast charging Biolite Range 500 in the pack for exactly that.
Basic First Aid Kit: A small first aid kit covers you for blisters, cuts, and the other minor stuff that tends to show up on longer hikes.
Footwear & Trekking Poles
Hiking Boots or Trail Runners: We hike most trails (both of these included) in trail runners and are very used to them, even on backpacking trips. Trail runners are great during the summer and drier stretches of weather but if you’re visiting during the winter or after a heavy rain hiking boots will be a better choice.
Trekking Poles: With a long, steady climb and steep terrain on both routes, your knees will thank you. We prefer collapsible or Z-style poles for day hikes since they pack down small when you don't need them — useful on The Climb, where you'll want your hands free for the ladders and hand lines anyway.
Hydration & Water
Hydration Bladder or Bottle Storage: Whether you carry a water reservoir or bottle, make sure you have 1–2 liters of water at minimum.
Water Filter: The Climb has no reliable water source, so carry everything you'll need there. The Sea to Summit Trail crosses several creeks where you can top up if you don’t want to carry your water. Our go-to for quick refills is the Katadyn BeFree 1L.
Sun & Weather Protection
Sun Hoodie: Both trails have exposed stretches, especially near the summit above the treeline, so a sun hoodie earns its space in the pack here. We're fans of the Outdoor Research Astroman Air Hoodie, and we go deeper on options in our best sun hoodies for hiking guide.
Extra Layers: Weather shifts when moving from sea level to a mountain summit. A lightweight and packable rain jacket is helpful to pack if there is a small chance of rain. We also toss in a fleece mid-layer or light jacket.
Sunscreen: A good sweat-resistant sunscreen is important while hiking, our favorite is Dermatone Sport Sunscreenbecause it's lightweight and made for active days (use code SKYE15 for 15% off on Dermatone’s website).
Bug Protection
Bug Spray: Mosquitoes show up in the forested sections of both trails, especially near Sea to Summit's creek crossings, so don't skip this one. A DEET or picaridin-based spray works well on the trail.
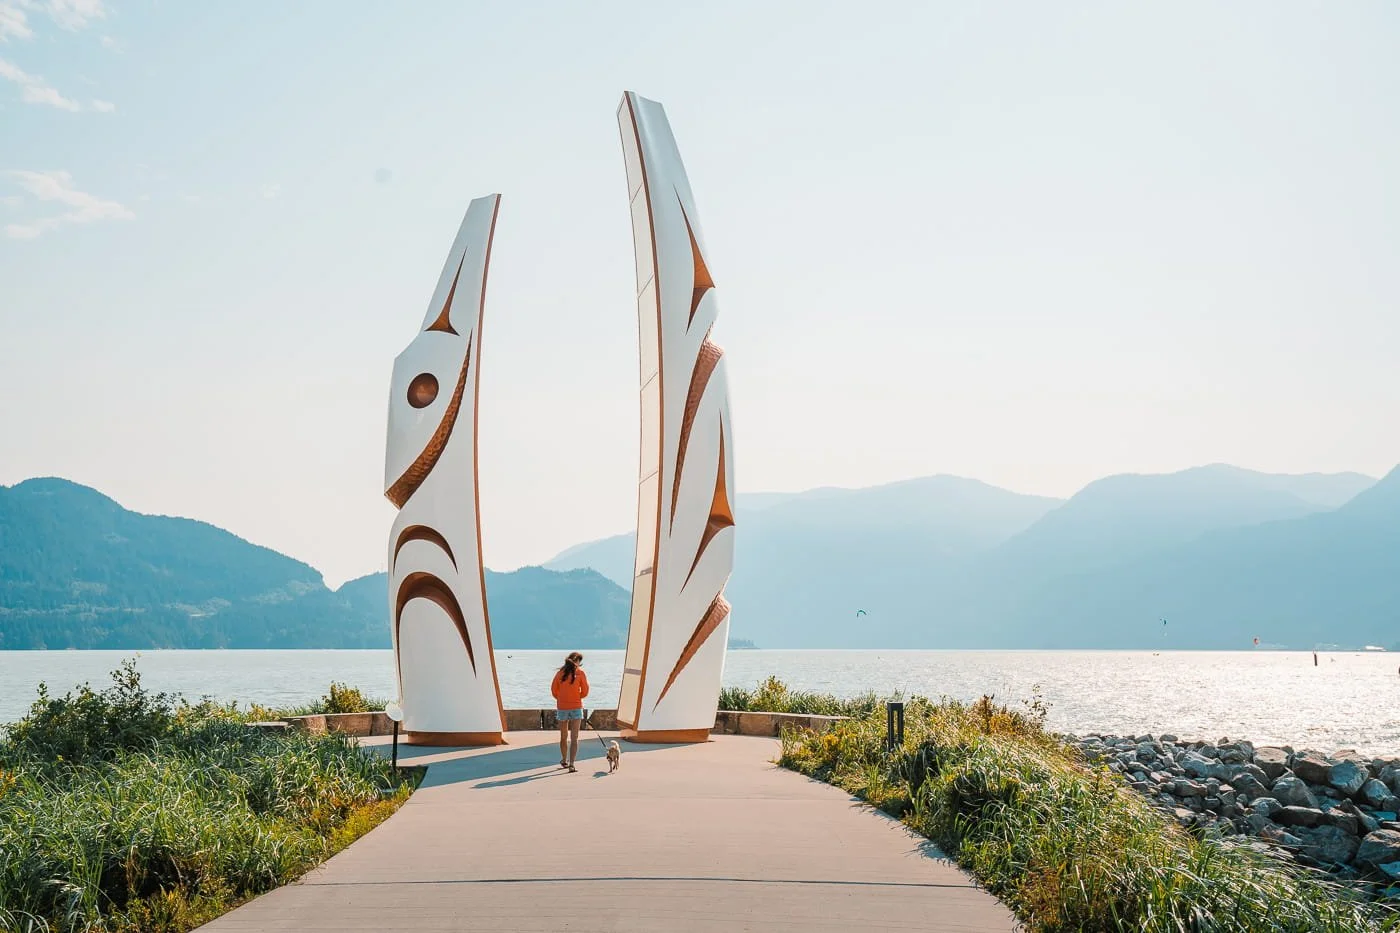
Sp’akw’us Feather Park in Squamish
Where to Stay in Squamish, BC While Hiking the Sea to Sky Trails
There is a wide range of hotel options in the Squamish area, from cute boutique hotels, adventure hostels, and even campgrounds. We spend months in Squamish each year and are normally in our van, so camp at campgrounds in the area, but we also love staying at the Howe Sound Inn, which is right in downtown Squamish, and you can’t beat their restaurant and brewery connected to the inn.
No matter where you stay, you’ll want to book early and expect higher rates during the peak summer season.
Our Top Picks for Hotels in Squamish
Howe Sound Inn & Brewing Company: The best of the best, the Howe Sound Inn is walkable to all of downtown Squamish and features an attached brewery with great drinks and food. The best rooms face the tall granite walls of The Chief.
Sandman Hotel: Clean, modern and convenient to the edge of town, this hotel offers all the basics of a chain hotel with an extra indoor pool with waterslides. Great for families.
August Jack Inn: Another great downtown Squamish option right along main street. Recently renovated with updated rooms and great views of the surrounding mountains.
Campgrounds in and Around Squamish
Camping is plentiful in the area but it’s very competitive and books up months in advance. The Chief Campground is by far the best location and value if you’re looking to camp near the Sea to Summit Trailhead. Below is a summary of the campgrounds in the area.
| Campground | Public / Private | Average Cost | Amenities | Links |
|---|---|---|---|---|
| Stawamus Chief Provincial Park | Public First-come | $10 per person / night |
|
|
| Alice Lake Provincial Park | Public Reservable | $35 – $51 per site / night (+$8 power) |
|
|
| Porteau Cove Provincial Park | Public Reservable | $29 – $51 per site / night (+$8 power) |
|
|
| Cat Lake Recreation Site | Public First-come | ~$20 per site / night |
|
|
| Squamish Riverside Recreation Site | Public First-come | Free |
|
|
| Klahanie Campground | Private Reservable | $50 – $125 per site / night |
|
|
| Paradise Valley Campground | Private Reservable | $55 – $75 per site / night |
|
|
| MTN Fun Basecamp | Private Reservable | $43 – $65 per site / night |
|
|
| Squamish Valley Campground | Private Reservable | $20 per person / night (+$5 vehicle) |
|
|
| Mamquam River Campground | Private Reservable | $10 – $20 per site / night |
|
Prices are nightly rates in CAD as of 2026 and change seasonally. Always check each campground's website before you book.
BC Parks Non-Resident Fee (effective May 15, 2026)
Starting May 15, 2026, BC Parks has added a $20 non-resident fee on top of the base camping rate at all BC Provincial Parks, including the Chief Campground and Alice Lake Campground.
The Chief Campground charges the non-resident fee per person, per reservation.
Example: two people, one night = $10/person/night + $10/person/night + $20 non-resident fee + $20 non-resident fee = $60 + tax/feesAlice Lake charges the non-resident fee once per reservation, regardless of group size.
Example: two people, one night = $35/person/night + $35/person/night + $20 non-resident fee (whole group) = $90 + tax/fees
See the official BC Parks Camping Fees page for full details.
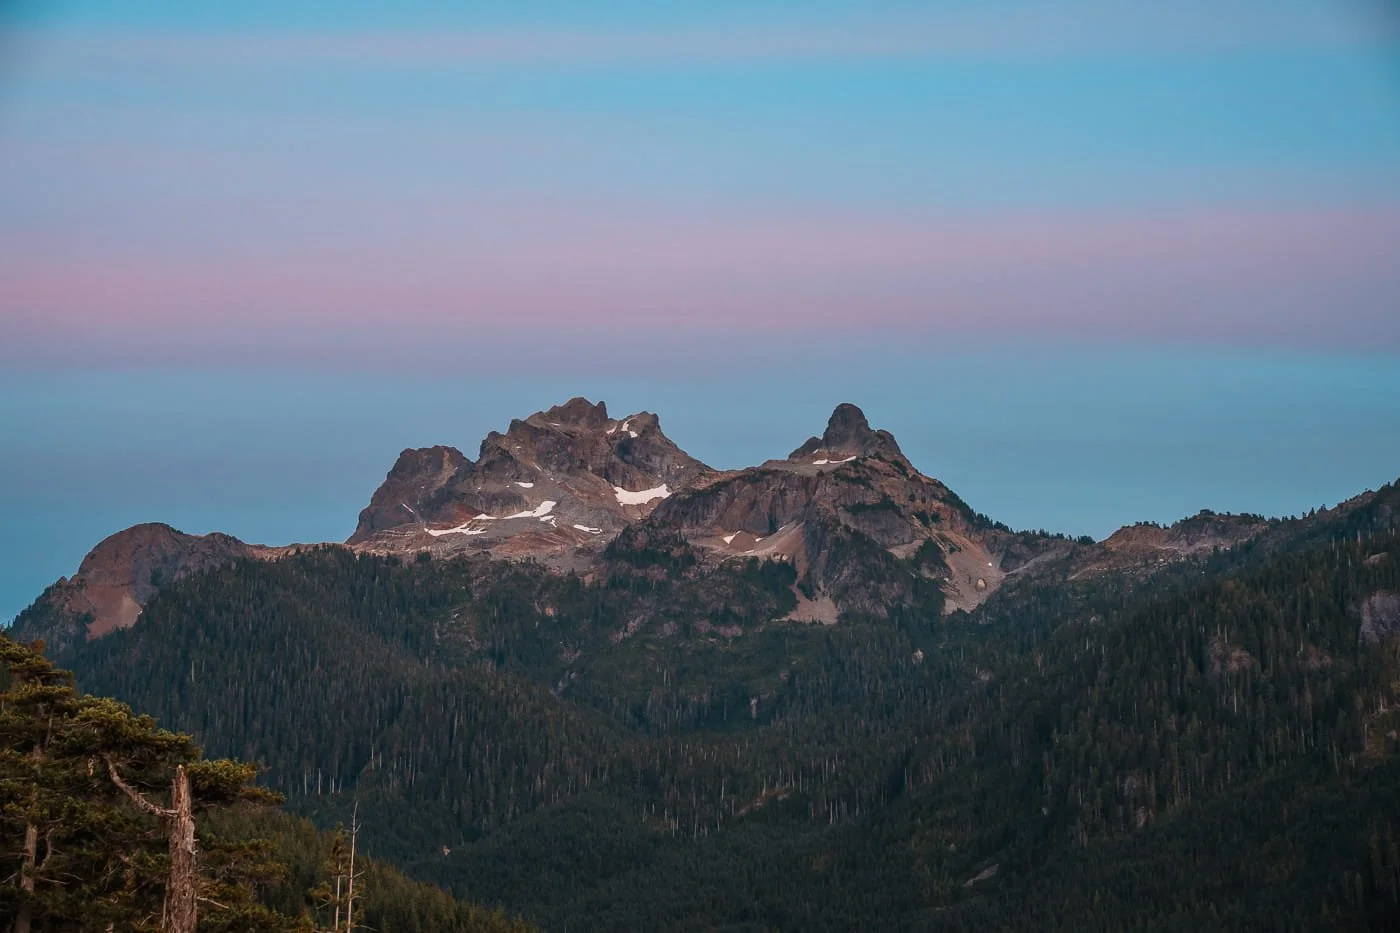
Pilot and Co-Pilot Peaks at sunset from the Sea to Sky Summit
FAQ: Hiking The Climb & Sea to Summit to the Sea to Sky Gondola
Which is harder, The Climb or the Sea to Summit Trail?
The Climb is rated Very Difficult, with sustained steepness, scrambling, hand lines, and ladders packed into a short 2.8 km. The Sea to Summit Trail is rated Difficult and covers more ground (5.6 km) with somewhat more total elevation gain, but at a gentler average grade and with less technical terrain overall. If you don’t mind the extra time and distance, we recommend the Sea to Summit Trail for a slightly easier climb to the top.
Can I hike up and take the gondola down on either trail?
Yes. Both trails end at the Sea to Sky Summit Lodge, and both are set up for hikers to ride down afterward with a Ride Down Only ticket ($19 online / $25 at the window).
Is either of these trails loops?
No, both are point-to-point trails. Hiking back down the way you came is possible but not common, since most hikers use the gondola to get back to the base.
Are dogs allowed on The Climb or the Sea to Summit Trail?
Yes, both are backcountry trails where dogs are permitted (off-leash if under control). They can't ride the gondola up, but a Dog Ride Down Only ticket ($19) lets your dog ride down with you.
How much does it cost to ride the gondola down after hiking?
A Ride Down Only ticket is $19 online or $25 at the ticket window, per person. Dogs need their own Ride Down Only ticket at $19.
Is there water along either trail?
The Climb has no reliable water source, so carry everything you'll need. The Sea to Summit Trail crosses several creeks where you can filter water along the way. There is also a water refill station inside the Sea to Sky Summit Lodge.
Do I need a permit or reservation to hike either trail?
No permit is required to hike either trail. You will need a gondola ticket (Ride Down Only, in most cases) depending on how you're planning to get back down.
Which trailhead do I park at for each trail?
Both trails start from the same trailhead behind the Gondola Basecamp, so you'll park in the same lot no matter which one you're hiking.
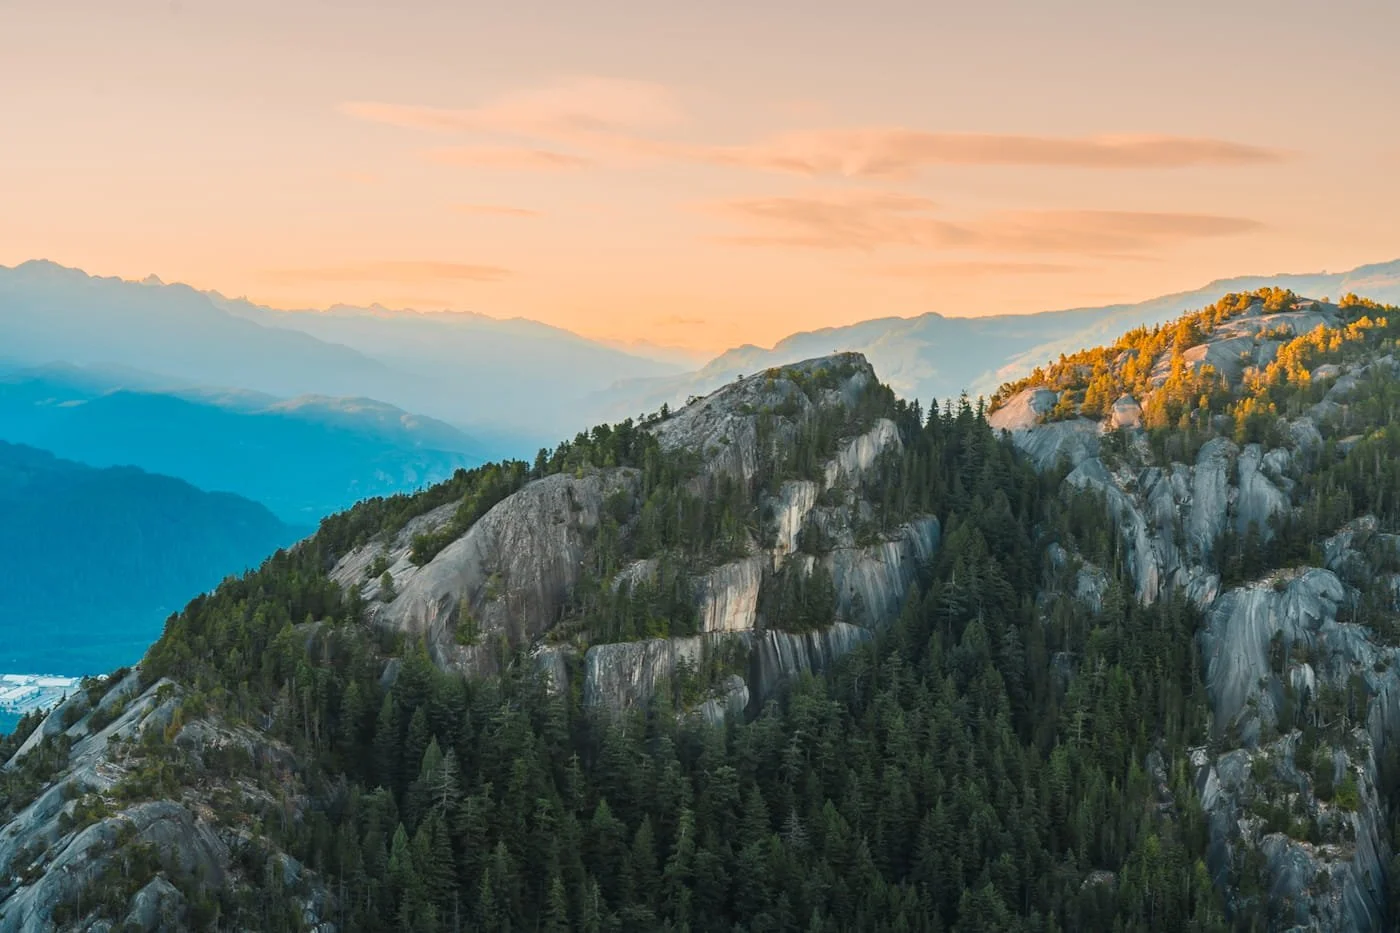
The Chief at sunset from the Sea to Sky Gondola
Final Thoughts on Hiking to the Sea to Sky Gondola Summit
Both of these trails get you to the exact same place, so the "right" one really just comes down to what kind of day you're looking for. If you want to feel like you earned every meter of that gondola ride you skipped, The Climb is over almost as fast as it starts with its steep incline straight to the top. If you'd rather stretch the effort out, catch a swim at Upper Shannon Falls, and ease into your hike to the summit, the Sea to Summit Trail is the better match. Neither one is the "easy" option here, both are hard trails.
What makes both hikes worth doing, is the payoff of amazing views of the Howe Sound and surrounding mountains at the top. Plus, you can’t beat a full lodge, food, drinks, a suspension bridge, and a gondola ride down all built into the reward. They are both unique hikes and why we keep coming back to hike up instead of just riding the gondola both ways.
Pick the trail that matches your hiking ability and the amount of time you want to spend on the trail, then just make sure to pack accordingly, and go earn that cold drink on the patio.
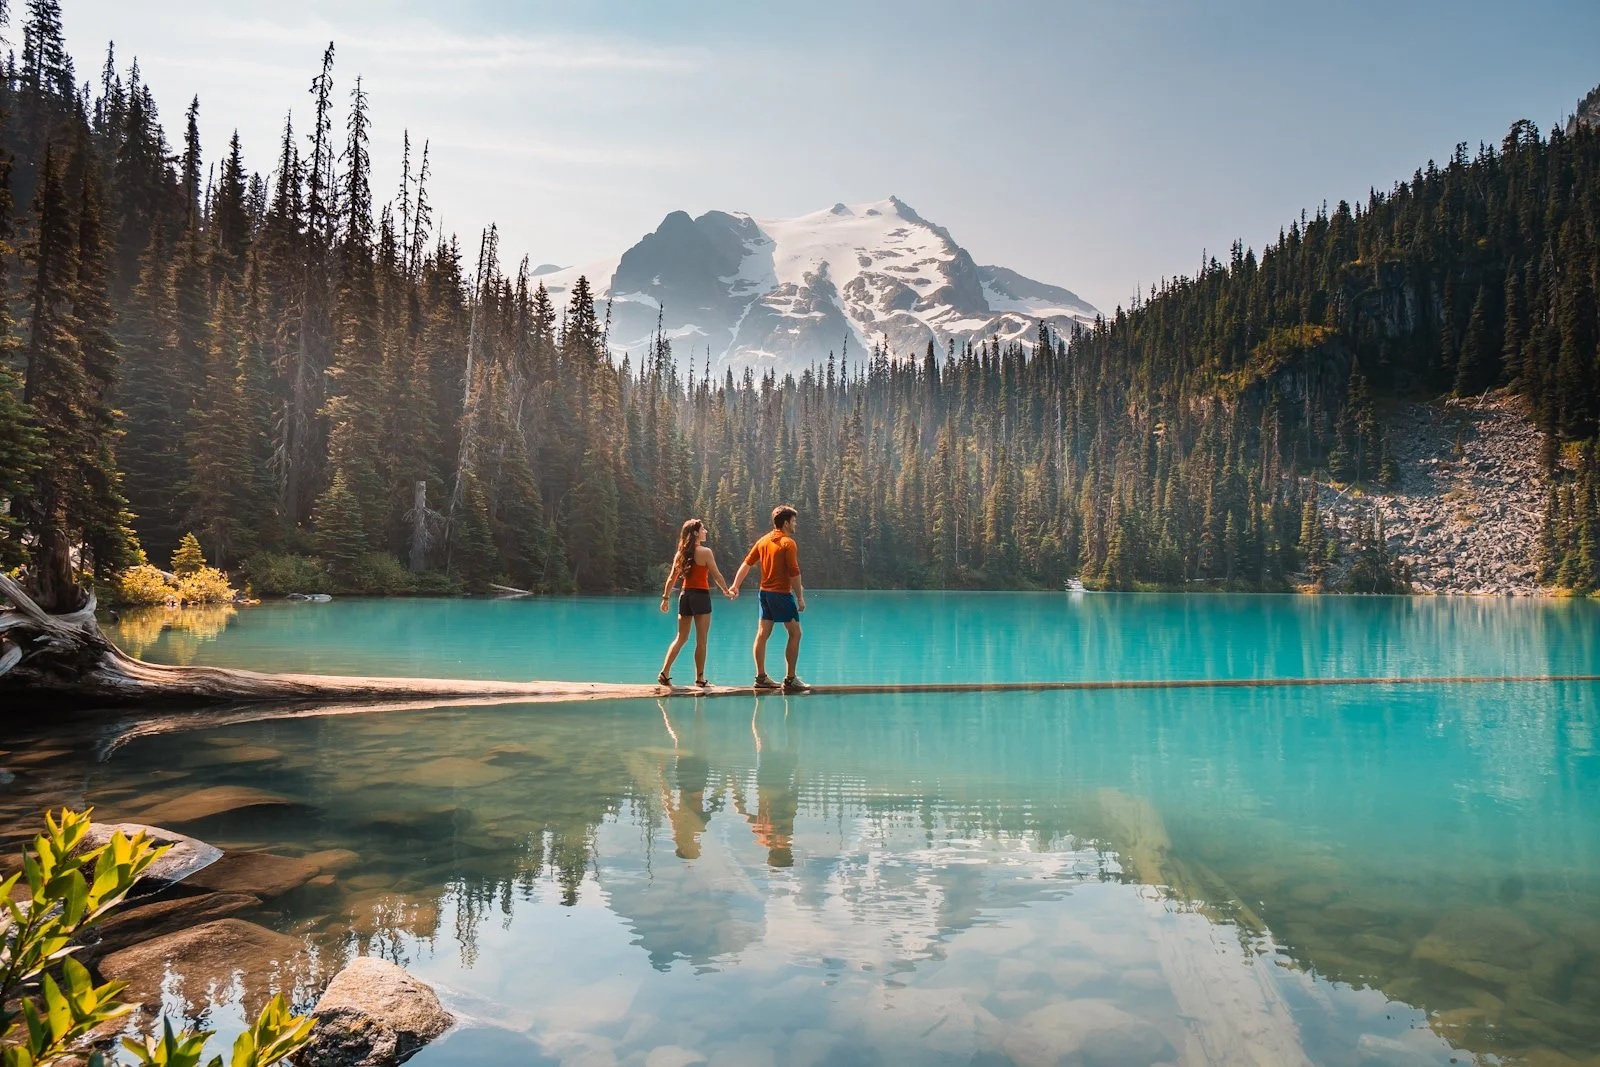
Hiking Joffre Lakes near Pemberton, BC
More British Columbia Hiking Guides
Bucket List Trails & Trips in BC:
Hiking Gear Guides & Packing Lists:
Liked this Post? Pin it & Save it for Later

The Ultimate Travel Guide to Banff and the Canadian Rockies
Backpacking Unnecessary Mountain via the Howe Sound Crest Trail in British Columbia
This image is copyrighted and owned by Skye Stoury Photography and skyestoury.com, if you would like to licence any images on this site, please email us at hello@skyestoury.com