
Ultimate Southern Thailand Itinerary: How to Plan the Perfect 2 Week Trip
A Budget-Friendly Itinerary for Southern Thailand and the Phi Phi Islands for Travel in 2026 and Beyond
How to Spend the Best Two Weeks (or Even a Month) in Thailand
Planning a trip to Thailand but not sure where to start? For an unforgettable experience, you’ll need at least two weeks in Thailand, though a month is ideal. Thailand is perfect for travelers of all levels, offering everything from pristine beaches to vibrant nightlife, amazing food, and outdoor adventures.
The best time to visit Thailand is during the dry season, between November and February. Even in just two weeks, you can explore the stunning southern Thailand islands, relax on white-sand beaches, and enjoy activities like scuba diving, snorkeling, and rock climbing.
Below, I’ll share my Southern Thailand travel itinerary, including must-visit islands, tips for transportation, accommodations, and a realistic budget breakdown for your trip.
*This guide has been updated for the 2026 travel season.
Why I Fell in Love with Southern Thailand
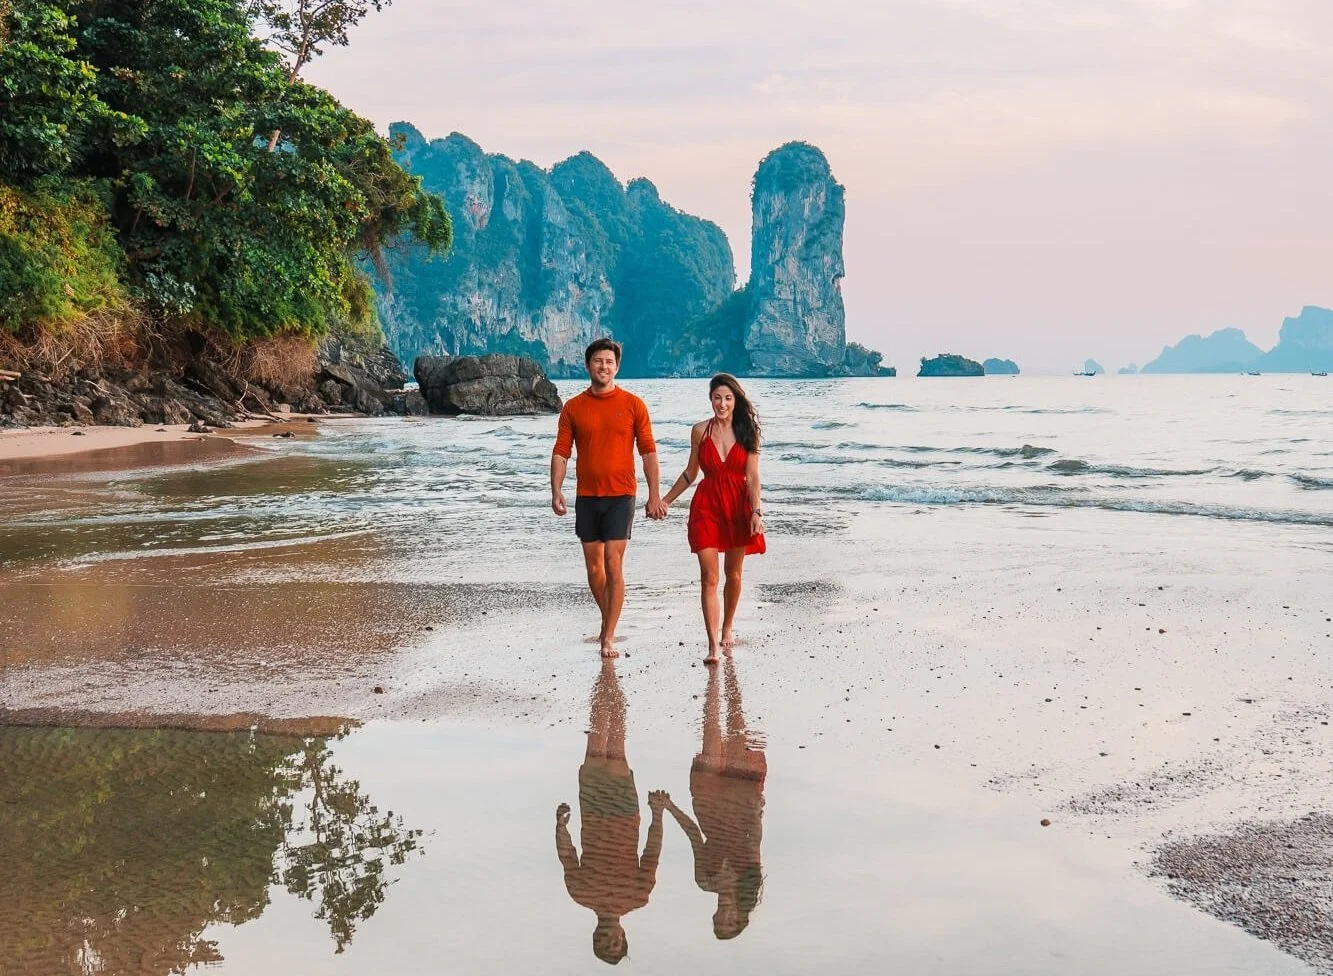
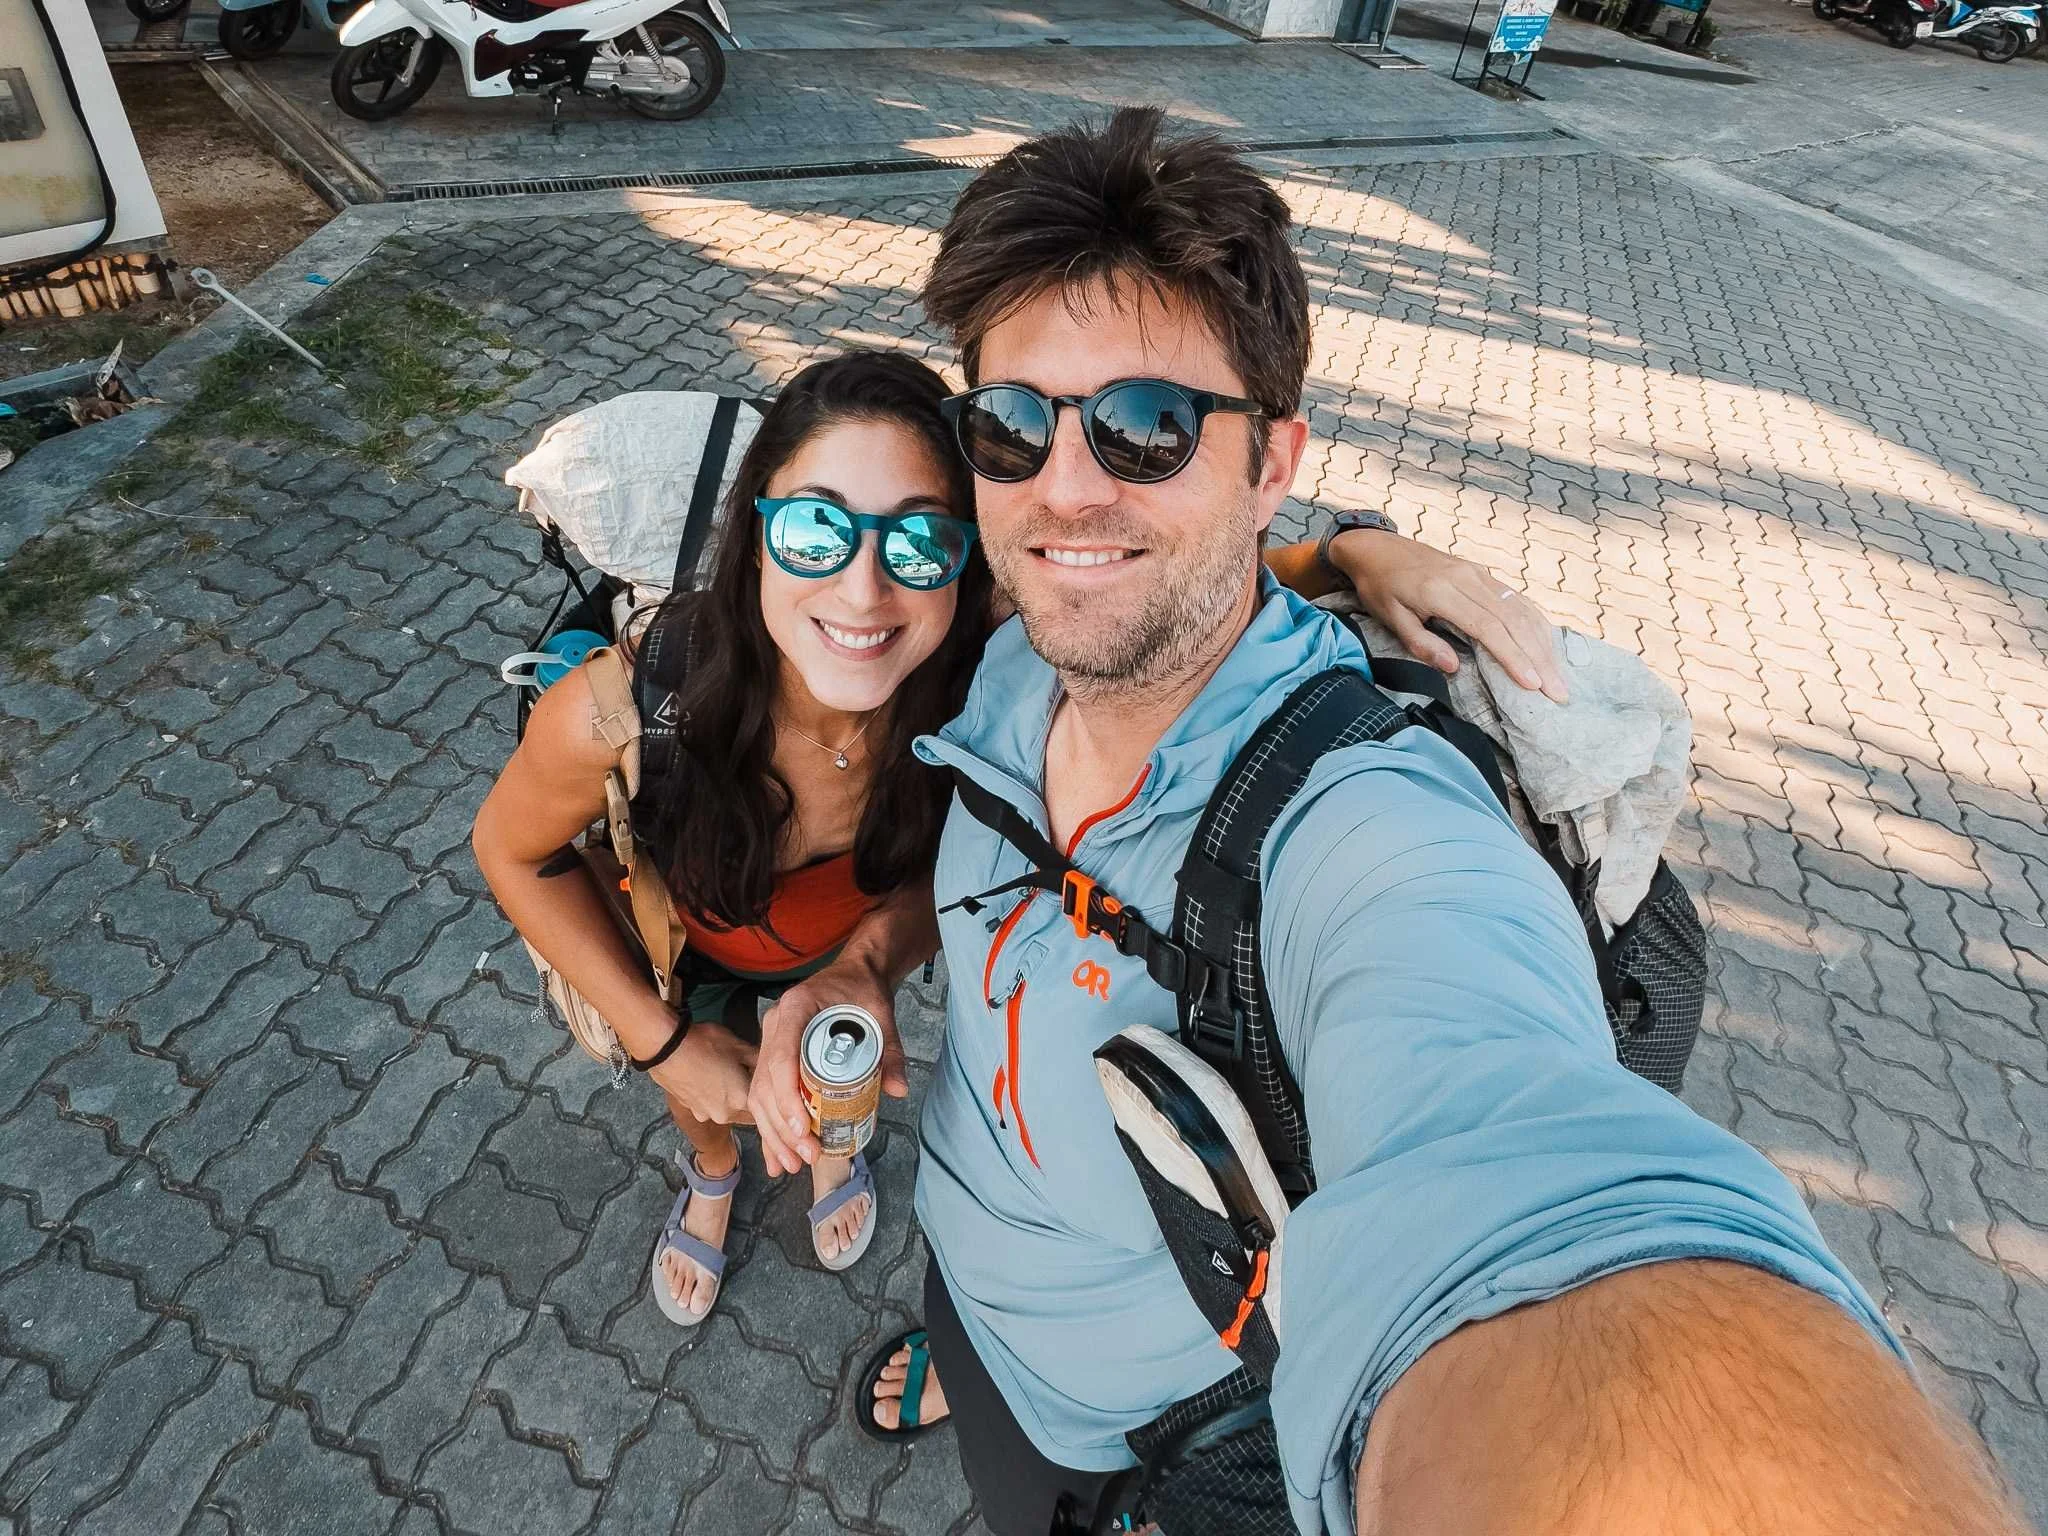
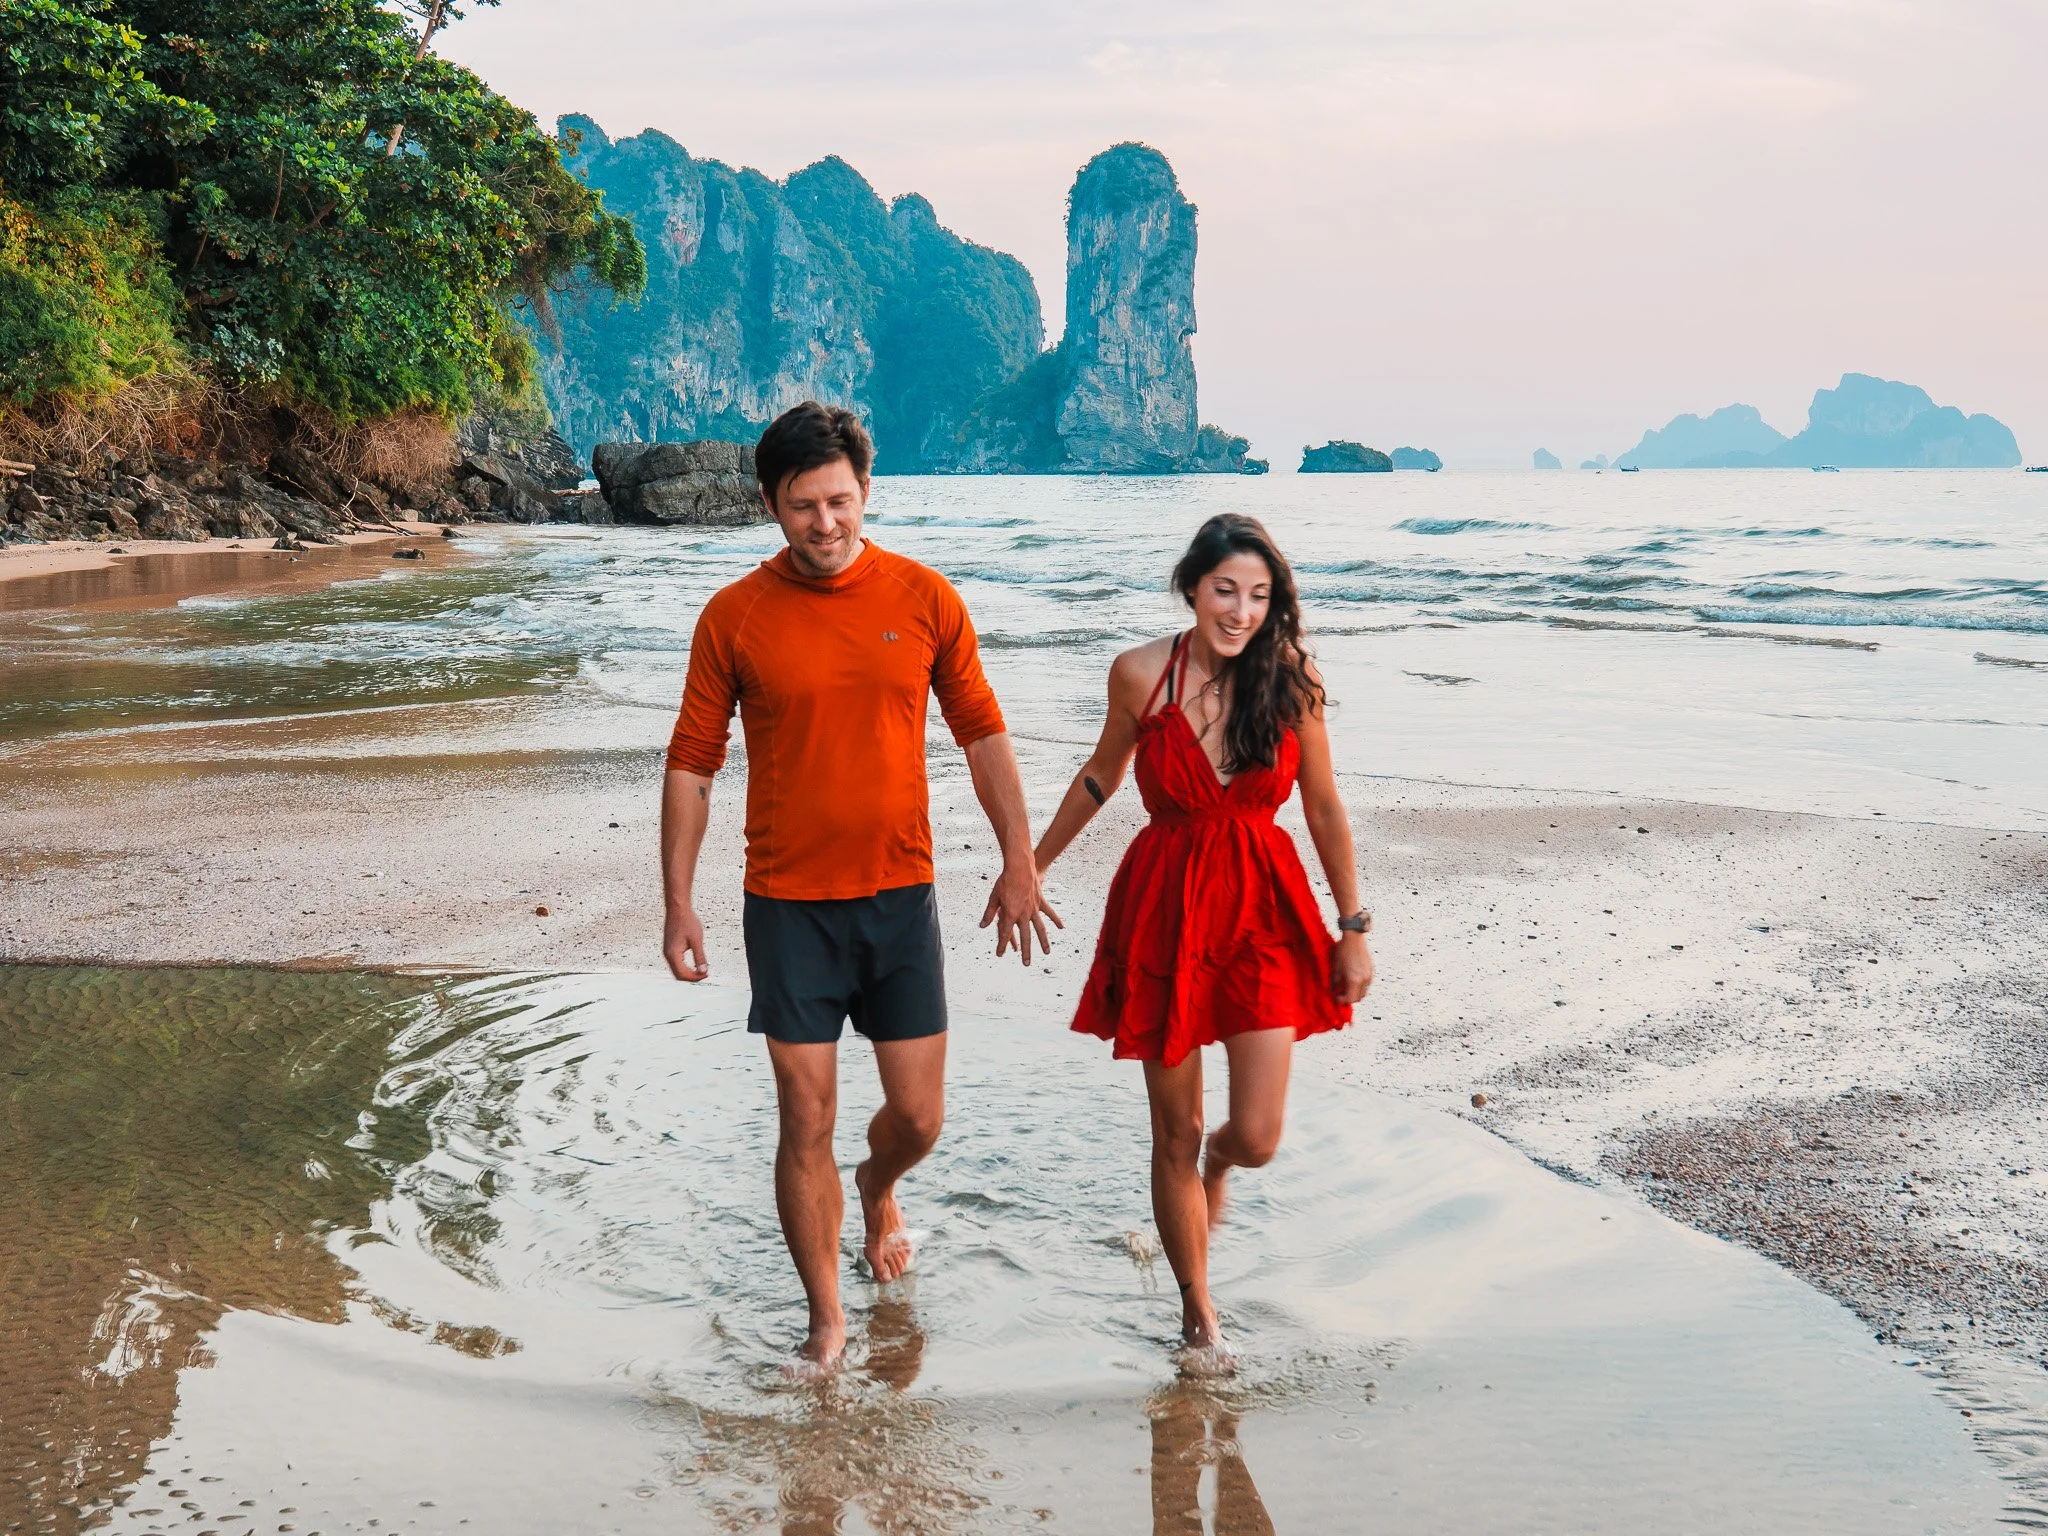
This past winter, my husband and I spent one month in Thailand over Christmas and New Years, and it was truly magical and the perfect time to be there. During our month in Thailand, I completely fell in love with the south, the slower pace, turquoise water, and incredible food. Each island we visited had its own rhythm, from peaceful mornings on quiet beaches to nights filled with music, street food, and sunsets that were always outstanding. We spent weeks exploring the sport climbing on limestone cliffs of Krabi, hopping between islands for scuba diving and amazing beaches, and trying as many Thai dishes as we could.
Even though this guide focuses on a two-week itinerary, it’s inspired by that full month of exploring, and everything I’d want to repeat on my next trip. Whether you’re planning a short visit or staying longer, these spots capture the magic of Southern Thailand.
Disclaimer: This blog post contains affiliate links, meaning we receive a small commission of every purchase made with our links at no additional cost to you. Sometimes there is even a discount code for my readers which we specify next to the links.
Table of Contents
The Best Time to Visit Thailand
Winter (November to February) is the best time to visit Thailand. During this dry season, daytime temperatures hover in the 80s (F), with minimal rain and lower humidity. We visited in December, which was perfect for exploring Phuket, Koh Phi Phi, Koh Lanta, Krabi, and Railay, and even celebrated Christmas and New Year surrounded by festive decorations, a surprise for a mostly Buddhist and Muslim country.
Visiting during monsoon season (May - October) is possible but expect more rain, higher humidity, and hotter temperatures. Regardless of when you go, be prepared for tropical humidity averaging around 84%.
In late February through early April is Thailand’s agricultural burning season. This most often affects the northern regions of Thailand (Chiang Mai) but winds can sweep the air solution south. Air quality can range from moderate to hazardous during peak burn season months.
Even in just two weeks, you can explore the best of Southern Thailand, from the turquoise waters of Krabi and Koh Lipe to the limestone cliffs of Railay and the lively streets of Phuket.
Travel Details and Visa Information for Visitng Thailand
We flew from Los Angeles to Phuket, focusing on Southern Thailand. Flights are typically the most expensive part of visiting Thailand, so booking early is key. We opted for a long layover in Seoul because the airport has plentiful lounges and sleeper areas, making our 12-hour layover more comfortable.
Our travel itinerary was about 44 hours of travel. I know that sounds like a lot, but it wasn’t as bad as we were expecting. You can get flight plans that are 24 hours, but we opted for a longer layover in Seoul to make the trip cheaper. The Seoul international airport did have sleeper areas in free lounges which was nice. We ate and slept during our 12 hour layover, before catching our final flight to Phuket.
Getting into Thailand for US Passport holders
U.S. citizens receive a visa on arrival, valid for 60 days (even though many sources report 30 days). You’ll need your passport and a flight out of Thailand, though ours weren’t checked. Entry is straightforward: passport stamp, photo, and fingerprints.
Where to Stay in Southern Thailand and Transportation When You Arrive
Our flight got in at night, so we had a hotel booked for a few nights in Phuket to get settled before we headed to our next destination. Most of SE Asia uses an app called Grab for transportation and food delivery. It’s just like Uber and super easy to use. I highly recommend taking a Grab car from the airport to your hotel. It was easy, fast, cheap, and it’s paid through the app just like Uber. Do not take a taxi as they can be more expensive and can drive the long way to rack up more mileage. You can also book a private car in advance that will be ready for you at the airport.
We chose to stay in the Patong Beach area of Phuket since it was a bigger town and had a lot going on. But we did stay up on a hill, which I highly recommend for some peace and quiet. The downtown areas are very loud and busy. Two days in this area would be enough to visit the Old Town area and see the beaches. Book a tour of Phuket Old Town
Local Currency and ATMs
Most businesses accept cash only. ATMs often charge a 220 BAT fee, so withdraw larger amounts at once or bring USD to exchange to get a better rate (Be sure you have crisp new bills, as damaged or worn bills may not be accepted). Credit cards often incur a 3–5% transaction fee. Prepaid hotel bookings reduce the need for cash, but always confirm with hotels, as some require cash on arrival.
Get an eSIM to Stay Connected
We used eSIM cards that we purchased in advance to have data while in Thailand. Airalo is my favorite and has really good rates for 5GB up to 20 GM plans that will cover all of Thailand or all of SE Asia. I prefer to purchase my eSIM in advance at home and then activate it at the airport on arrival. For me a 5GB card was enough for the month since I also get 5GB free internationally per month through my US T-Mobile plan. All of our hotels and most restaurants offer free wifi, so I only really used data for google maps and any other searches while we were walking around.
Vaccination, Medication, and Malaria Risk
Check CDC Thailand regulations and recommendations before your trip to see what vaccinations or medication you may need to bring with you. Northern Thailand does have some malaria risk, so you may need to get malaria medication in advance from your doctor before travel. Southern Thailand and all the areas we were in did not have risk of malaria so no additional pills were needed. This was at the time of our trip in December of 2024, so check regulations before your trip to see if that has changed.
If you need to get medications while in Thailand, pharmacies have a lot more over the counter than we do in the US. I needed antibiotics for a UTI while we were there and we walked into a pharmacy and they gave me the same antibiotic I had in the US over the counter, and it was $2 USD for a five day supply. You can get antibiotics, birth control pills, and a lot of other medications over the counter in Thailand. But I would still recommend bringing extras of medications you take regularly to have on hand in case you extend your trip or can’t find it in Thailand.
Travel Insurance
Whenever we travel abroad, we always make sure to have comprehensive travel medical insurance, something like Safety Wing Nomad or Nomad Complete. Having general travel insurance covers you in case of flight cancellations and lost or stolen luggage, while travel medical insurance covers health emergencies and injuries when you are out of your home country. For our trip to Thailand, we looked for more advanced coverage since we were rock climbing and scuba diving. And if you are doing similar activities, Safety Wing’s Nomad Complete plan would be your best bet. That plan covers rock climbing, but for scuba diving, you will want to consider including the adventure sport add on.
Southern Thailand Trip Itinerary
Plan an Adventurous Trip to Southern Thailand
Our month-long Thailand travel itinerary focused on beaches, island hopping, scuba diving, snorkeling, and rock climbing. You can condense this into a two-week trip by skipping or shortening stays, but less than two weeks can feel rushed. If you only have a week, you can still see a lot, but I would recommend sticking to bigger cities since transportation between islands can take a full day.
Start Your Trip in Phuket - Patong Beach and Old Town Phuket
4 Nights, 3 Full Days
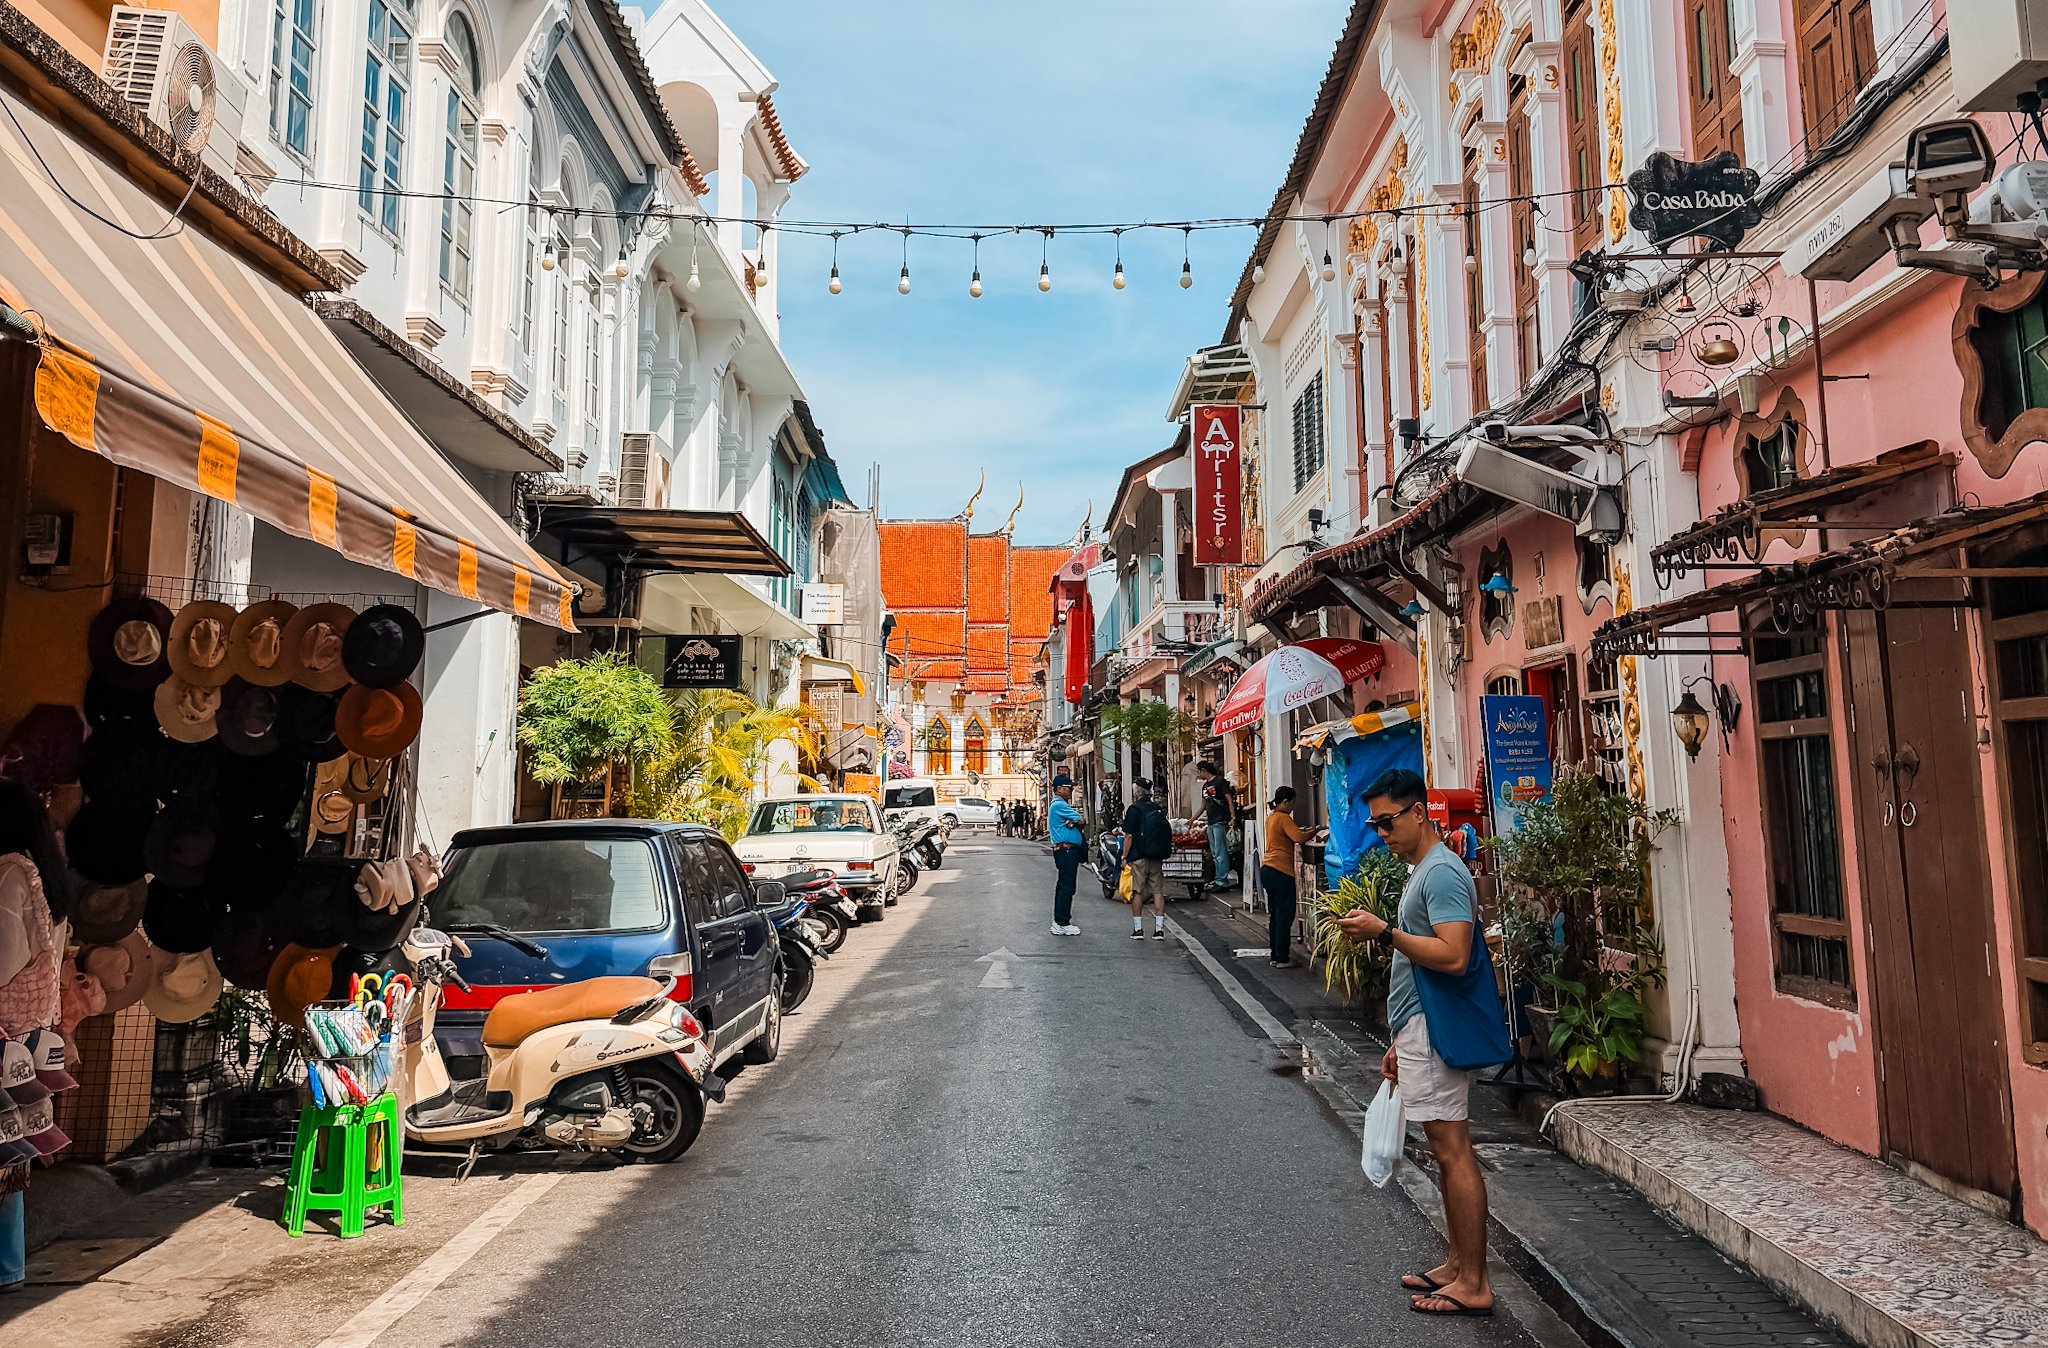
Phuket is a busy area that is split into two major parts, Patong and Old Town. Both have a lot going on, Patong has beaches, and Old Town is great for culture, shopping, and walking around.
Day 1: Walk around Patong and experience how busy the streets are. There are no sidewalks other than on a few major streets, it is walkable but was quite the experience with cars and scooters flying past us on the side of the road.
Day 2: Take a Grab car to Old Town Phuket to explore the city. This was my favorite part of Phuket, lots of cute shops and good restaurants.
Day 3: Go to the beach, relax at your hotel, and get ready to travel the next day.
Where to Stay in Phuket
We stayed at a lovely small hotel called Sunset Bay View Phuket on a hill above the Patong Beach side of Phuket, and loved the stay. It included breakfast, had AC, and was still walkable to the beach. Would definitely recommend as a cross between a budget and midtier stay. Below are some hotel suggestions based on budget. We only stayed at Sunset Bay View, but the others look amazing.
Beachfront $$$: The Title KR Beach Condotel Rawai Phuket
Luxury $$$: Palmyra Patong Resort
Midtier $$: Sunset Bay View Phuket - $42 USD per night when we were there in December 2024
Budget Friendly $: D C Patong
Two Nights on Koh Phi Phi
2 Nights, 1 Full Day
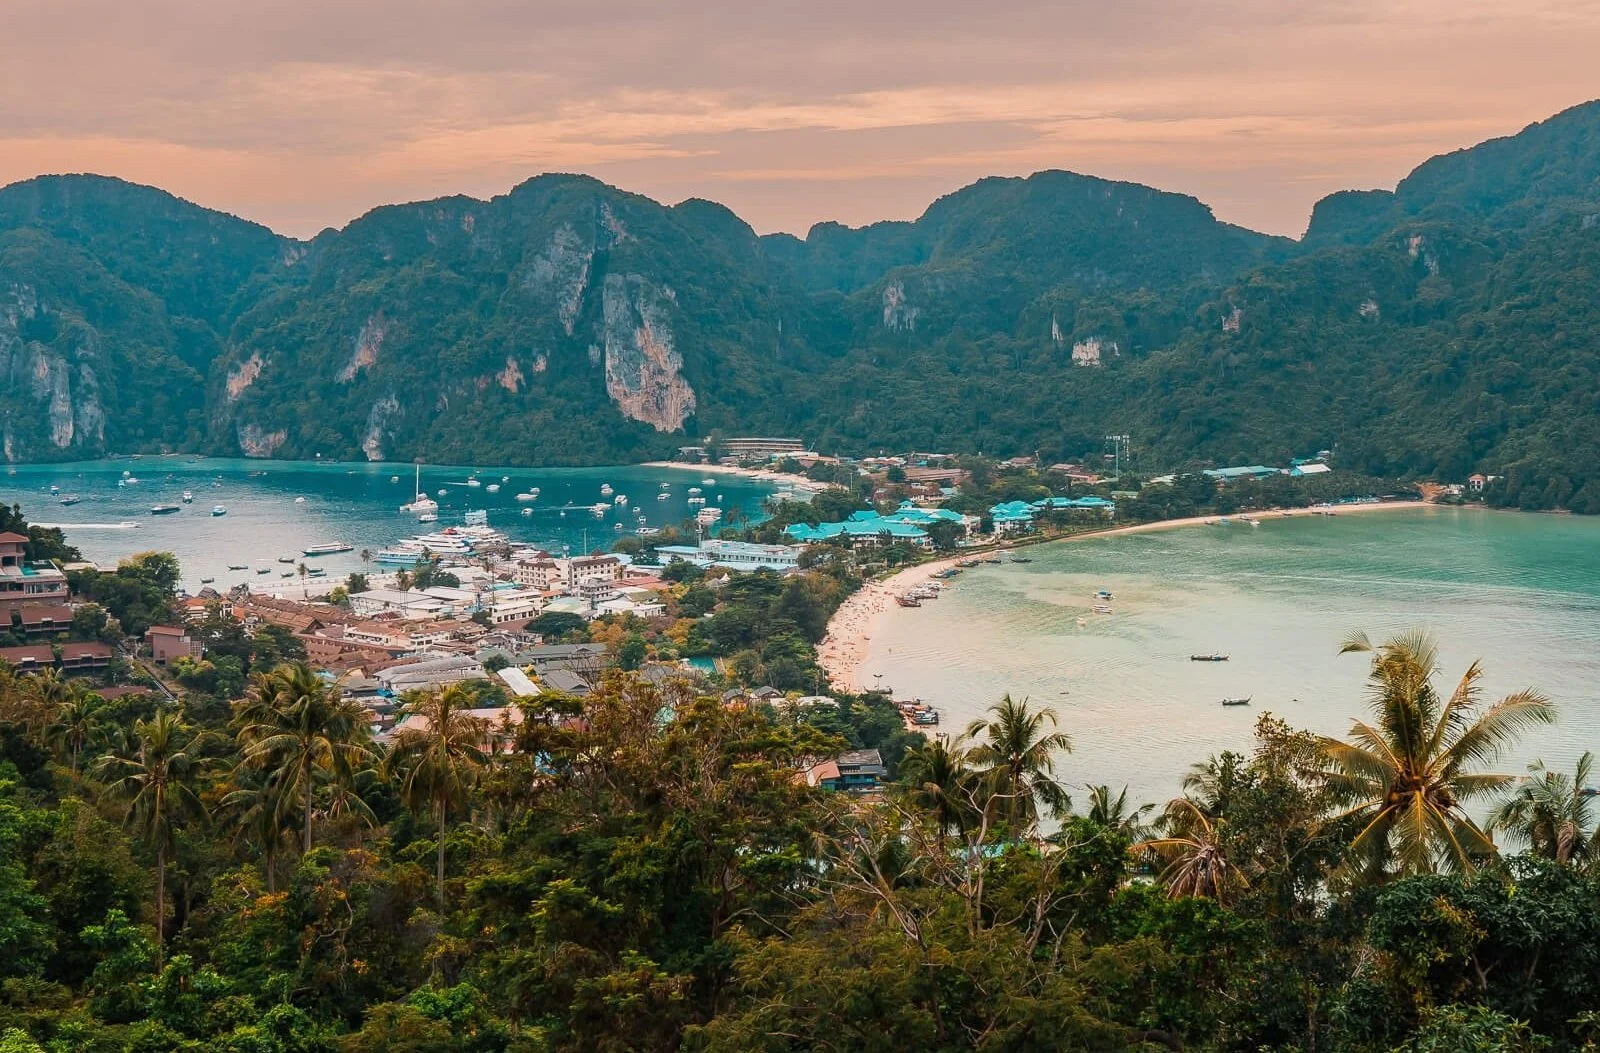
Koh Phi Phi is a stunning island in the Phi Phi Islands and is mainly walking streets with barely any cars or scooters. It’s a very touristy island, but still worth a stop for it’s beautiful beaches, snorkeling right off the beach, and nightlife.
Day 1: Take a ferry from Phuket to Koh Phi Phi and then get settled into your hotel. Phi Phi is very walkable and a small island which was nice to be able to explore everything on foot.
Day 2: Start your morning with snorkeling at Blacktop Reef Shark Point to swim right off the beach and see colorful fish, corals, and small sharks. After lunch hike to the view points at the high point of the island. View Point 2 is worth it, but you will have to bay 50 BAT per person to enter the View Point 1 and 2 area. If you continue on to View Point 3, you will pay an additional amount to enter since all the view points are on private land.
Day 3: Take a ferry to Koh Lanta
Where to Stay on Phi Phi
Koh Phi Phi is a little more expensive since it is a very touristy island, but it’s still worth a visit. We stayed at PP Casita and it was ok, super cute on the outside but rooms were run down on the inside. The pool and breakfast buffet were the highlights of this stay. It was fine for a two night stay, but there are much nicer hotels on the island.
Beachfront $$$: Phi Phi CoCo Beach Resort
Luxury $$$: SAii Phi Phi Island Village (also beach front)
Midtier $$: Coco Bella Resort
Budget Friendly $: Sweed Dee Hostel
Spend a Week or More on Koh Lanta (a Must Stop Island)
9 Nights, Could Do 3-5 Nights on a Shorter Itinerary
Koh Lanta was our favorite island. It was much less touristy and felt more laid back than Phi Phi. We stayed in a cute bungalow in a very walkable are of the island and found a restaurant we loved that we ate at just about every night. If you are planning to scuba dive, this is an amazing place to do it. Koh Lanta is a large island and not as walkable as Phi Phi, but you can plan your lodging so that you are walkable to beaches and restaurants, and then take a TukTuk to other parts of the island, or rent a scooter.
Since we spent so much time here I’m not going to do a day by day breakdown, but instead will list must stop spots on Koh Lanta.
Best Koh Lanta Beaches: Tricky-Trocky Beach, Beautiful Beach, Secret Beach, Long Beach
Great Dive Sites: Koh Haa, Koh Haa Yai, Koh Bida Nok, Shark Point (Hin Bida)
Restaurants: Yawee was our overall favorite and we went just about everyday, it was honestly the best Thai food we had on the trip, Happy Veggie was good and all vegetarian, Lanta Pizzeria, Lock Lack Coffee
Where to Stay on Koh Lanta
We stayed at the Lanta Queen Resort for nine nights and loved it. All of their rooms are bungalows, the room was clean and spacious, the family that owns the property was onsite and so kind and helpful, and their on site coffee shop (Lock Lack Coffee) was amazing. This stay did not include breakfast but we loved Lock Lack and also got some of our own breakfast foods to keep in our room.
Beachfront $$$$: Pimalai Resort & Spa
Luxury $$$: Twin Lotus Resort and Spa
Midtier $$: Lanta Queen Resort
Budget Friendly $: Lanta Chaolay
Visit Krabi for Amazing Views and Beaches - Ao Nang and Railay
One to Two Weeks, Could Do 3-5 Nights If Needed
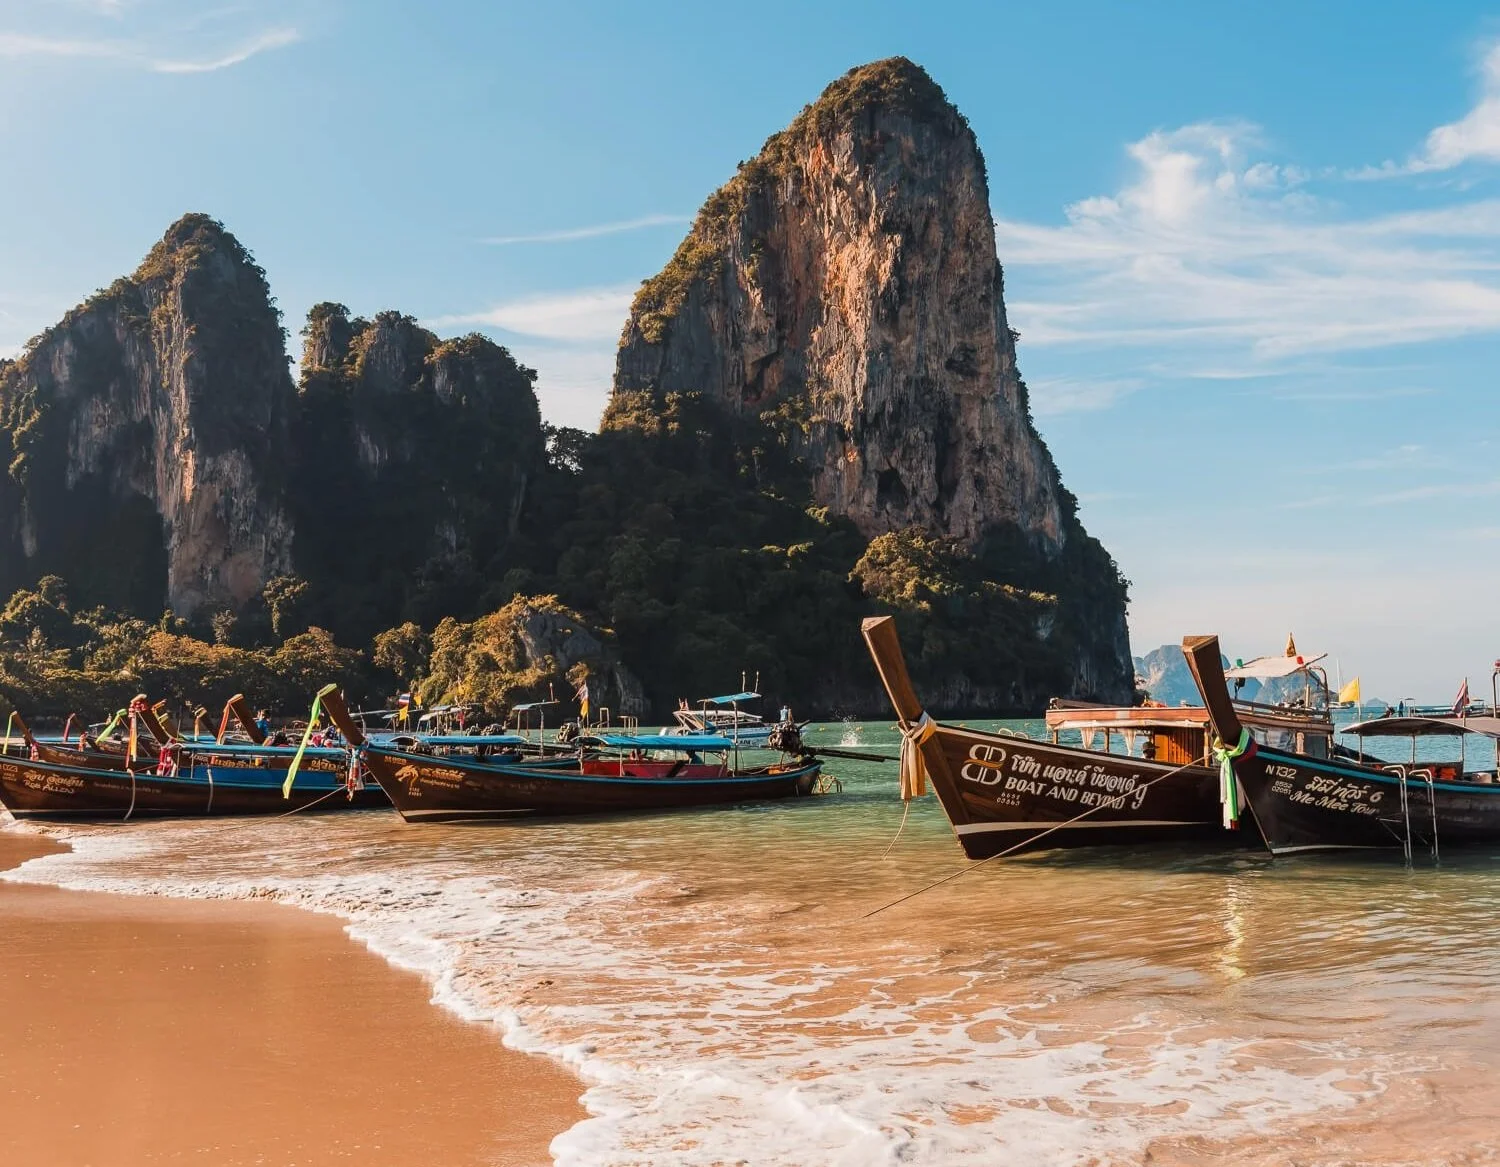
Krabi is a very touristy are but oh so worth it. The beaches are amazing, food and night markets in Ao Nang are worth walking around, and its an easy long tail boat ride over to Railay Beach for more beaches, island vibes even though it isn’t an island, and really good rock climbing.
We split our time in Krabi up to one week in Ao Nang, and the second week in Ao Nam Mao on the other side of Railay. Ao Nang is the better place to stay when you visit, its a busy area with a ton of restaurants and things to do. Ao Nam Mao, I don’t recommend since you have to take a car to Ao Nang for food. There were not good restaurant options in Ao Nam Mao, but it was easy to take a boat to Railay from the pier.
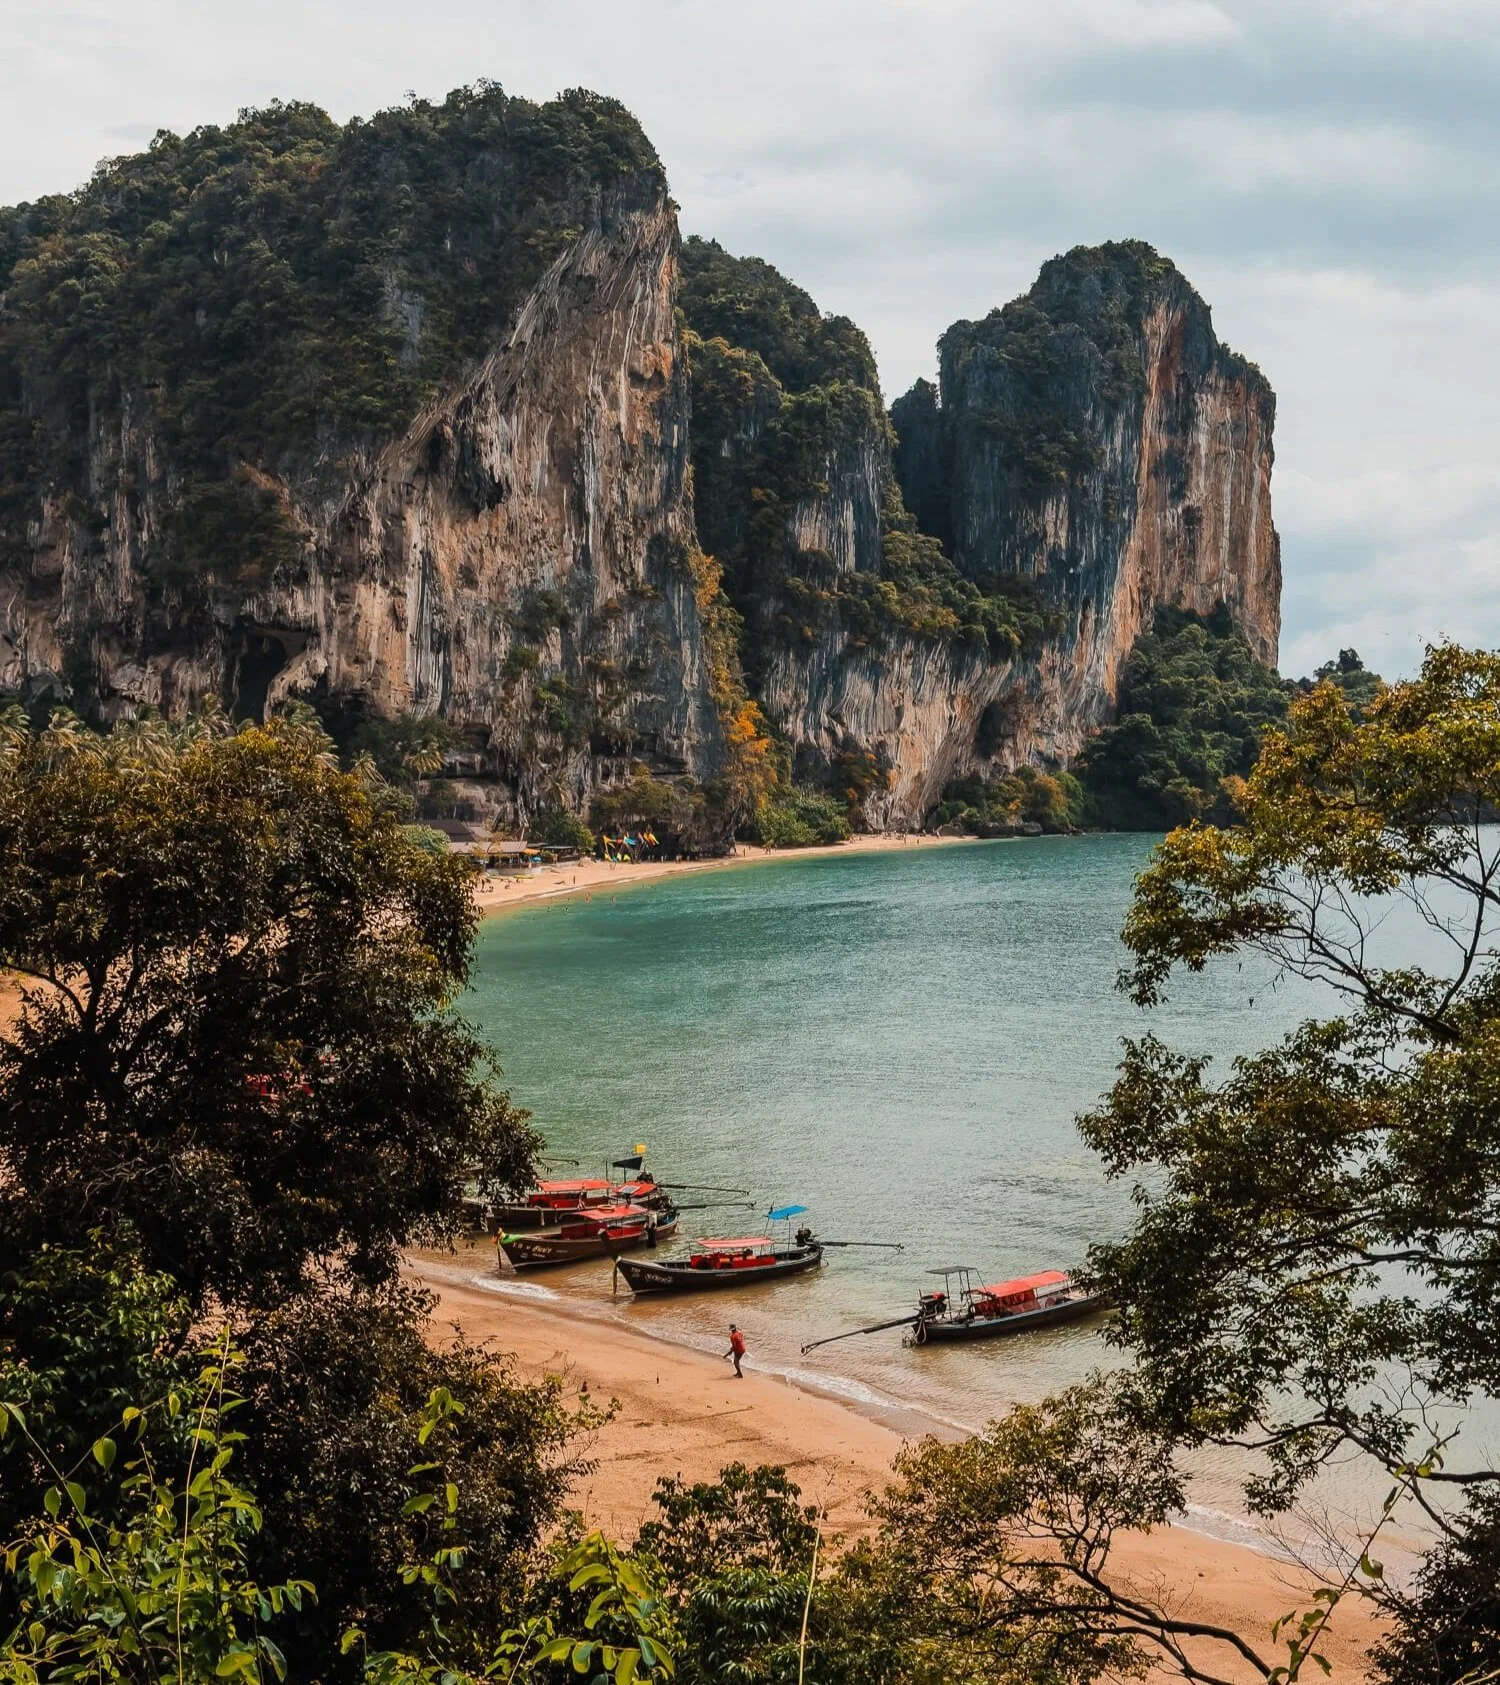
Railay is a must visit area, and is only accessible by long tail boat, which gives it island vibes. The beaches here are stunning and the small town is super cute. We spent so many days here for climbing, hiking, and enjoying the beaches. A long tail boat ride costs 100 BAT per person per way and takes about 15 minutes. It was a fun commute and a great way to see more of the area by water.
Popular Tours in and Around Krabi
Where to Stay in Ao Nang and Railay
We stayed in both Ao Nang and Ao Nam Mao, with Ao Nang being the favorite and most accessible option. We booked a budget hotel during Christmas when everything was very expensive in this area. The hotel was fine but not one I would recommend because it didn’t have hot water for showers and was a walk up, which can be hard with luggage. Krabi is a very popular area, so do expect hotels to be more expensive here. If I ever go back, I want to spend a couple nights in Railay to be able to get sunset and sunrise from those beaches. And if you’re a climber, spending a few days in Railay makes sense.
Beachfront, Ao Nang $$$: Centara Grand Beach Resort & Villas Krabi
Beachfront, Railay $$$: Railay Bay Resort & Spa
Luxury, Ao Nang $$$: Ban Sainai Resort
Luxury, Railay $$$$: Rayavadee Hotel
Midtier, Ao Nang $$: Sea Seeker Krabi Resort
Budget Friendly, Ao Nang $: The Moon Night Ao Nang - $40 per night when we were there in Dec 2024

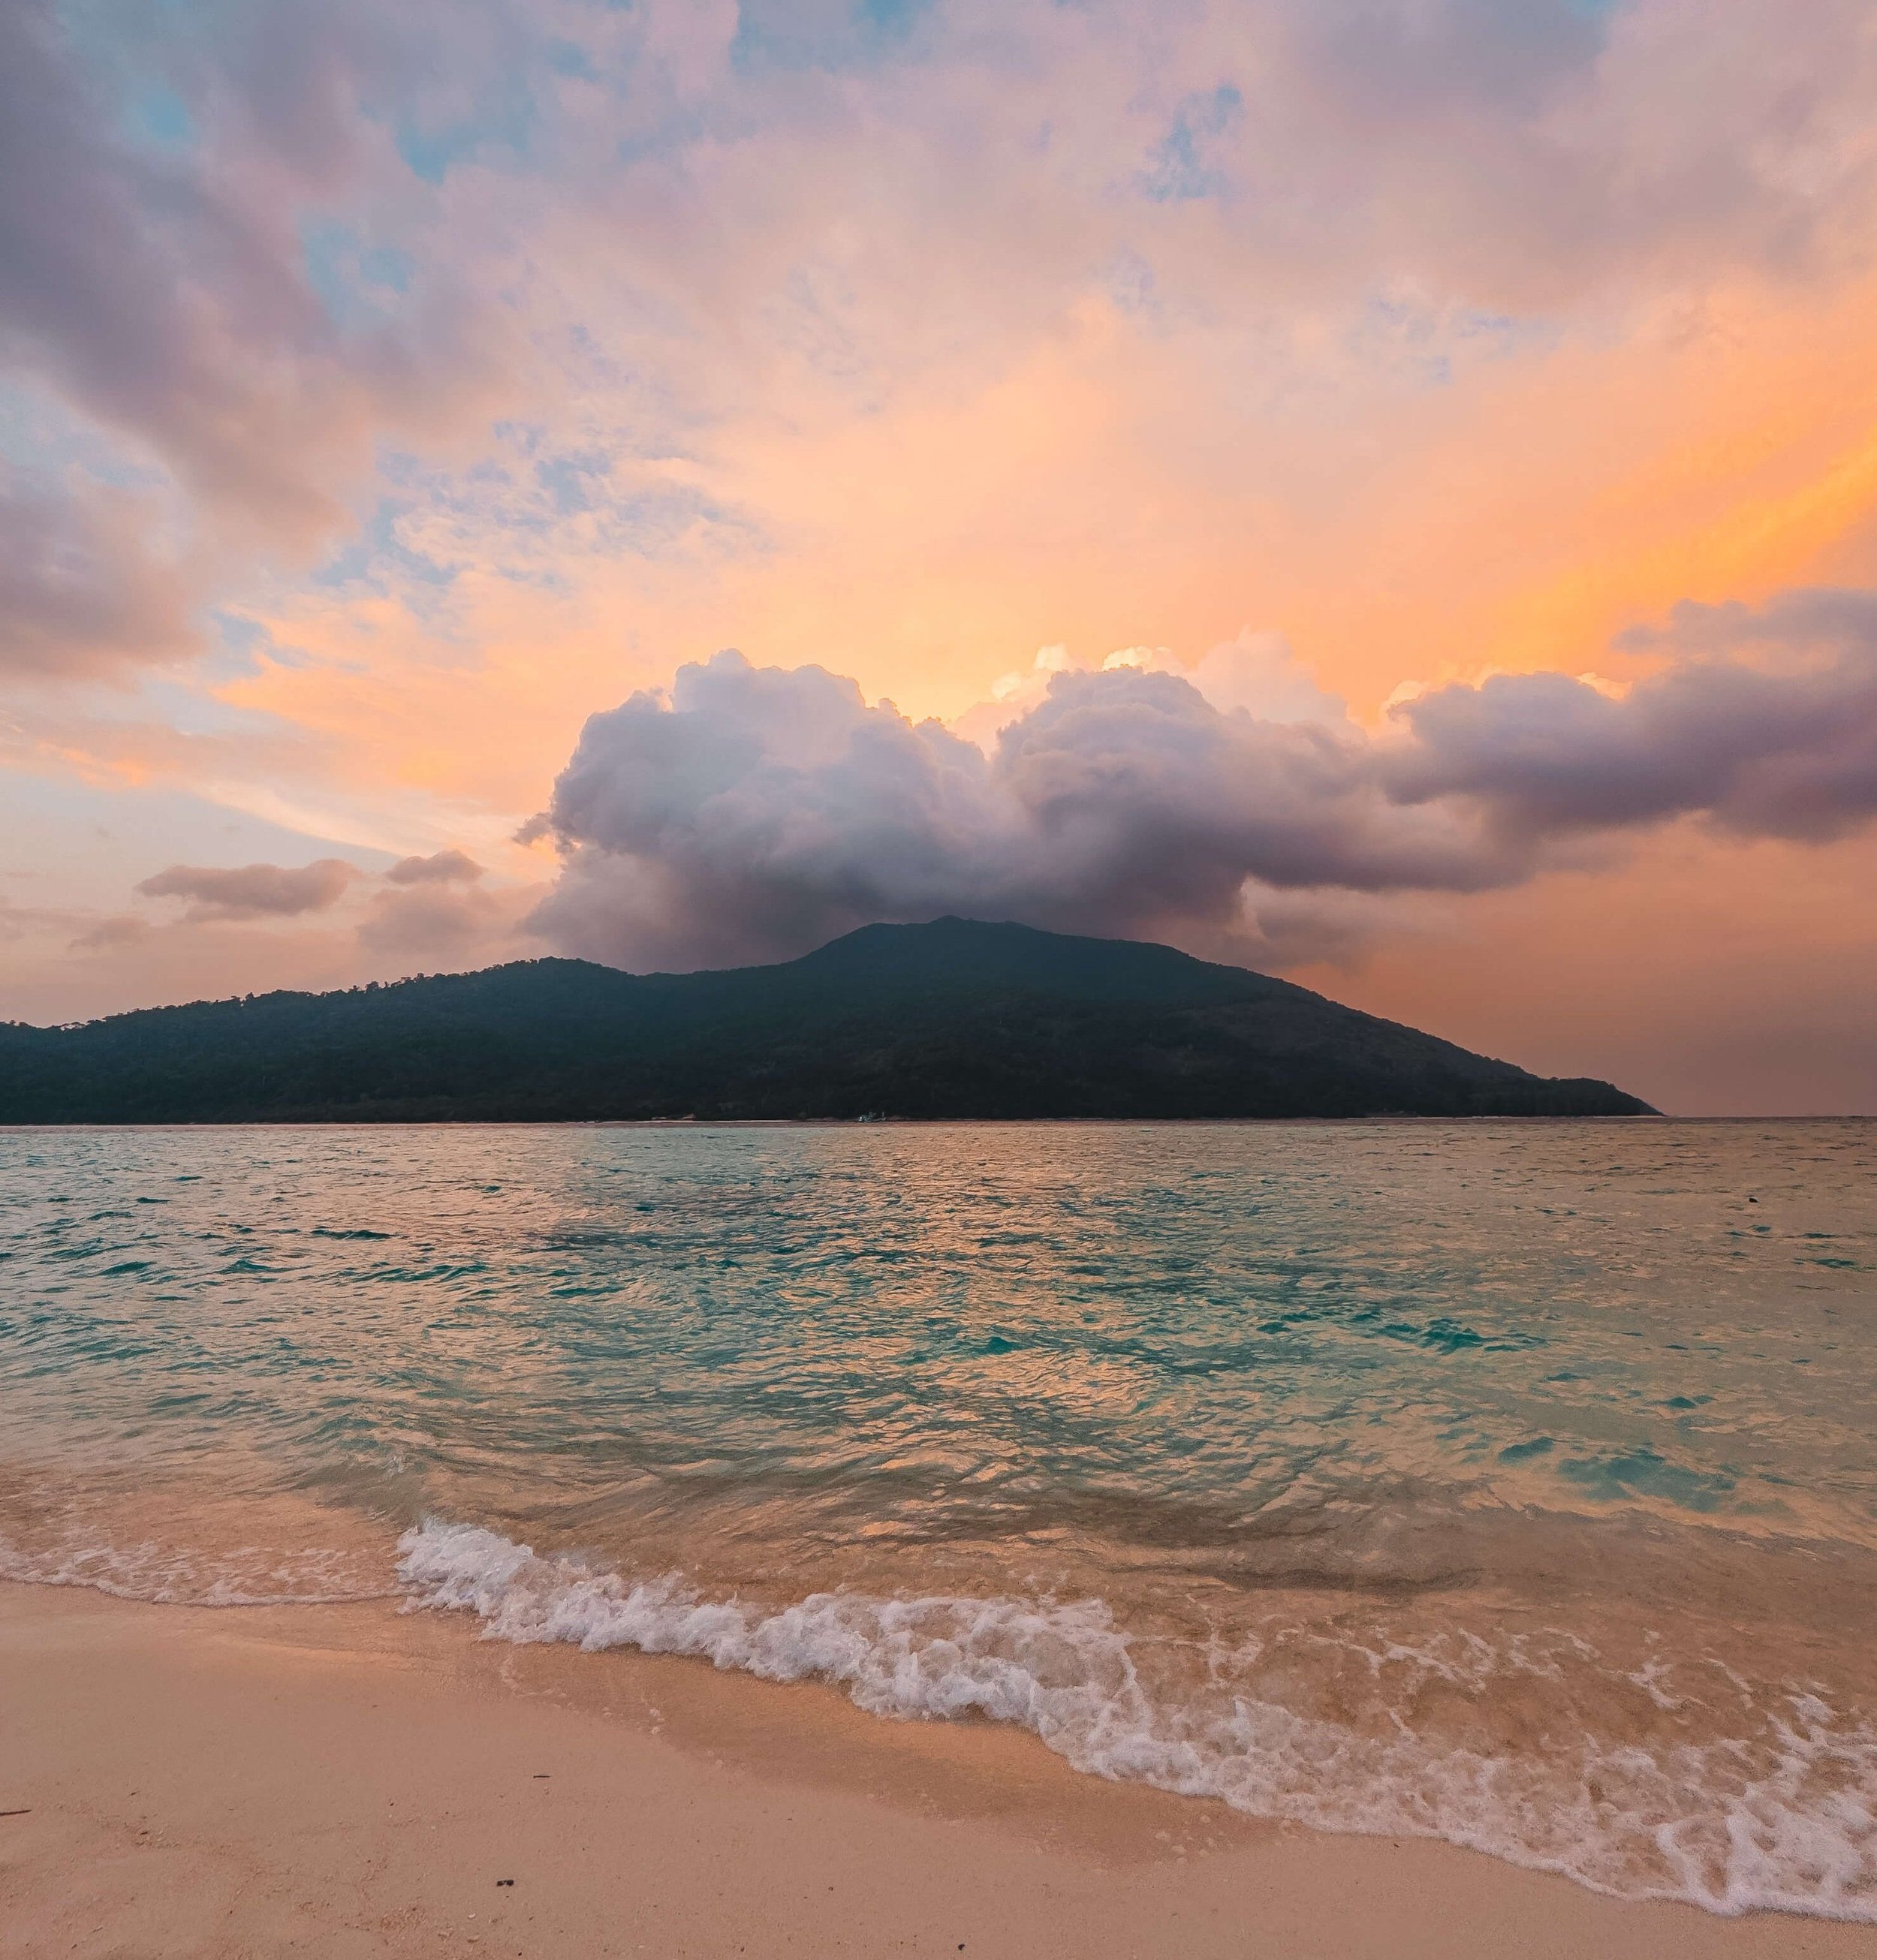
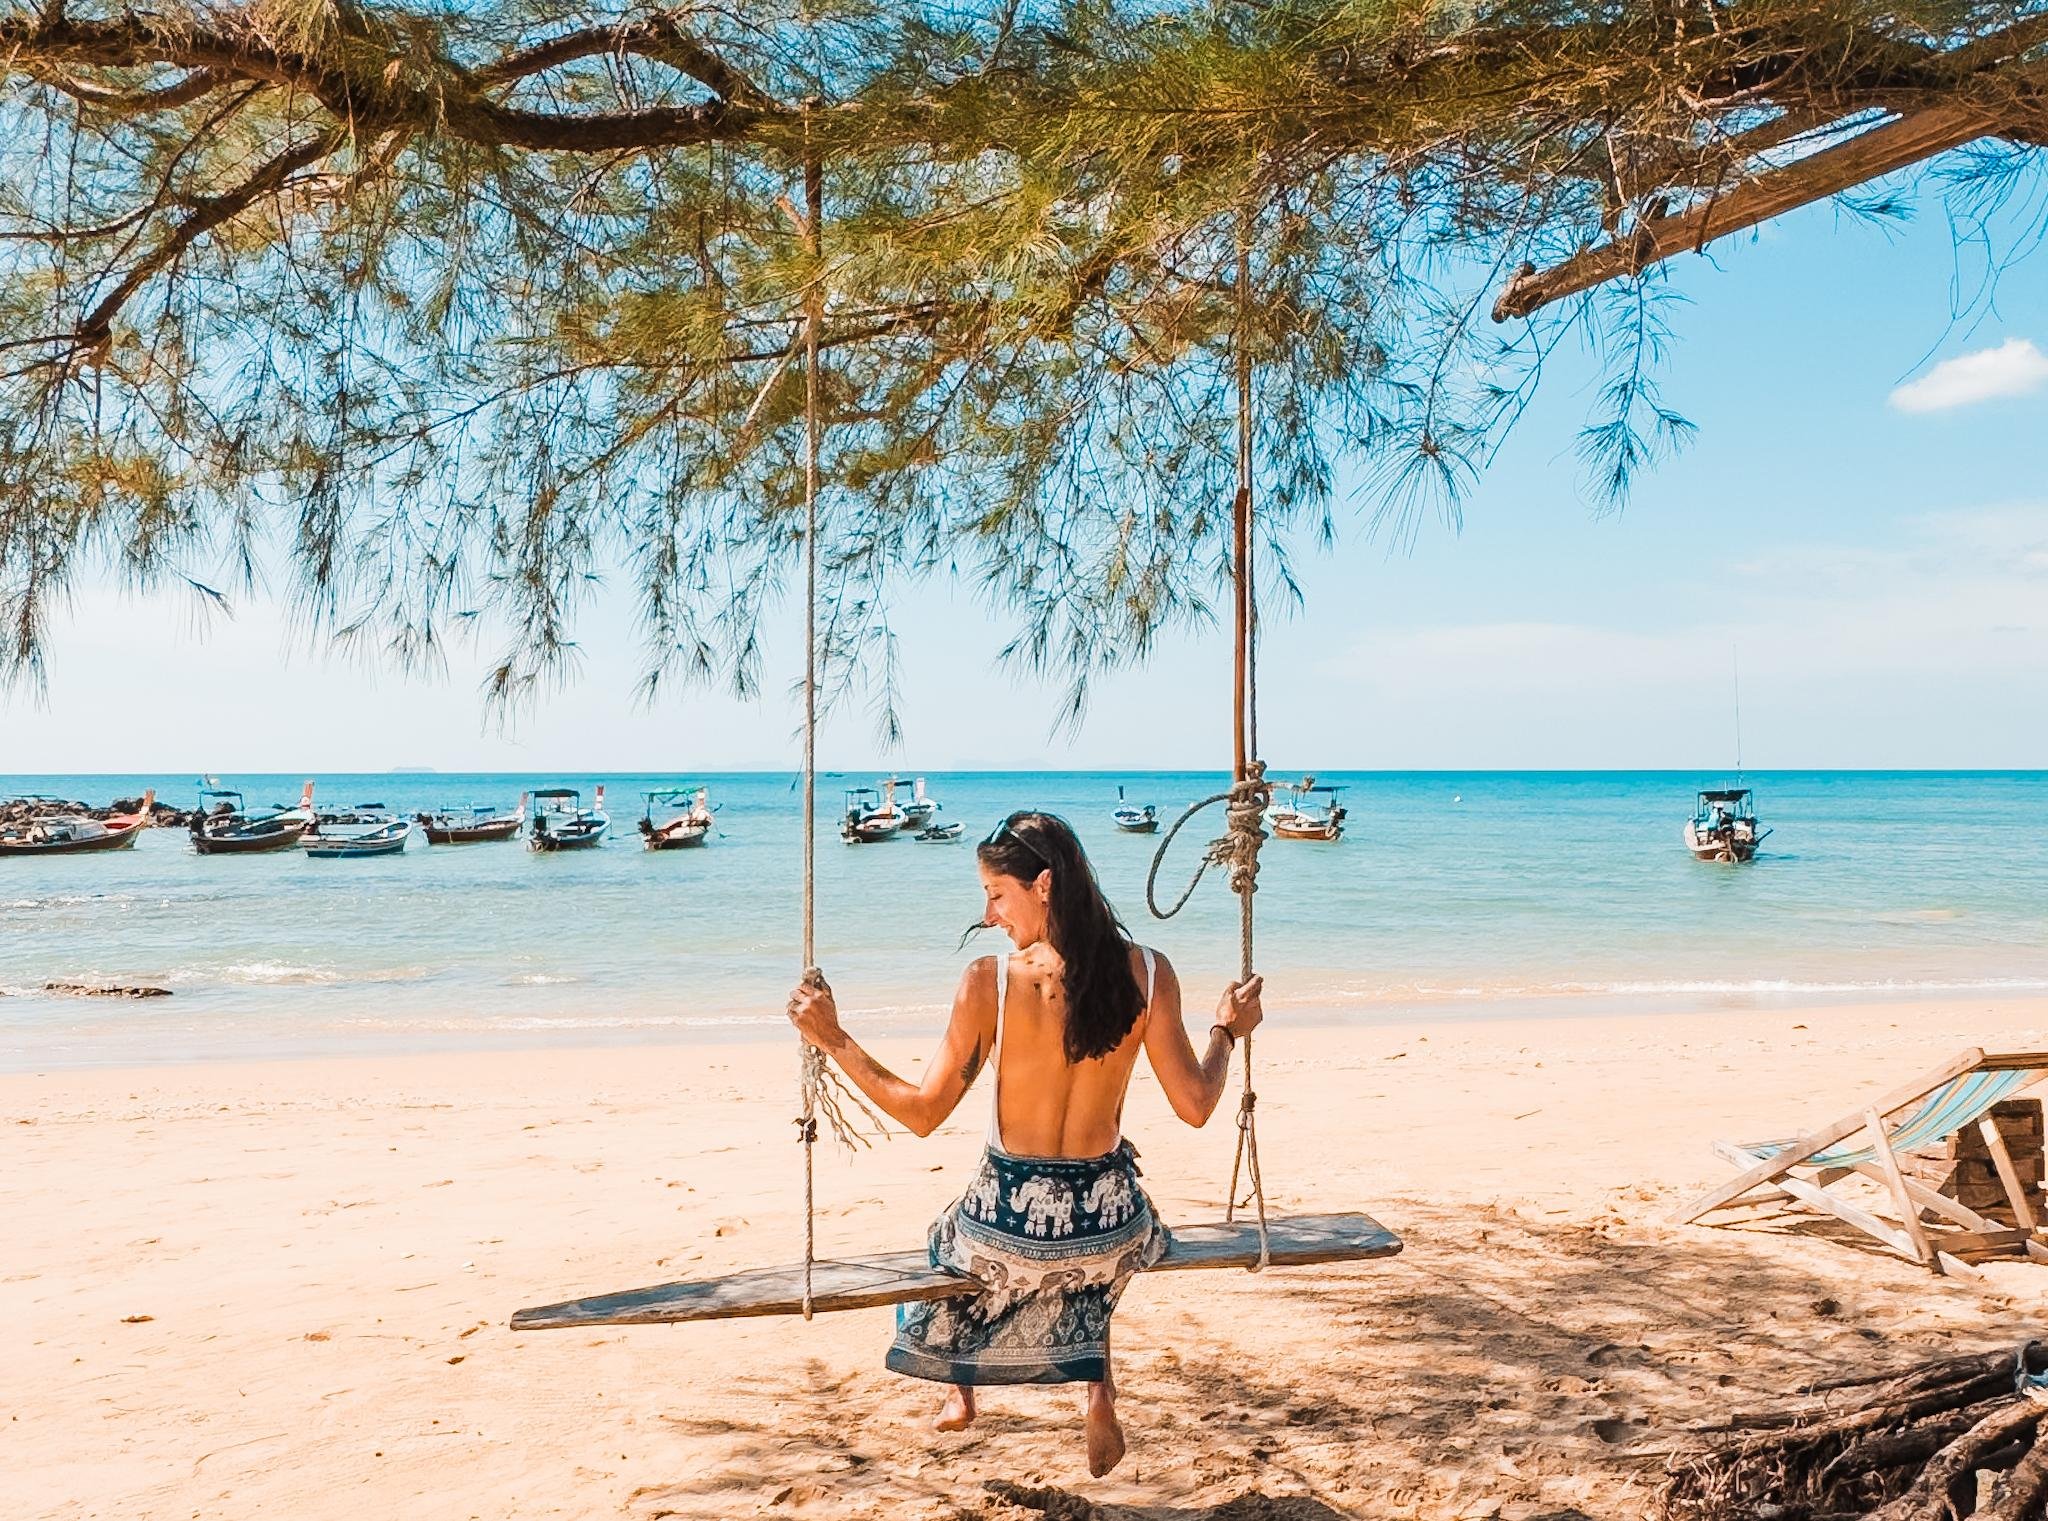
The Most Beautiful Island of Koh Lipe
2-4 Nights on this Stunning, Tiny Island
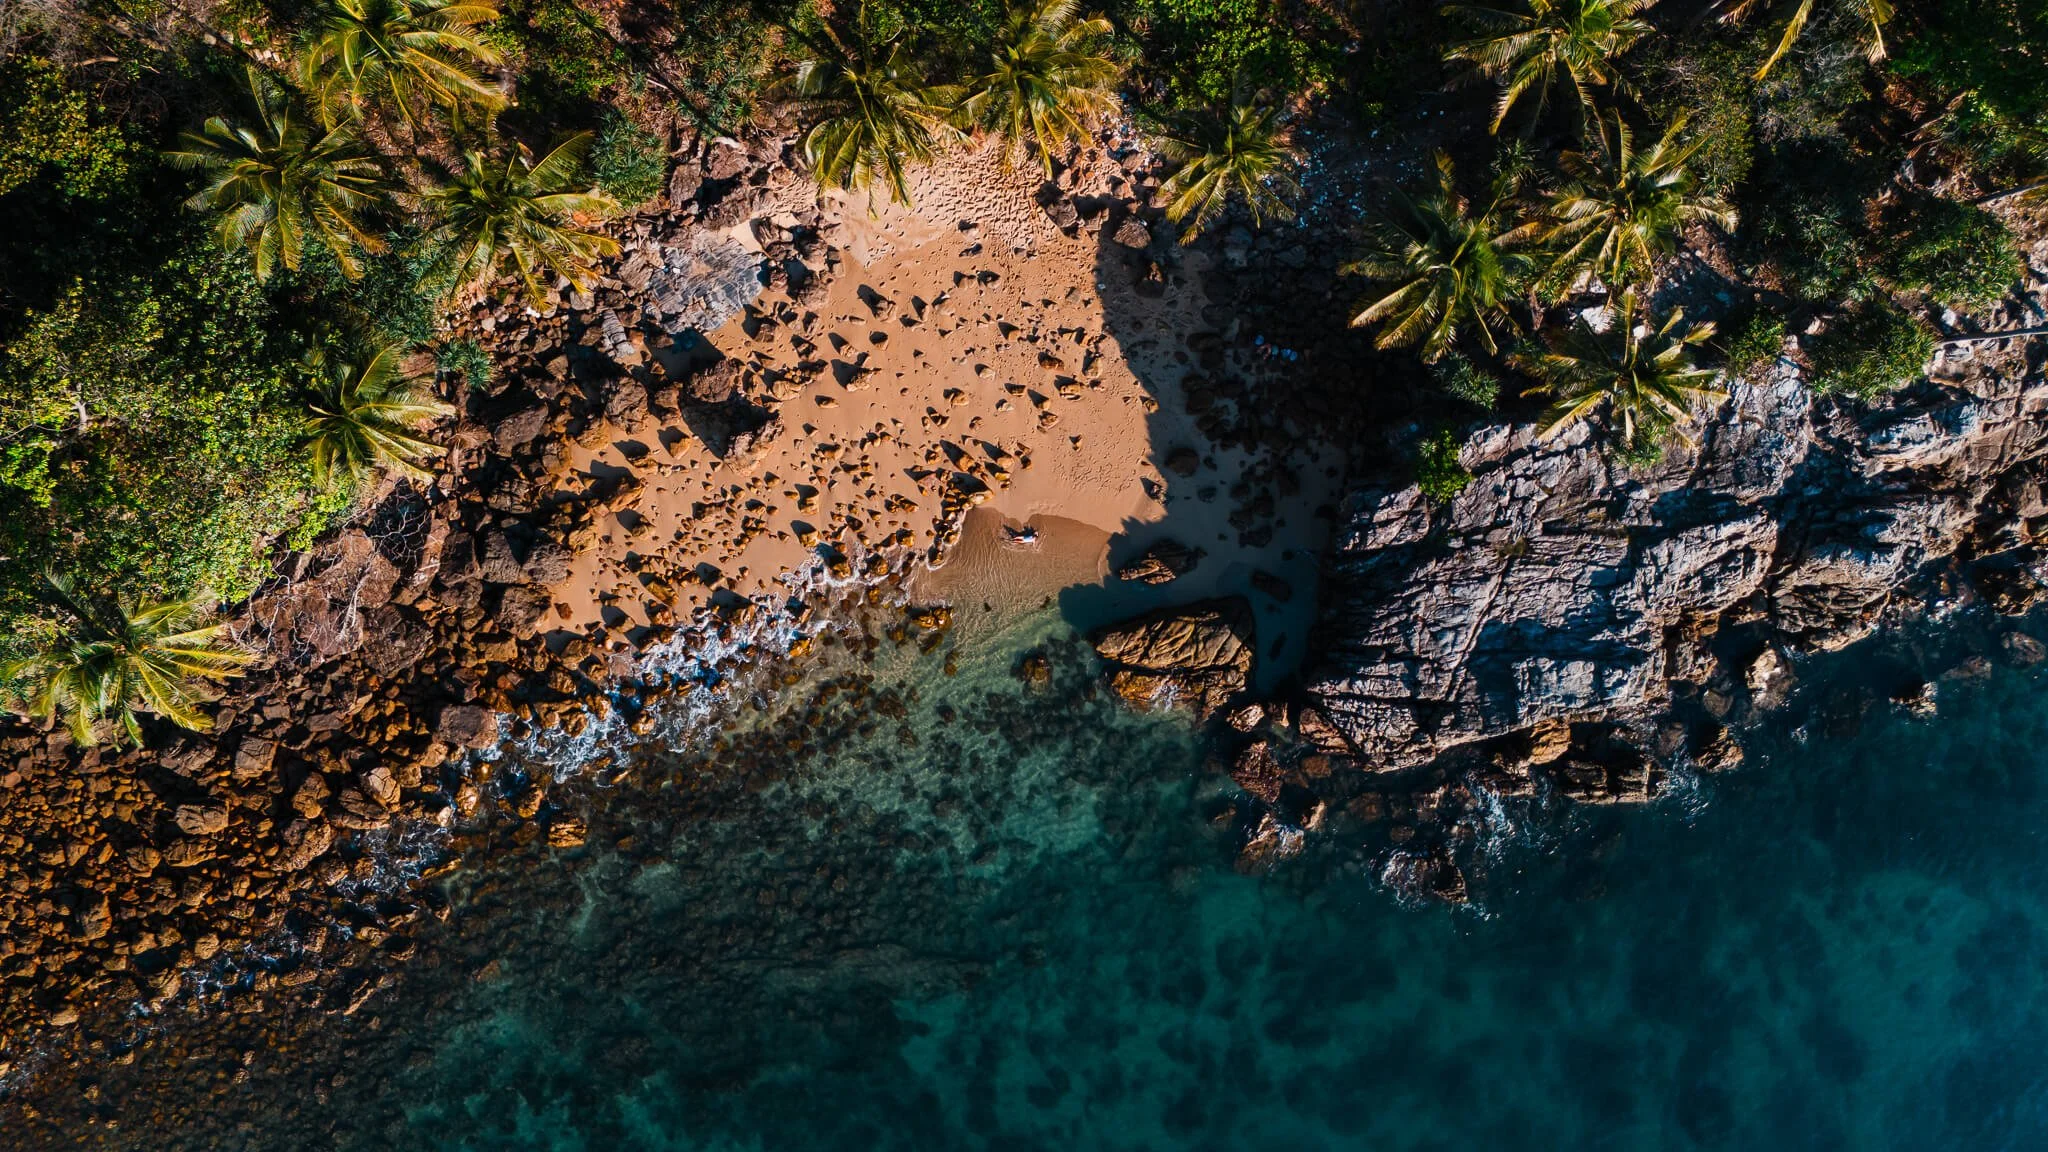
Koh Lipe was probably my favorite Thai island that we visited, but it was also the most expensive. With beautiful beaches, clear water, off the beach snorkeling, and amazing diving, you’re going to want to make sure to stay here for a couple of nights. The island is small and totally walkable, so you don’t need to rent a scooter or pay for transit, we walked everywhere. Beaches are sandy and perfect for swimming, so if you want to save money, you don’t need to book a hotel with a pool.
Beaches: Sunset, North Point Beach, Sunrise.
Snorkel Sites: Ko Usen off of Moon’s Beach
Restaurants: Elephant Koh Lipe, Harmony Bed and Bakery, Benny’s By The Beach
Where to Stay on Koh Lipe
Beachfront $$$: Bulow Casa Grand View Resort
Luxury $$$: Serendipity Beach Resort Ko Lipe
Midtier $$: Ten Moons Ko Kipe
Budget Friendly $: Lipe Inn - $58 per night when we visited. High for Thailand but this was the highest rated budget option.
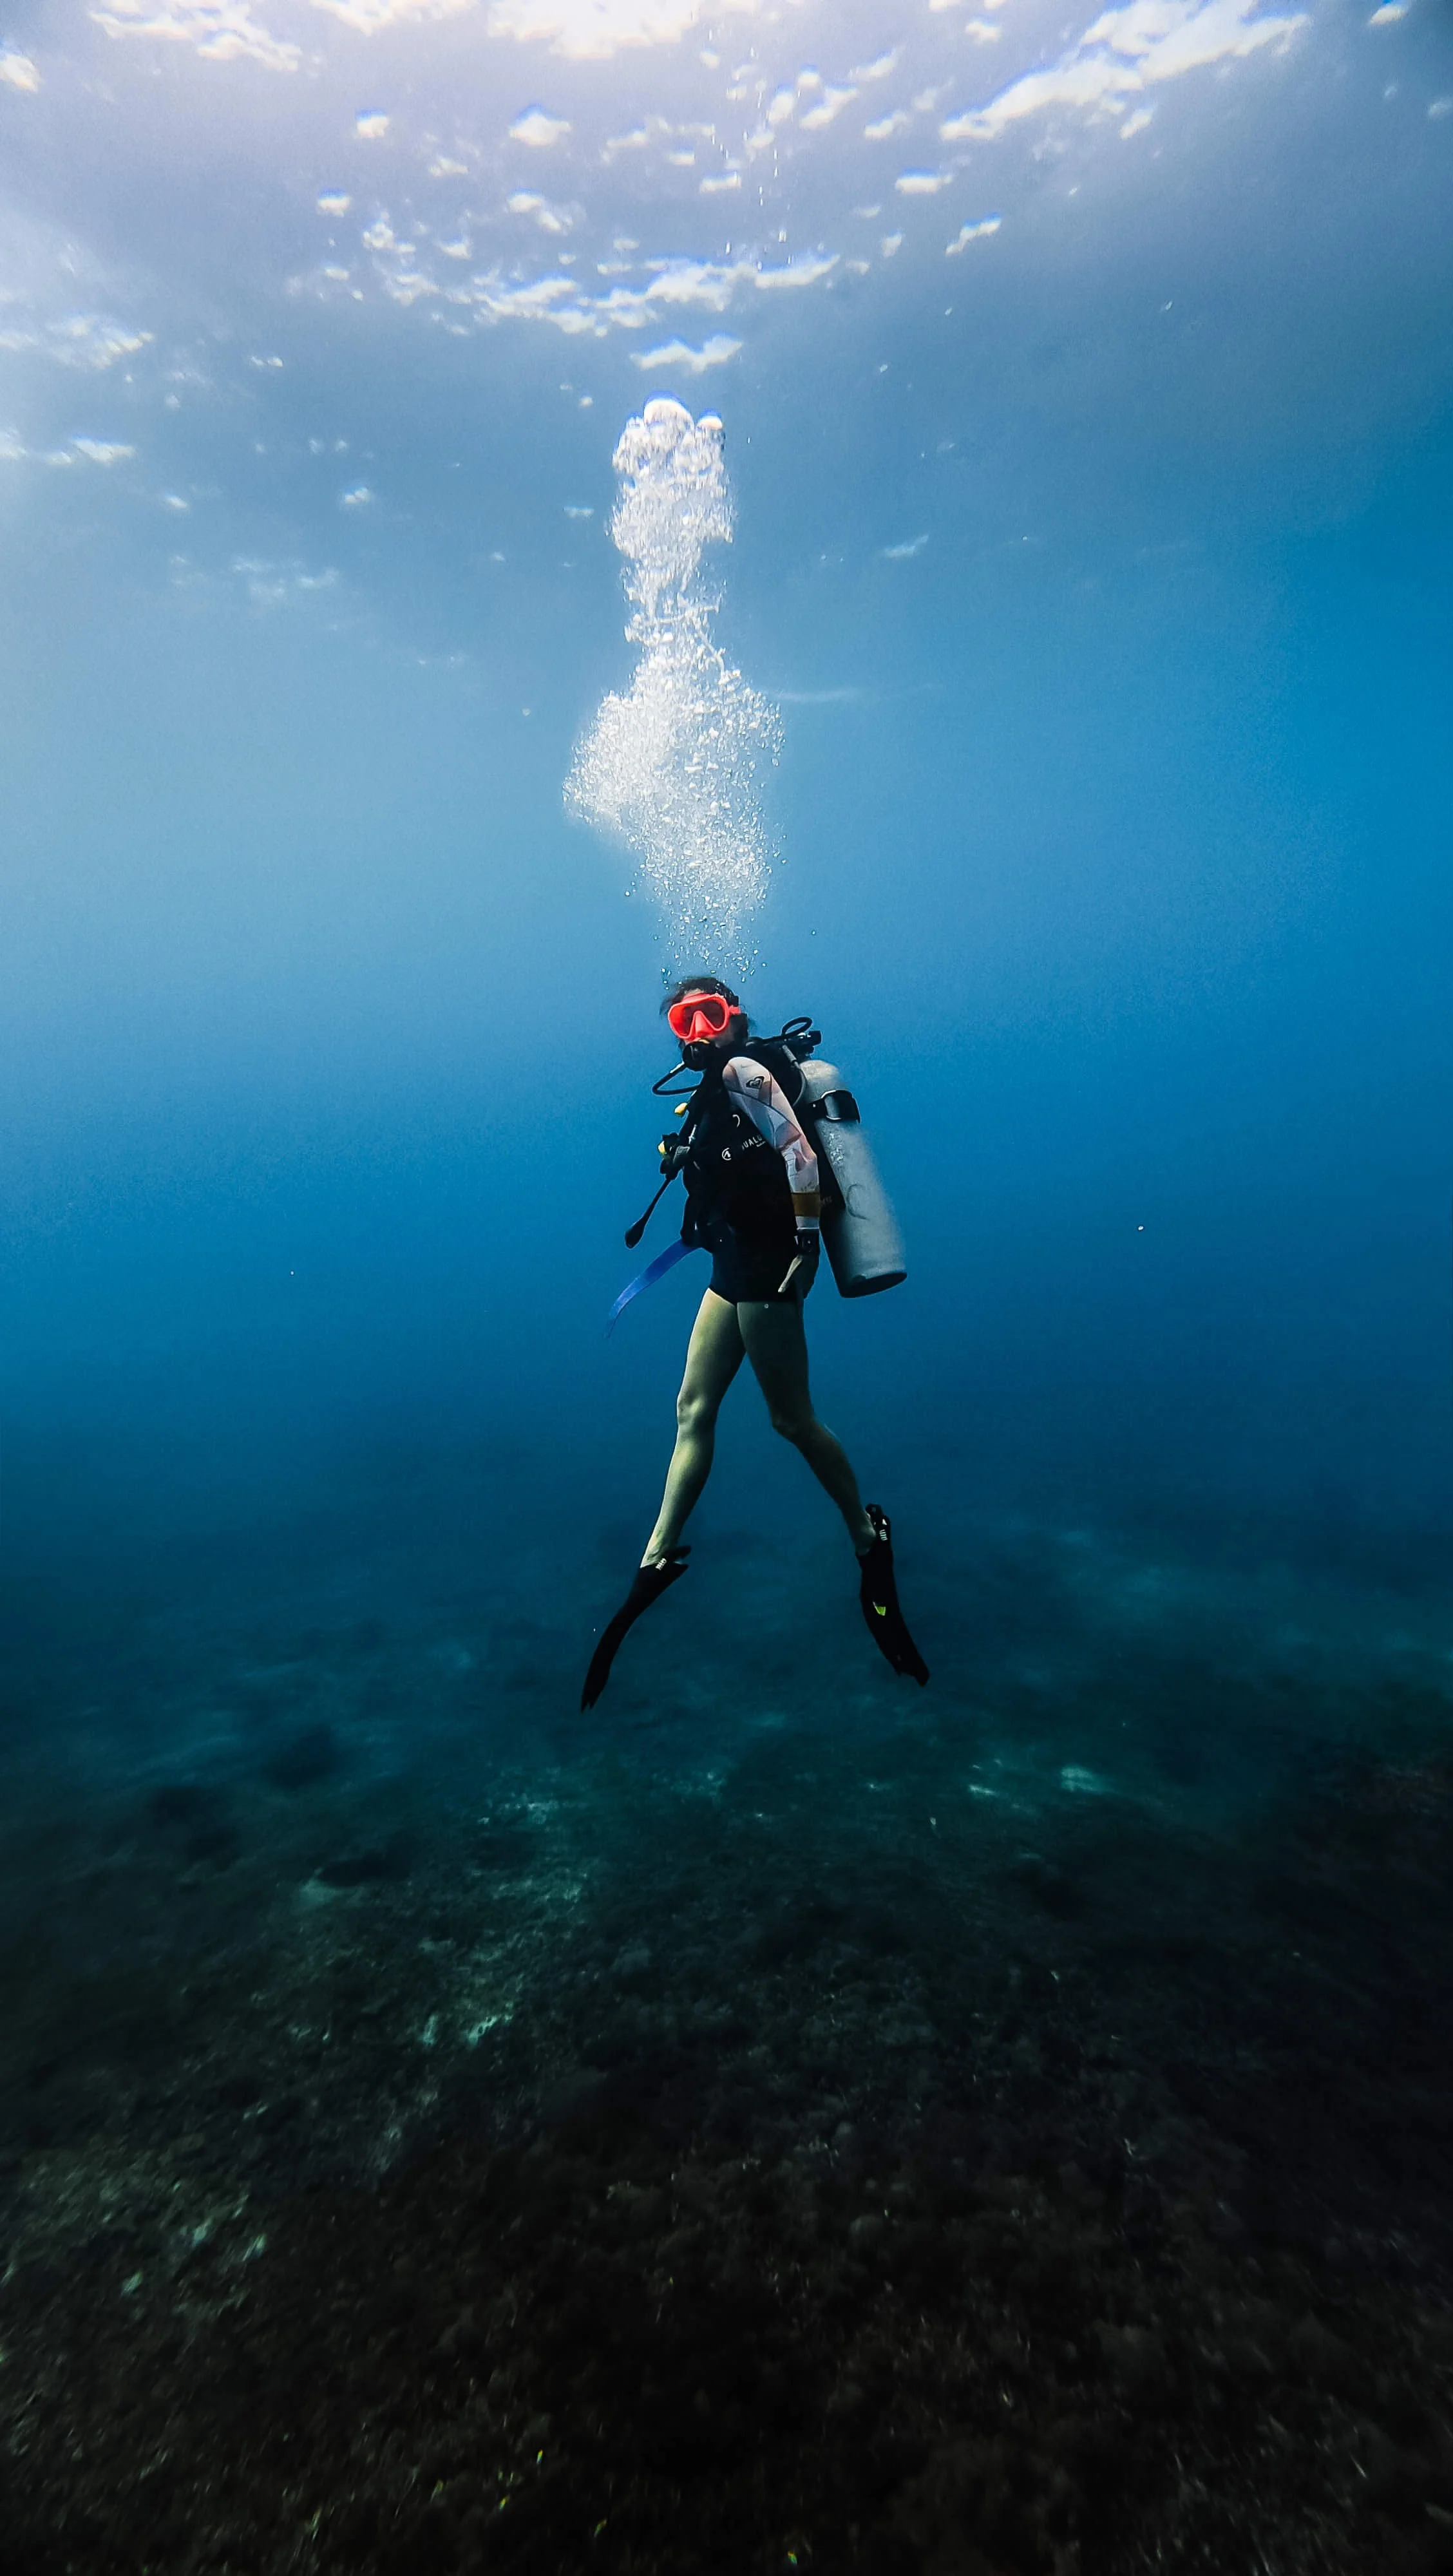
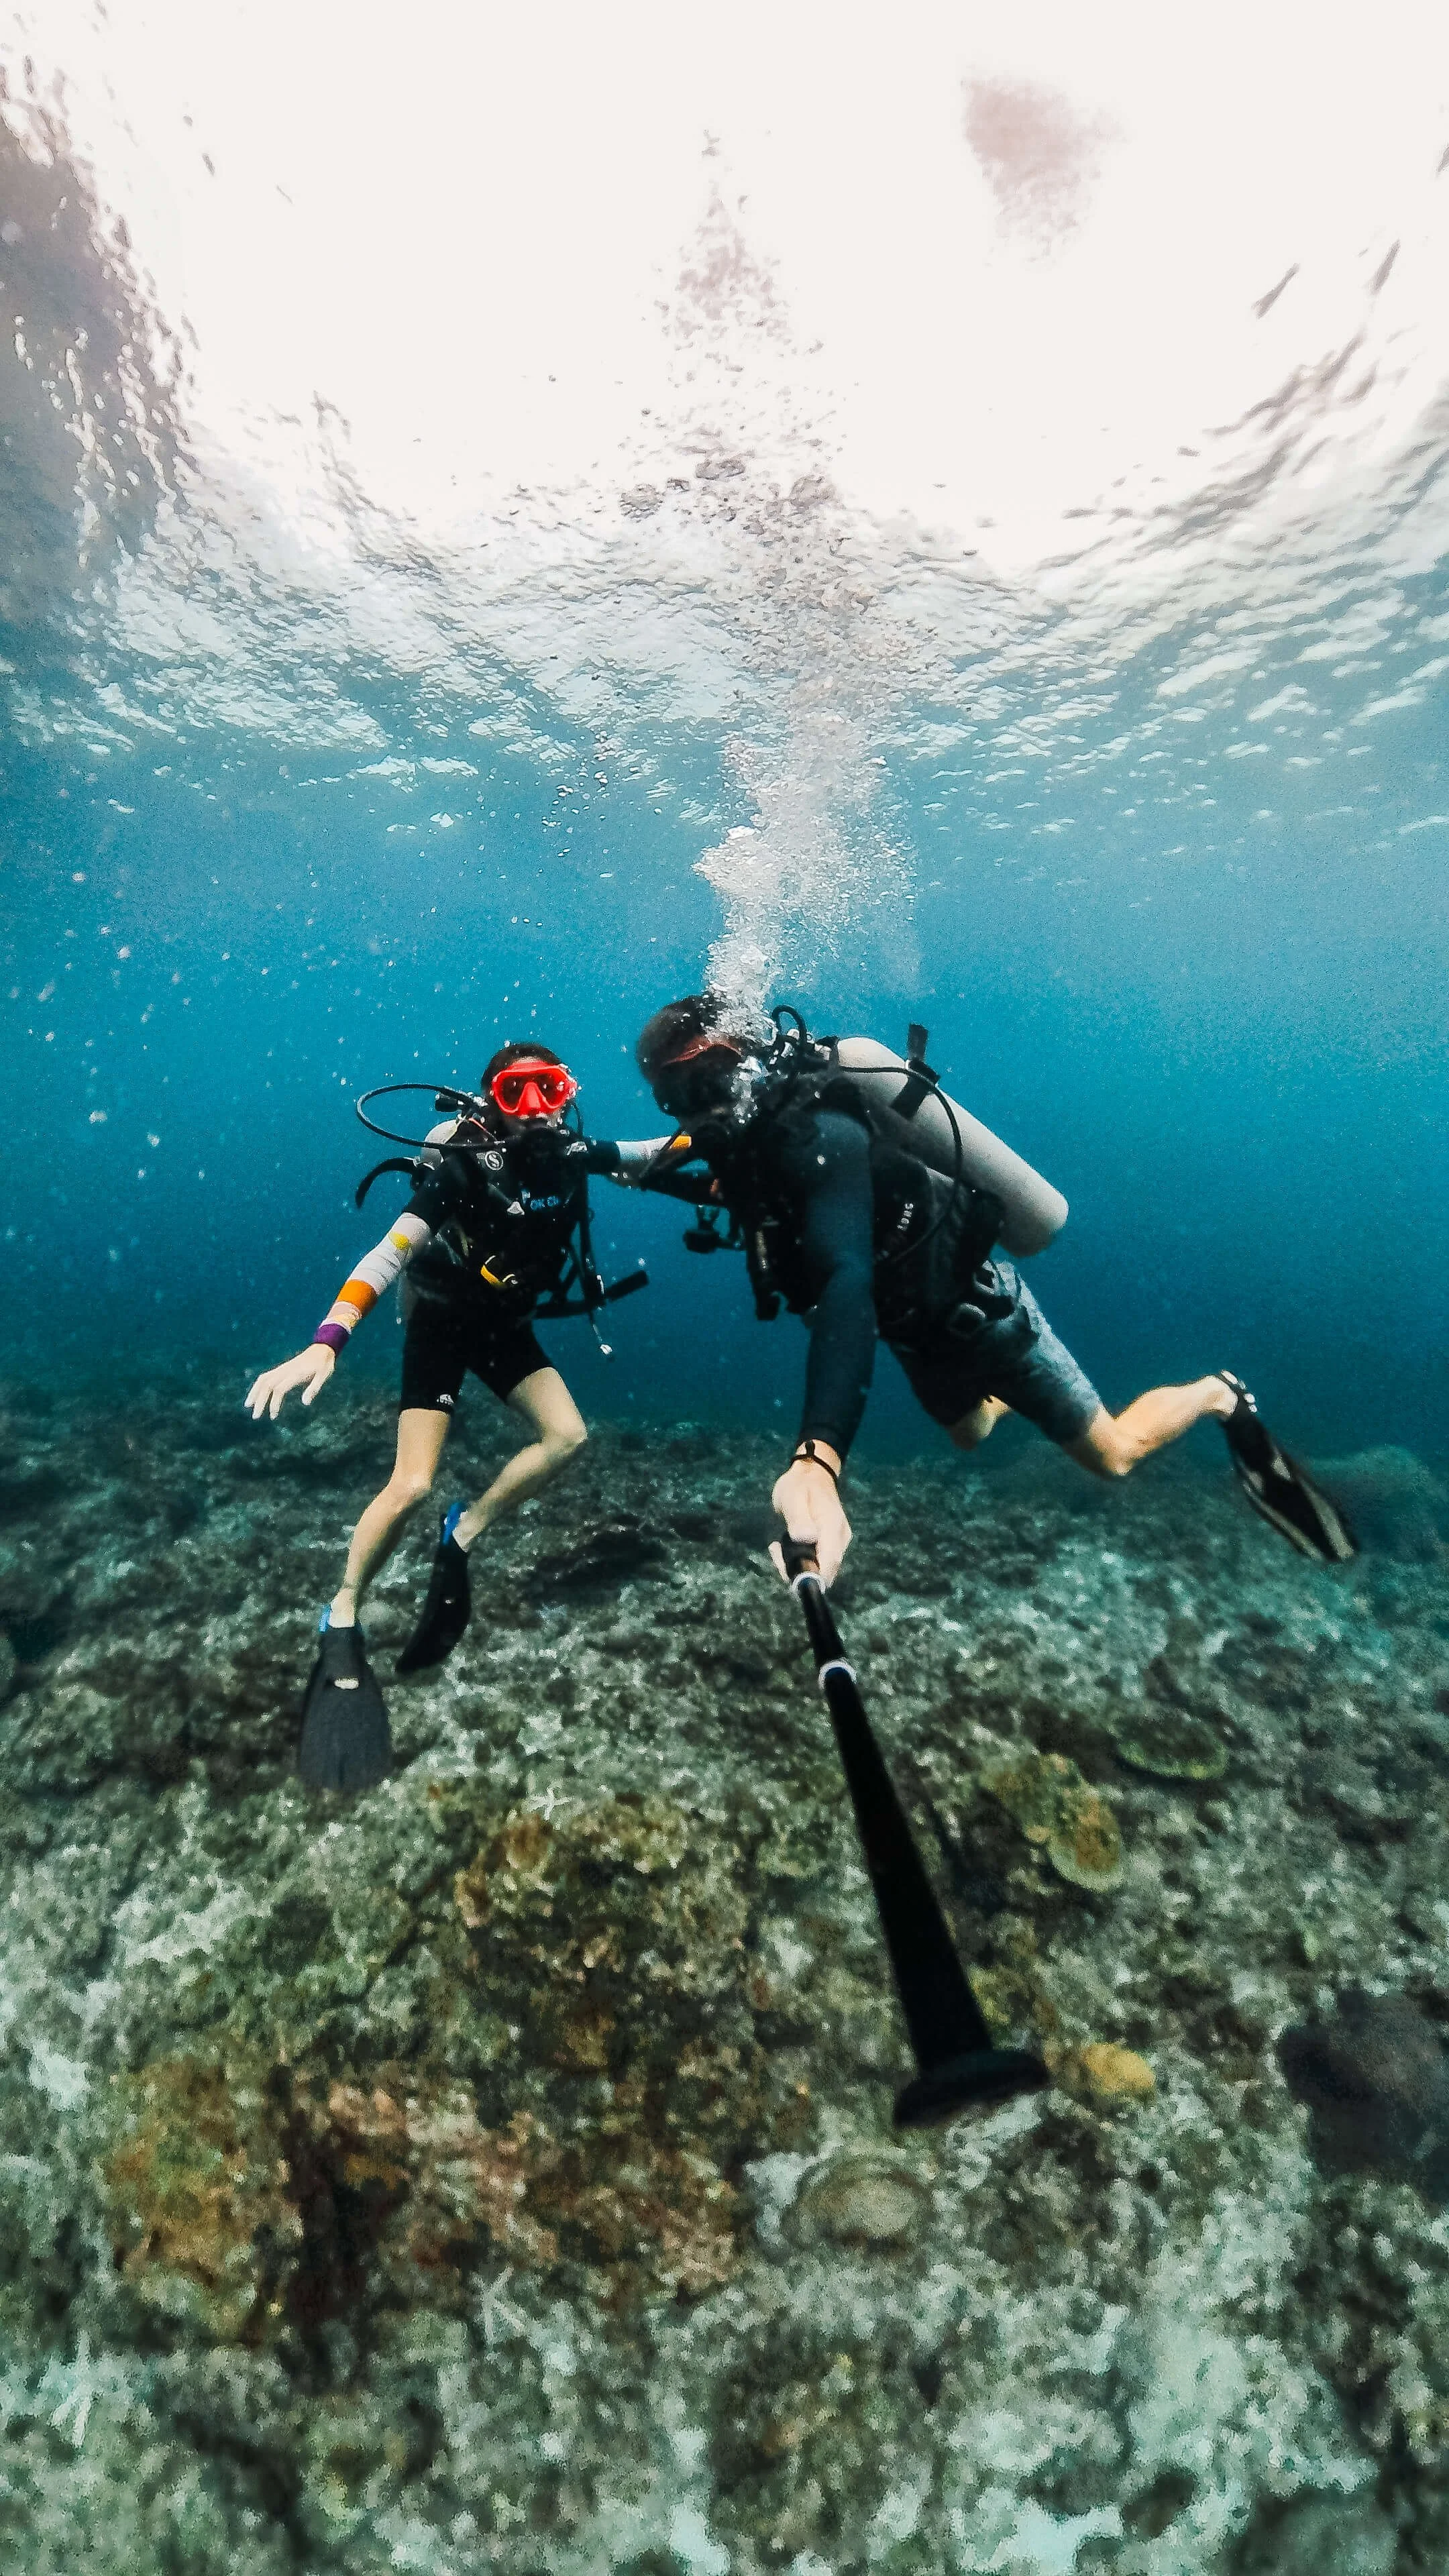
Scuba Diving in Thailand
I got my Open Water Certification on Koh Lanta with OK Divers and it was a really great experience in both the classroom and pool session and my four open water dives. Diving in Thailand is also a great way to see some of the tiny islands in the area that have dive and snorkel sites since your boat ride is included in dive cost. We spent about $100 USD per person on each dive day, which included two dives, all equipment, a dive master to guide you, the boat ride to dive sites, transport to and from your hotel, breakfast and snacks on the boat, and lunch back at the pier.
Cost Breakdown for Dives in Southern Thailand
I will note that costs will differ based on what island you’re on and what is included. Some dive shops on Koh Lipe had single dive options, while most shops include two dives in one day. The prices below are what we paid at OK Divers on Koh Lanta in December of 2024.
Cost per dive day - $100 USD per person
Cost for Open Water Course Certification - $378 USD

Rock Climbing in Krabi and Railay
A big part of coming to Thailand for me and my husband was for rock climbing. Krabi is known for its amazing limestone cliffs, exciting sport routes up stalactites, and steep, overhanging routes on Tonsi Beach in Railay. Climbing on your own does involve packing a lot of gear, and we checked a suitcase full of our rope, harnesses, shoes, quick draws, and helmets.
One of our favorite spots was a newer crag in Au Nang that was walkable from our hotel and was shaded most, if not all of the day. This area is called The North Wall and began being established in 2020 so the routes are in great shape and not too slick like those in Railay. We spent a week climbing here while staying in Au Nang and it was a blast.
The most popular area for climbing is Railay, which includes climbing on Railay Beach and Tonsi Beach. Most of the routes here are on the stiffer side , but there are still a lot of moderates. The views from the crags we climbed at were stunning of the beaches and cliffs, and Groove Tube is a must do on Tonsi Beach.
If you don’t lead outdoors but still want to climb, or want to try climbing for the first time, there are so many climbing guides in the area that offer full day or half day sessions. We saw a big mix of beginner guided groups on easy routes, and climbers with guides who just needed the gear or a belay.
What to Pack for a Trip to Thailand
If you’re sticking to southern Thailand, you won’t need any warm clothes. Even at night the temperatures are warm so you can walk around without needing a jacket. We did bring warmer clothes as well since we were heading to northern Vietnam after, but I’ll only list the clothing we wore while in Thailand here. All of my clothing, shoes, and toiletries fit into my backpack as a carry-on. We did check a bag with all of our climbing gear, but if you are not a climber, it’s totally doable to just bring a carryon.
My full packing list is listed below, but for quick and easy view of everything both me and my husband brought with us for clothing and shoes, click the links below to shop what we brought.
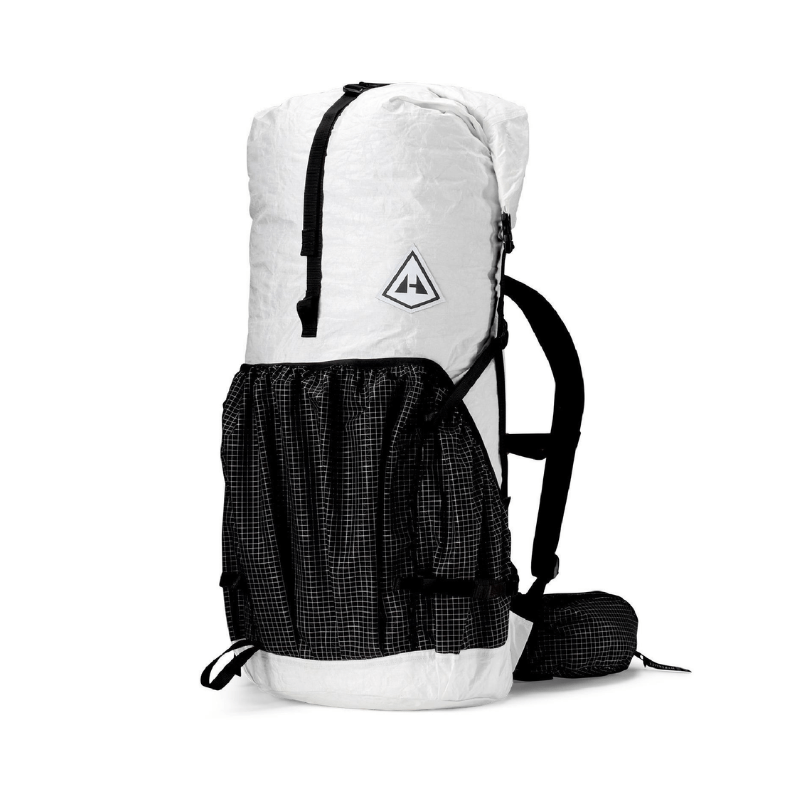
Backpack as a Carry-On
For Backpackers: Hyperlite Mountain Gear Southwest 55L - I use this pack for everything from backpacking, day hikes, to travel. It’s super comfortable, holds 55 liters and rolls down small when you just want to use it as a day pack or for walking around. This is the perfect option to bring if you plan to also hike or climb since it is large enough to fit gear and comfortable for hiking in.
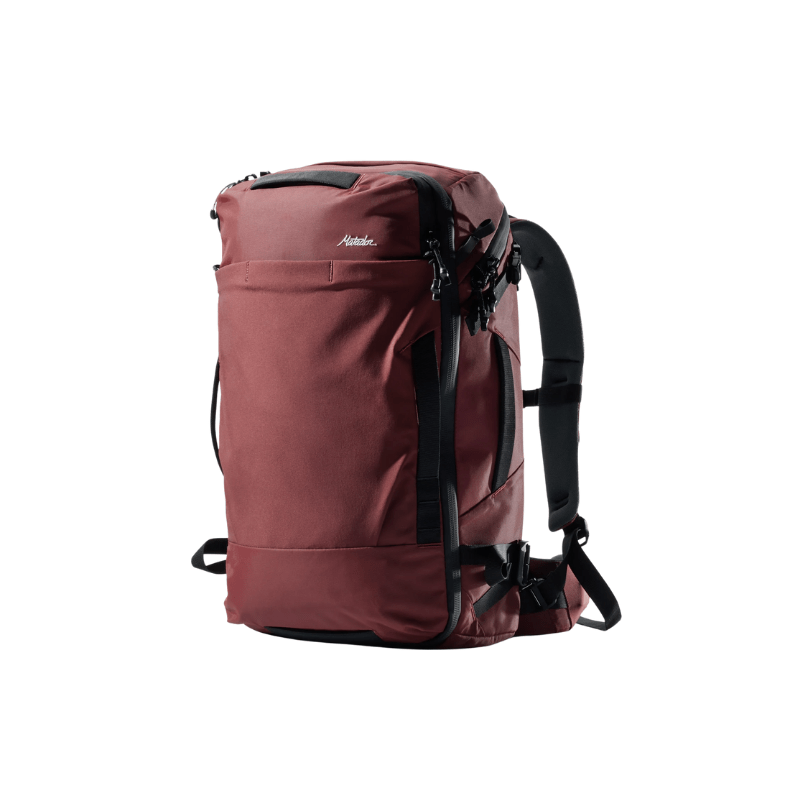
For General Travelers: Matador Globerider35 Travel Backpack - This is the perfect travel pack and I am obsessed with how well designed it is. You can fit everything in it and the pockets and design are so well thought-out. If you are only needing a travel bag, this is the one. It can also work for hiking or around town, but it is made as a travel pack.
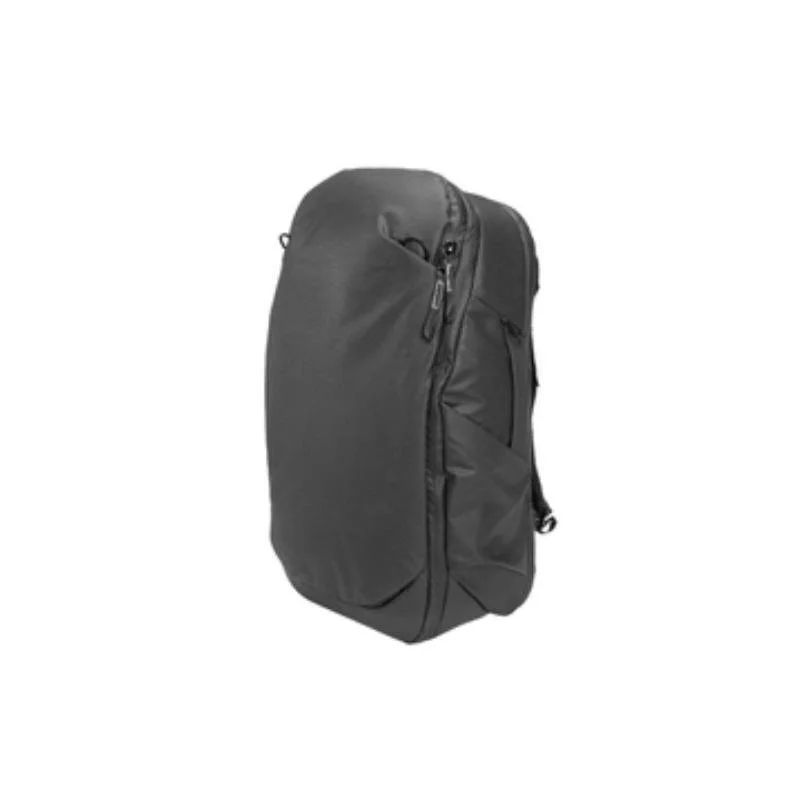
For Photographers: Peak Design Travel Pack 30L - If you are bringing a lot of camera gear, Peak Design is always a great choice for keeping it protected. This pack has enough space for your camera and lenses, plus clothing. And if you need to check it, the shoulder straps stow under magnetic flaps.
Shoes and Sandals
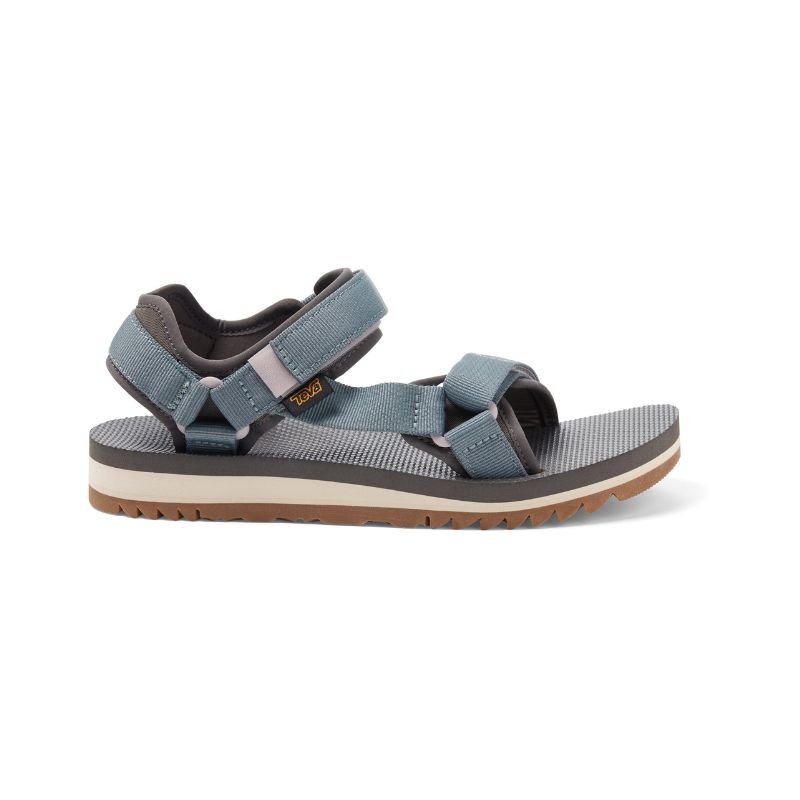
Teva Universal Trail Sandals - It’s so important to have sandals you can walk around in, and these have been so comfortable for all day wear. On past trips I have used Teva Hurricanes and love them as well.
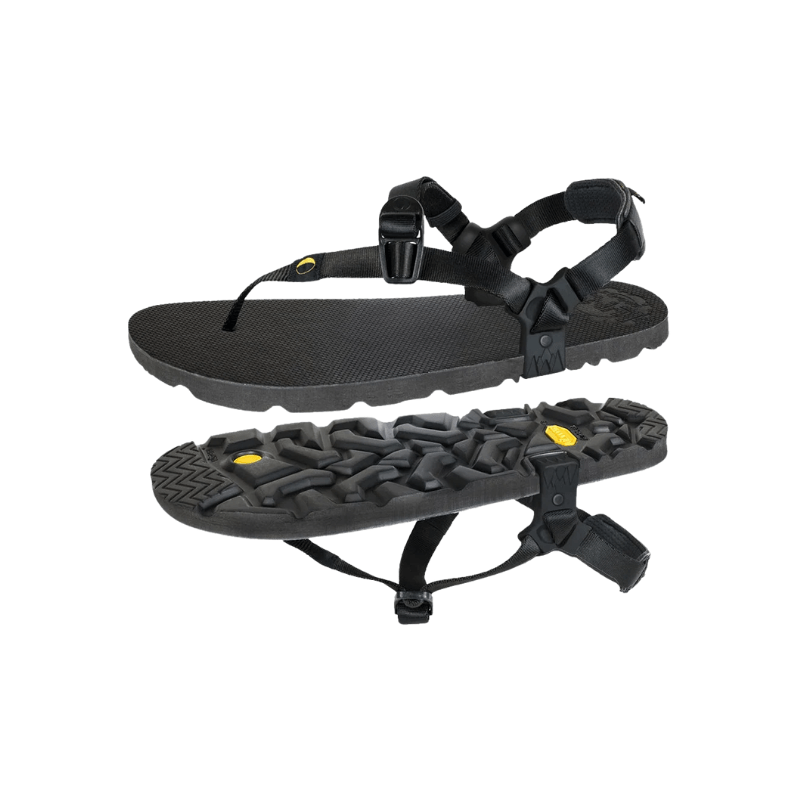
LUNA Sandals - I love the Mono Winged Edition for travel, they are very lightweight, minimal, and comfortable for walking and beach days. These are my new favorite and you can get 15% off with this link.
Altra Timp 5 trail runners - Because of how warm it was and that most of our time was spent walking around, at the beach, and a little easy hiking, I could have gotten away with only sandals. I only wore my trail runners a few times, but they were great for travel days and at the airport.

Clothing I Brought With Me (women’s clothing)
Tops:
Sports bra x2
Beyond Yoga Crop Top - this is my favorite for climbing and hiking in.
Free People Happiness Runs Crop Top - I live in these and this was great to wear with a wrap skirt, shorts, or even for hiking.
Lightweight Smartwool Tee - I always travel with a lightweight merino wool tee, they feel great on and don’t get smelly.
Astroman Sun Hoodie - the sun is really intense so I was glad to have a sun hoodie when I didn’t want to have to put sunscreen on my arms.
Swimsuits x2:
Londre Minimalist - this is the suit I always get questions about and complements on in photos, it’s perfect for by the pool or laying on the beach.
Left on Friday two piece - For swimming in the ocean and snorkeling/wearing under a wetsuit. My favorites are the Reef Top and Hi Hi Bottom.
Bottoms:
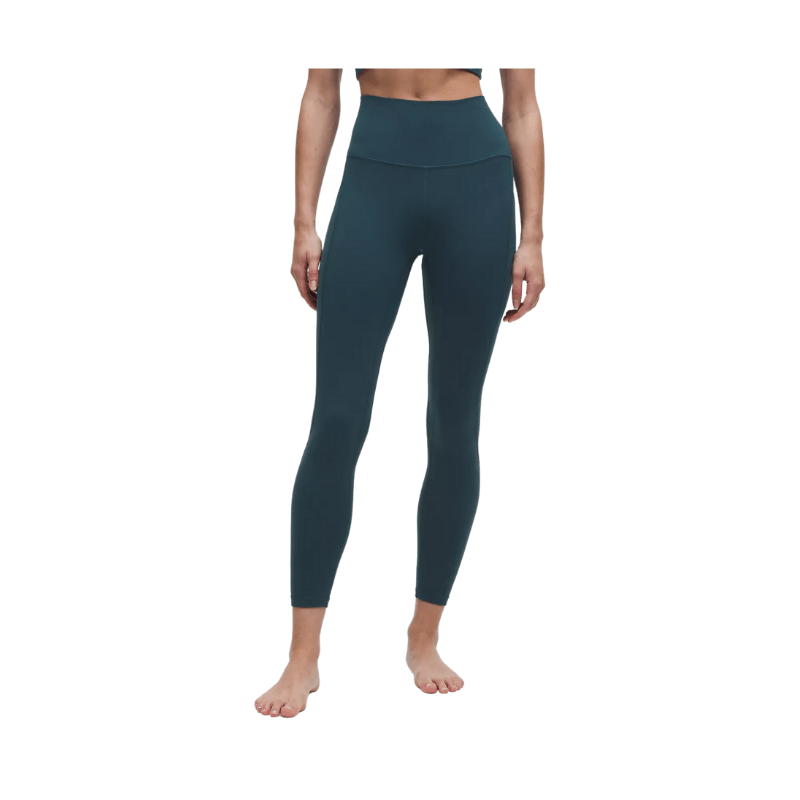
Lululemon Align Leggings - to wear on flights and travel days, or at hotels in the AC.
Running shorts - for hikes and walking around town or the beach, these are my favorite for hiking and backpacking.
Jean shorts - for around town, could have gotten by without these but looked better than outdoor shorts.
Beyond Yoga Keep Pace bike shorts - for climbing, the longer length and high waist feels better with a harness, it’s way too hot and humid to climb in pants.
Dress:
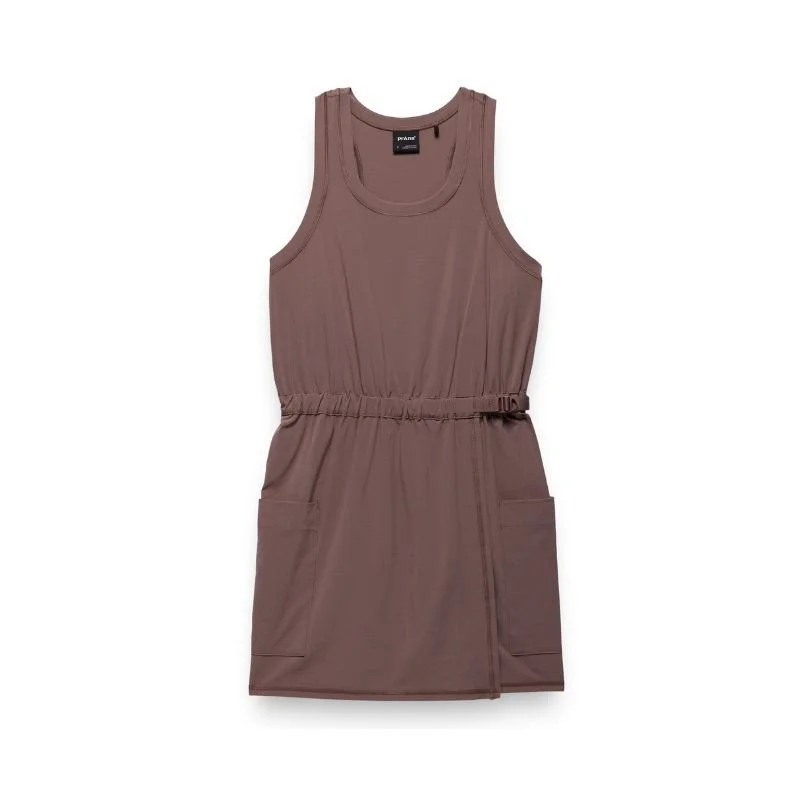
prAna Railay Pocket Dress - Having a lightweight, cool, and quick dry dress is my go-to for tropical travel.


Clothing I Purchased in Thailand
Elephant print wrap skirt (these are everywhere and super cheap) - about $5 USD that I wore all the time going to and from the beach and walking around.
Swimsuit cover up dress - about $9 USD that I wore to the beach and for photos.
Roxy Longsleeve shorty wetsuit, 3mm - about $50 USD at the mall, retails in the US for $200, this was perfect for snorkeling to keep my back and arms covered from the sun and for added warmth.
Snorkel/Scuba Gear for Beach Days and Diving
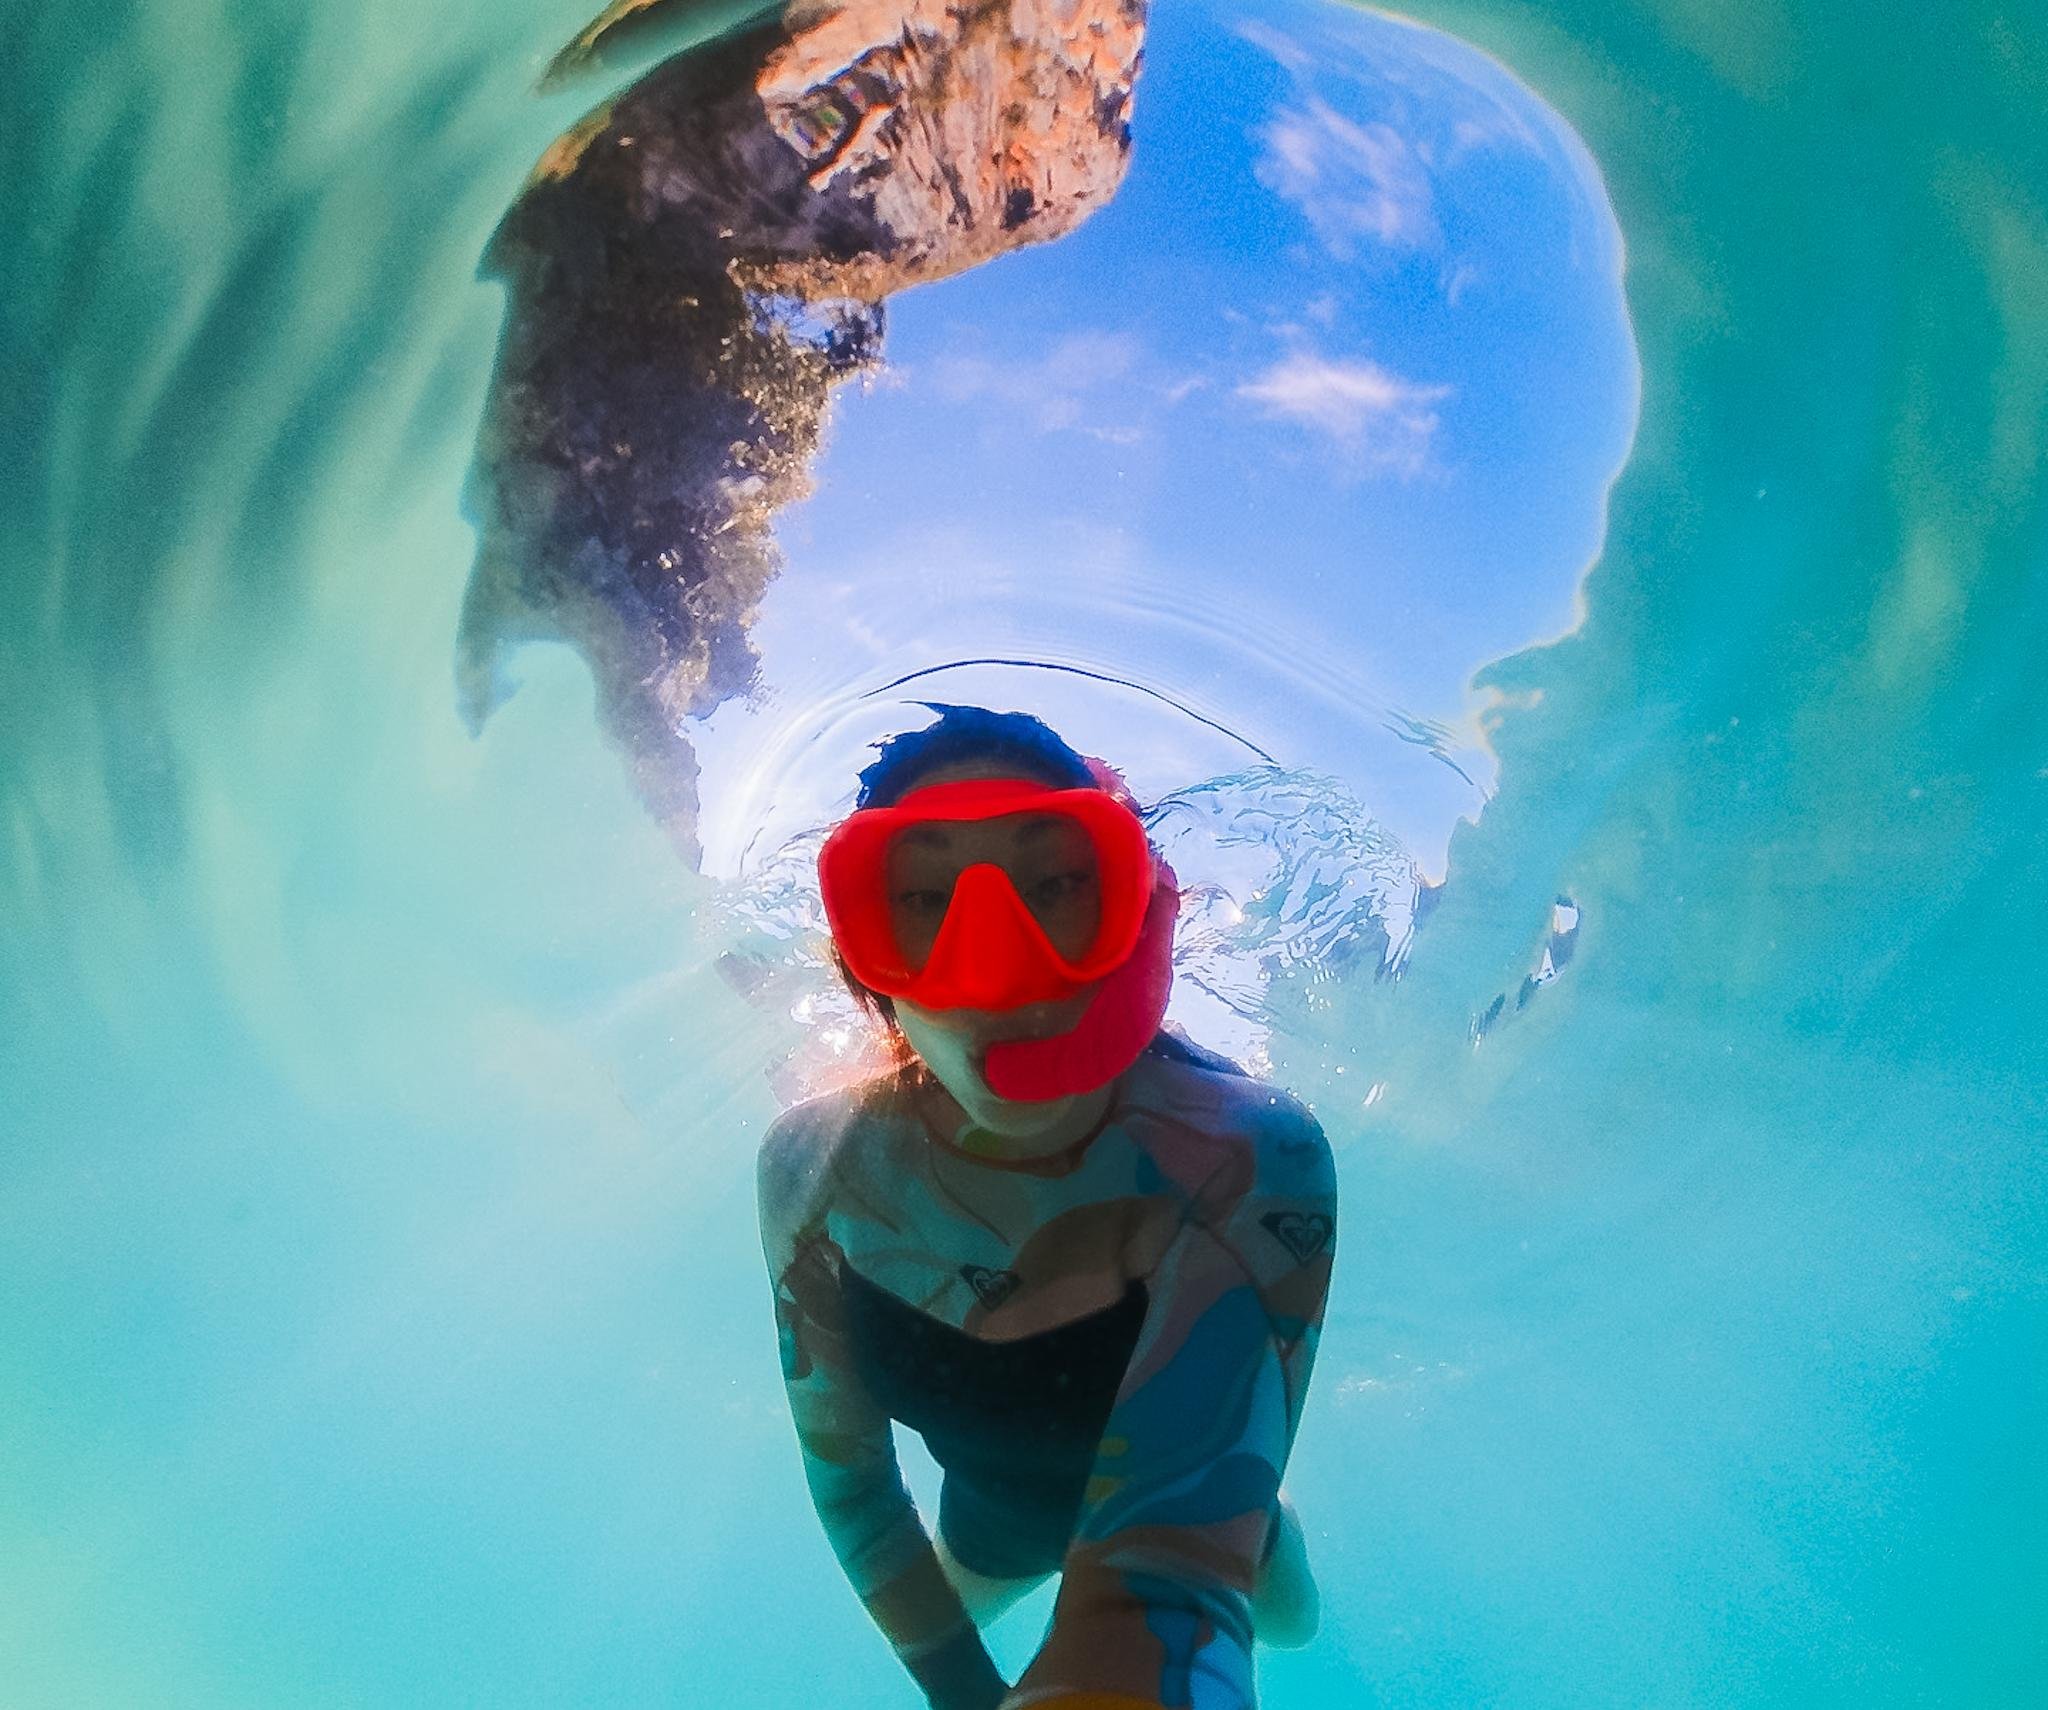
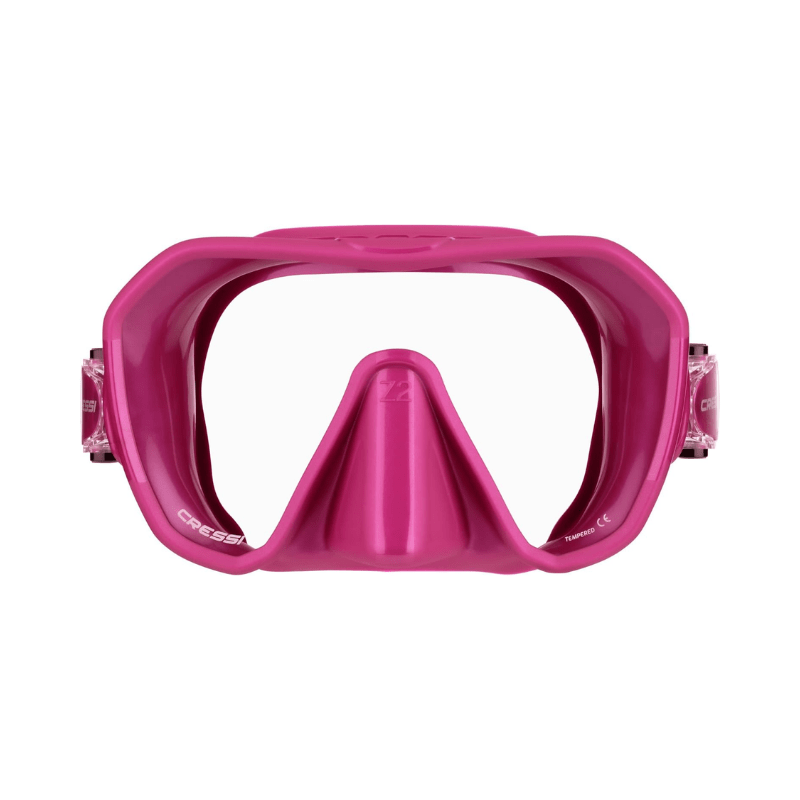
Mask - I purchased this ahead of time in the US at a dive shop to be able to get fitted for my face and to have my own mask for snorkeling and diving during the trip. I was planning on taking the Open Water dive course and did not want to use rental gear for things that touch my face and mouth. I love the mask I got and that I was able to get a bright color. It’s actually a lot cheaper on Amazon than it was in person.
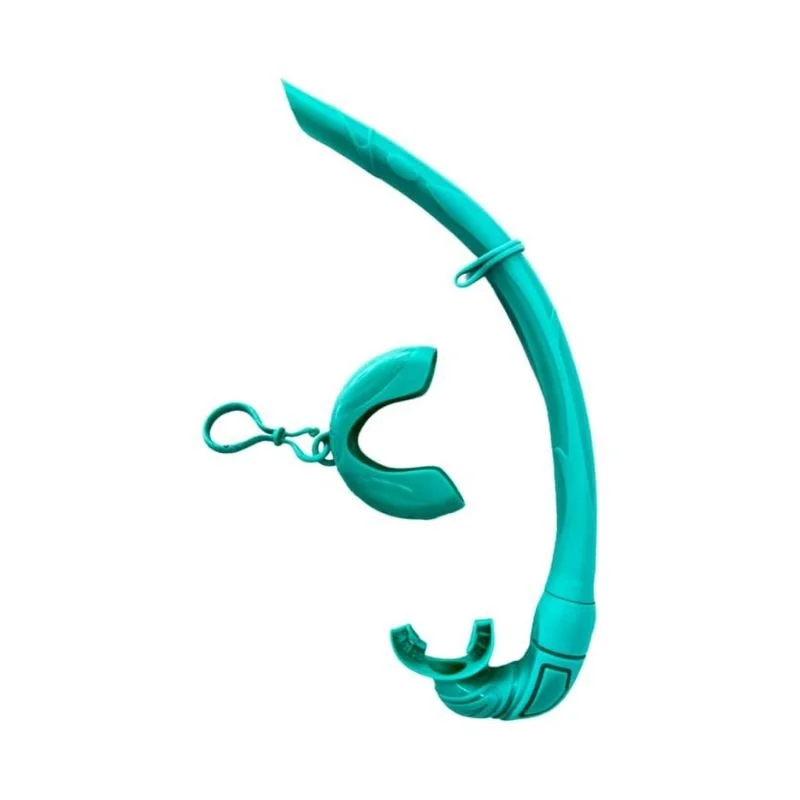
Travel Snorkel - Also purchased in advance with my mask, this one rolls up and fits into my mask case to make it easy to travel with. This exact snorkel has been great and I highly recommend it.
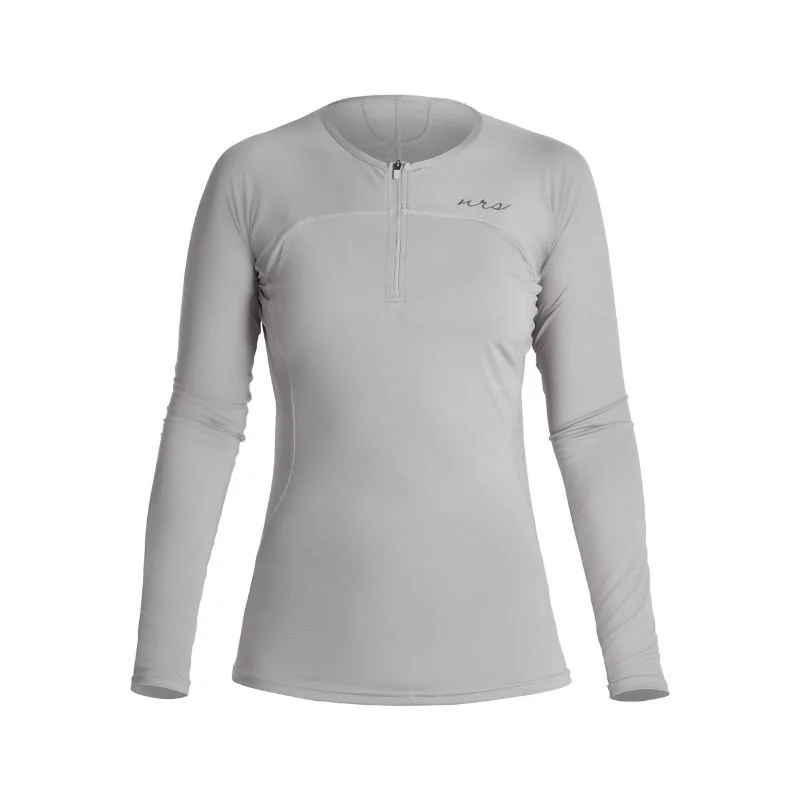
Rashguard - If you go diving, the shop will give you a wetsuit, but for snorkeling I really enjoyed having my own long sleeve shorty, or at least a rashguard to protect from the sun and add a little warmth.
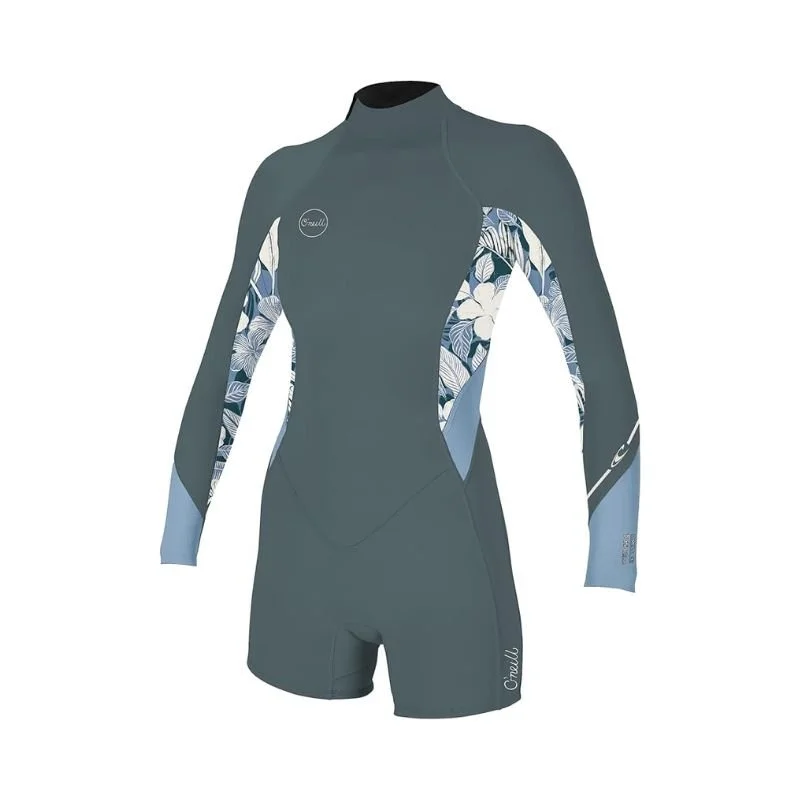
Shorty Wetsuit - Even in the warm tropical waters, I still would get cold snorkeling and diving. I loved having a shorty wetsuit to help keep me warm and protected from the sun when playing in the water.
Camera Gear We Traveled With
Camera - Sony a7iv with 24-70mm G Master lens
Drone - DJI Mini 4 Pro
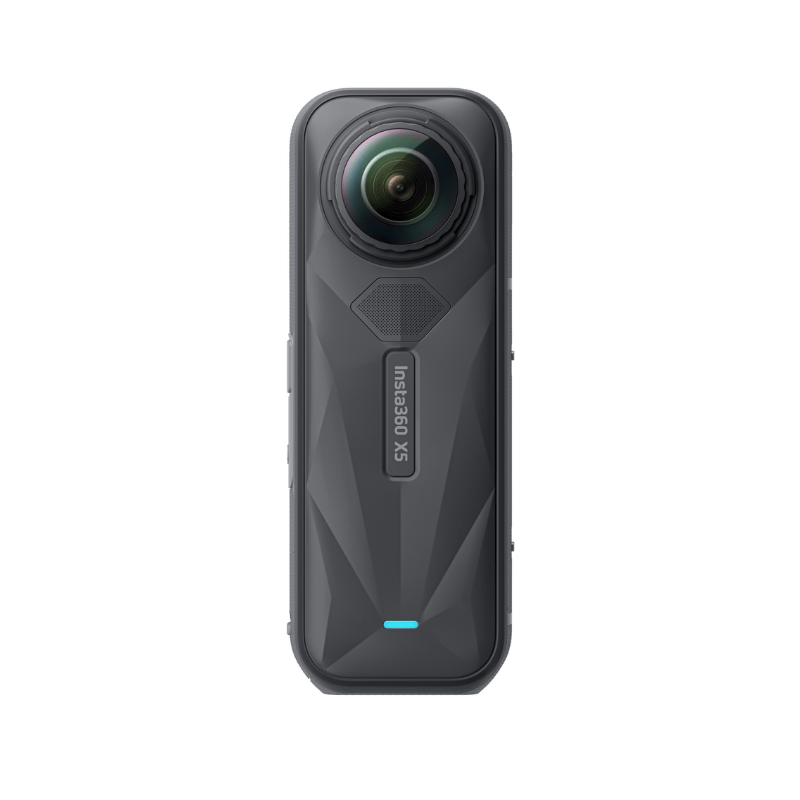
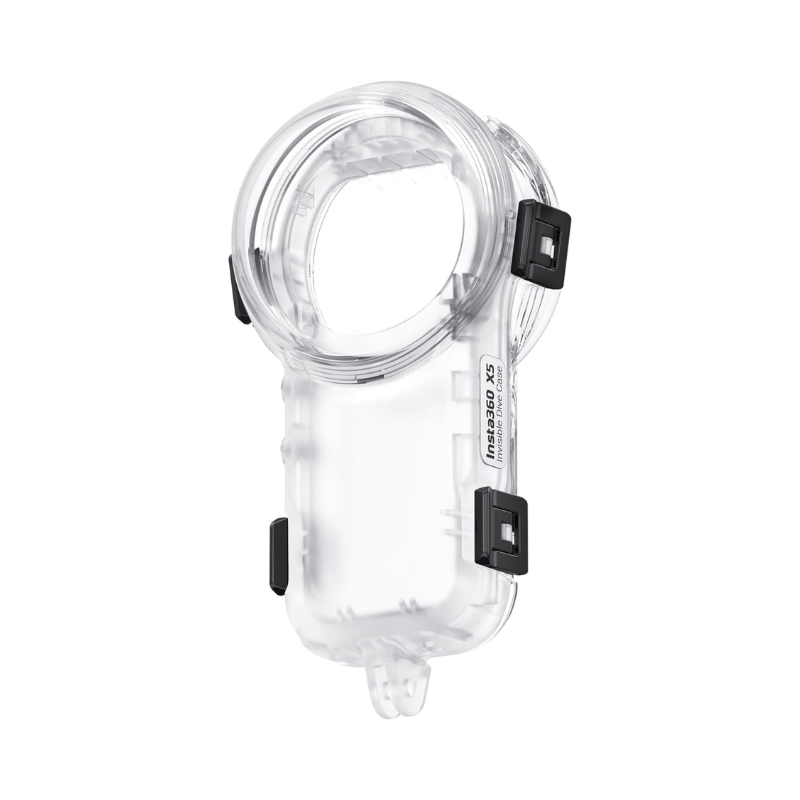
Insta360 X5 with Selfie Stick Tripod, Dive Case, and Dive Selfie Stick
Action Camera (for diving/snorkeling) - DJI Osmo Action 5 Pro, we purchased this camera after Thailand but cannot recommend it enough for high quality video. We also have the dive case and floating mount bundle.
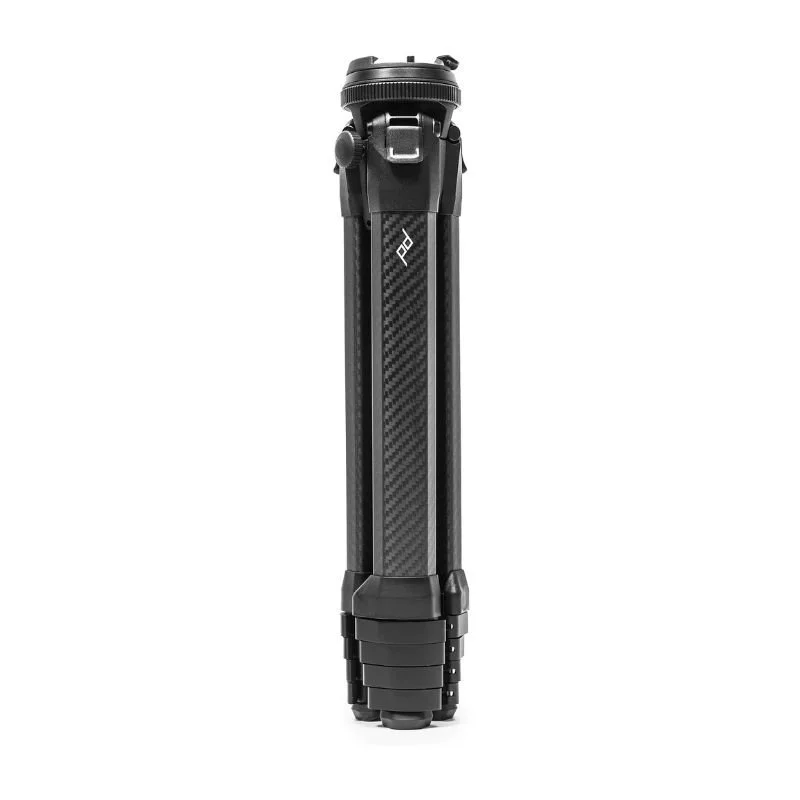
Tripod - Peak Design Carbon Fiber Travel Tripod, it’s pricy but light for travel and backpacking and a really great tripod, it even comes with a phone mount.

Extras and Accessories for International Travel
Toiletries - Everything I usually travel with
Sunscreen - I am a huge fan of Dermatone and all of their sunscreen lotions are reef safe!
Charging cords
iPad - for watching movies and photo editing
Hand sanitizer
Basic first aid kit with medications
Dehydrated meals for emergency meals
Thailand Tours That are Worth the Splurge
Scuba Diving - We Googled dive shops in each area we wanted to dive, looked for the highest ratings and read reviews. Everywhere we have gone diving in SE Asia has been amazing, and all dive shops will have a WhatsApp number for asking questions and booking dives.
Snorkeling - Everything we did was off the beach, but there are a ton of snorkel tours everywhere if you want to get out into the ocean and get better reefs and clarity.
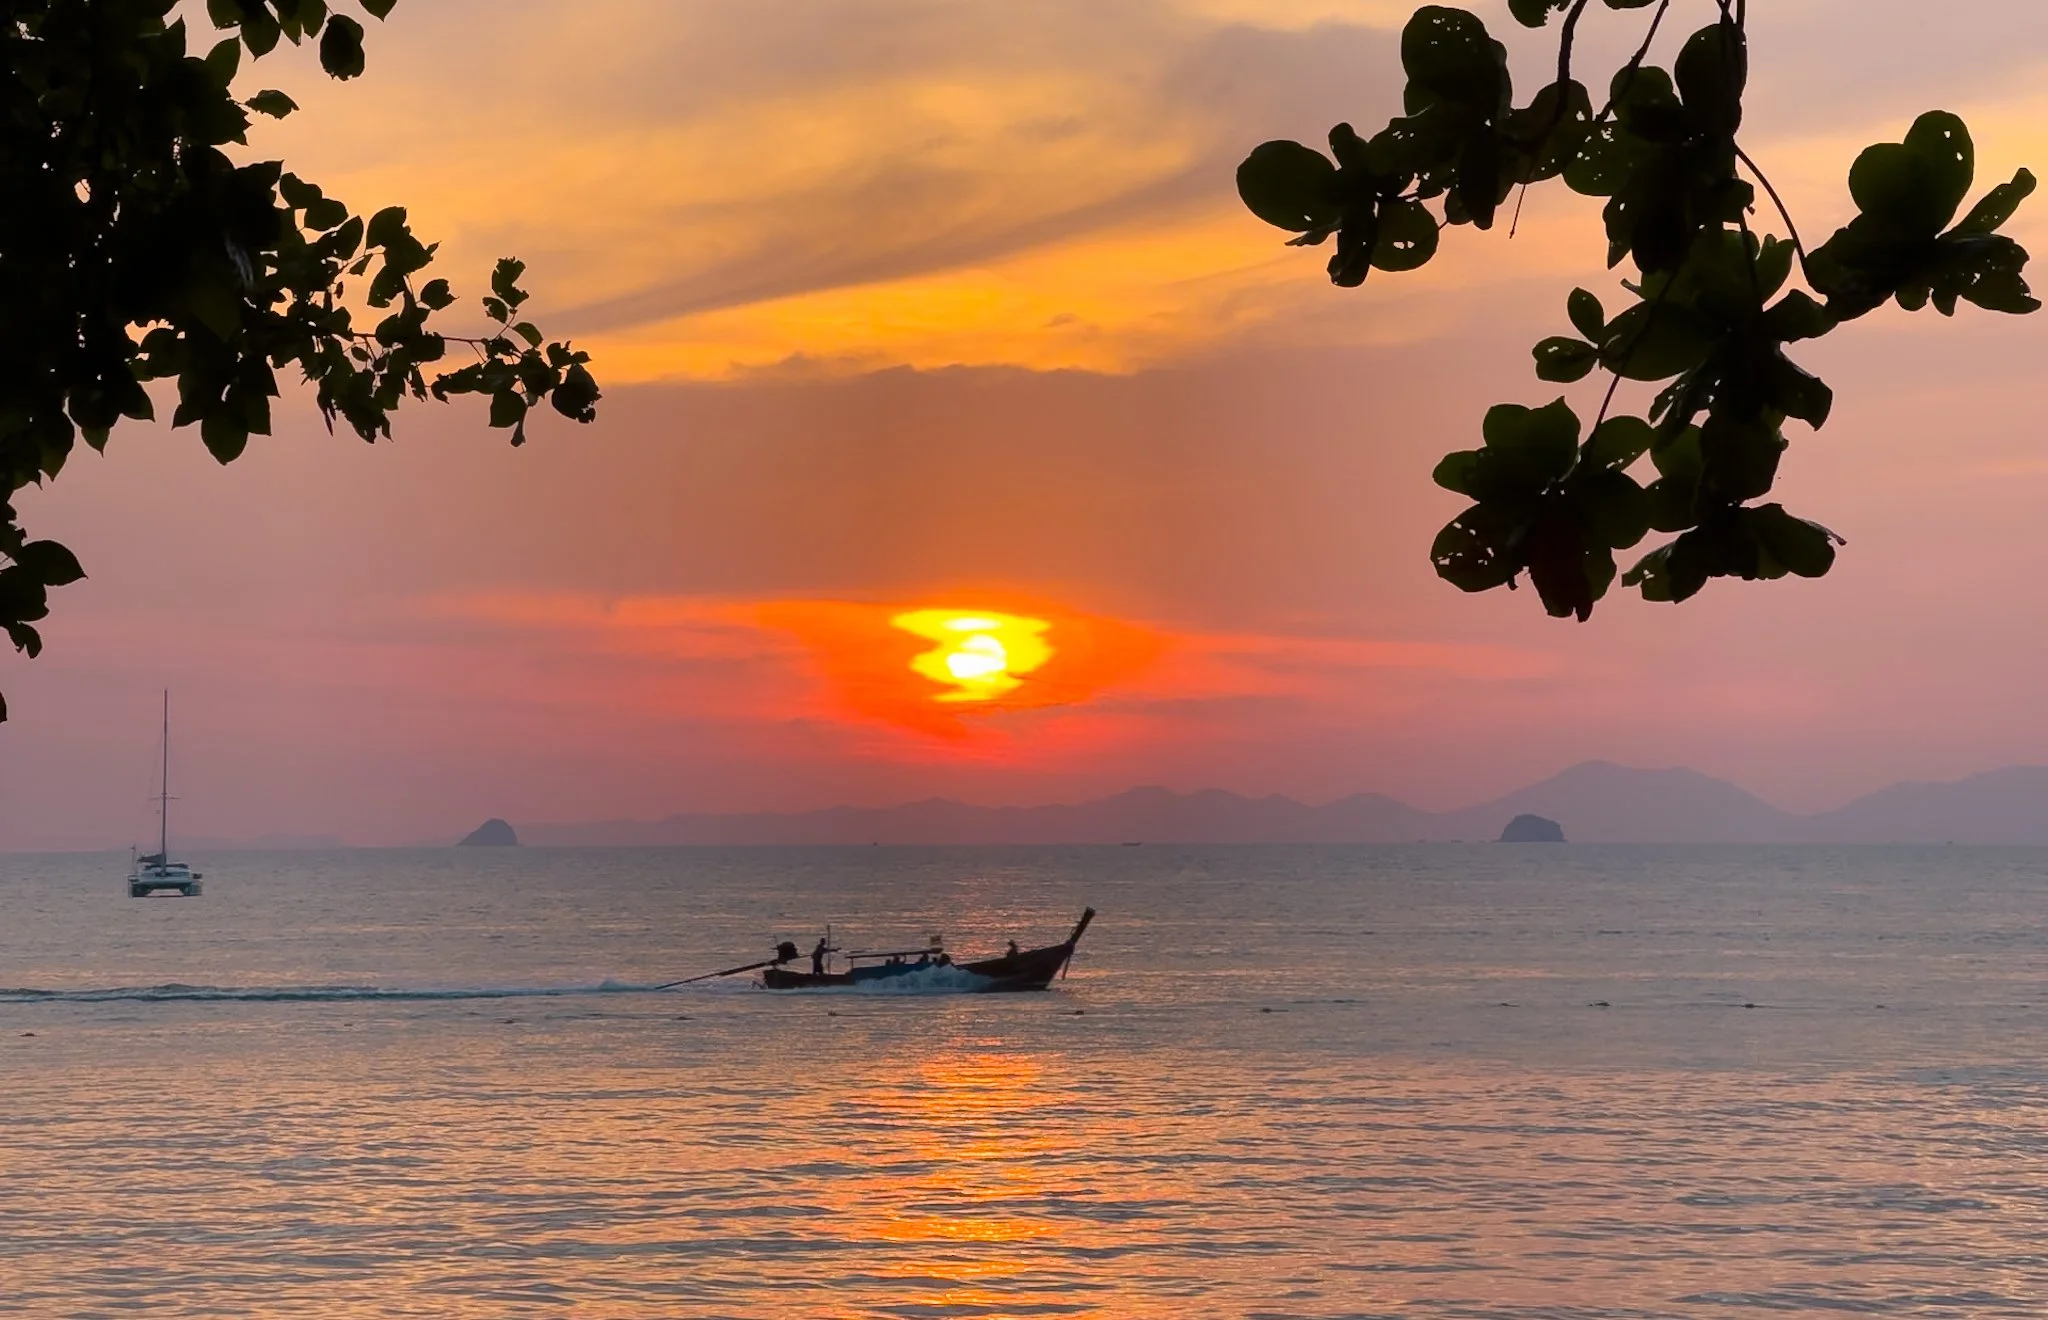
Long Boat Tours - Always worth it! You can hire a private long boat tour or go on group tours during the day or at sunset. All the islands and beach towns we visited had tours available.
Full Budget Breakdown for Southern Thailand
Even though Thailand is a very budget friendly location, we did spend a lot when you include flights in and out of the country. Below is how much we actually spent on a month of travel. We did find that it was cheaper to eat out than to buy groceries, you can get a really good meal for two for $7-10 USD. And hotels in the three and four star range are $25-60 USD depending on the area. Spots like Koh Lanta were cheaper for both food and lodging, but spots like Krabi which was very touristy was more expensive for lodging, food cost about the same everywhere.
Our Actual Budget - 30 Days for Two People (USD)
Thailand is very budget-friendly, though flights can add up. Meals cost $7–10 USD for two; 3–4 star hotels range $25–60 USD/night.
Here’s What We Actually Spent:
Flights LAX-Phuket: $1,208
Lodging: $1,300
Eating out: $455
Groceries: $284
Taxis: $156
Ferries: $194
Travel insurance: $253
Diving (Koh Lanta): $270 (3 dive days = 6 dives)
eSIM cards: $22
National park fees: $3 (some were included in our dive costs, others charged you a fee when entering both Koh Phi Phi and Koh Lanta at the dock on arrival)
Medical: $7 (antibiotics and other medication)
Total: $4,158 (without diving: $3,888)
Why We Chose Not to Go North
Most people when visiting Thailand for the first time head to Bangkok first and Chang Mai up north. If you are into big cities and having more cultural experiences, this is definitely worth it. But if you are looking for beach time and getting away from the crowds, Southern Thailand will be a better experience.
We decided to skip Bangkok after hearing how busy it was, and I don’t regret that decision at all. I’m not a city person and prefer outdoor experiences when traveling, so our choice to stay south and on islands was right for our way of travel and the diving and climbing we wanted to do. I also heard mixed reviews from friends on Bangkok as a city, and I wanted to skip the smog and get outside as much as possible.
If you want the big city experience, heading to Bangkok at the beginning or end of your trip would work well. From friends who went, it sounds like two days would be enough so it would be an easy addition even if you’re only in Thailand for two weeks.
Final Thoughts on Traveling to Southern Thailand
Southern Thailand is a dream destination for travelers of all kinds, whether you’re chasing adventure, relaxation, or unforgettable food. From the stunning beaches of Phuket and Phi Phi to the laid-back vibes of Koh Lanta and the thrill of rock climbing in Railay, there’s something for everyone.
This two-week itinerary gives you a taste of the region’s best highlights, but no matter how long you stay, you’ll leave with memories of crystal-clear waters, vibrant culture, and endless adventure. Plan your trip, dive into island life, and discover why Southern Thailand is truly one of the most magical parts of the world.
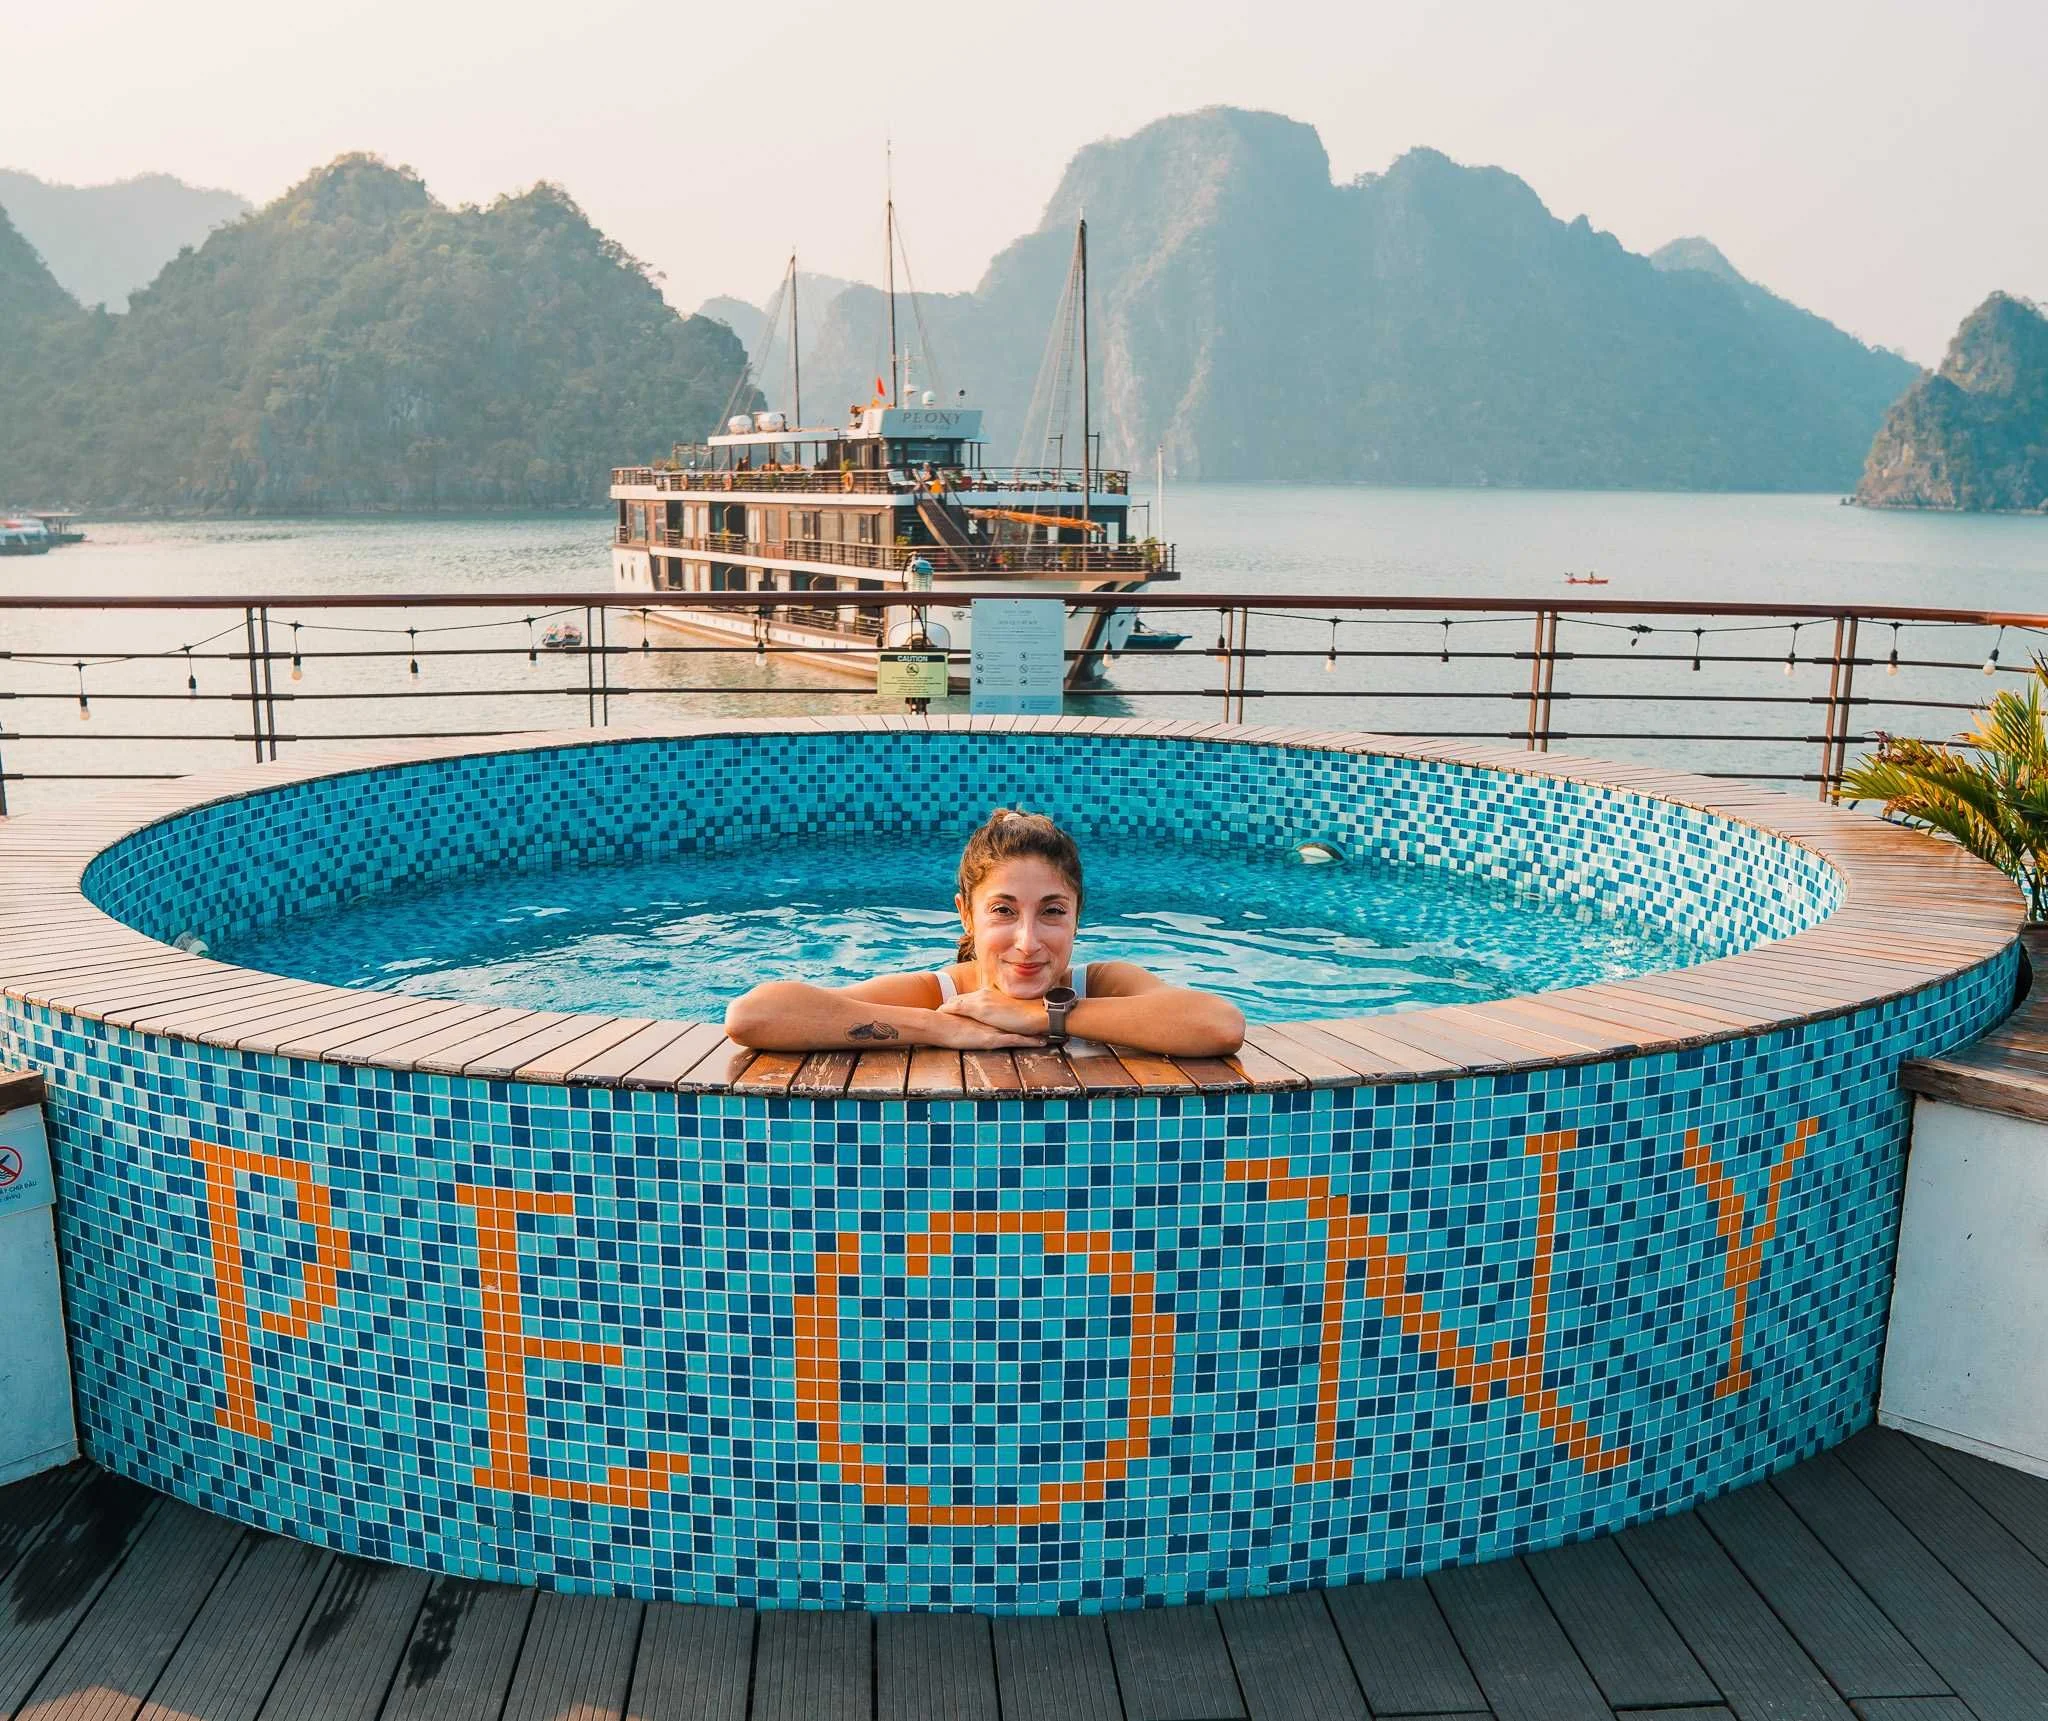
Ha Long Bay cruise in Vietnam
Extending Your Trip in Southeast Asia
You already made the long flight to SE Asia, so why not explore more of the area? If you have the time to extend your trip, I’d recommend visiting Vietnam, Malaysia, Laos, and/or Indonesia. Even if you only have two or three weeks total, heading to Vietnam for a few days to a week is totally doable. After Thailand, we flew to Hanoi to spend some time there and for a cruise around Ha Long Bay and Lan Ha Bay, which I cannot recommend enough.
Gear Discount Codes and Links
I’ve partnered with a few of my favorite outdoor and travel brands to hook you up with exclusive discounts on gear I’m a huge fan of. These are companies I actually use and love, and when you shop through the links below, you’ll get a deal and help support my blog. Win-win!
15% off LUNA Sandals - Click the link and the discount will be added to your cart automatically.
15% off Stio with code SKYE15 - Click the link and enter the code in your cart.
10% off Will and Bear hats with code SKYESTOURY - Click the link and the discount will be added to your cart automatically.
20% off Wild Deodorant with code SKYESTOURY - Must enter the promo code at checkout to receive discount. They make a deodorant mini that is perfect for backpacking, it’s the size of a lip balm.
10% off Loop Earplugs with code SKYE10 - Enter the promo code at checkout. I use their Dream earplugs for sleeping both camping and on flights.
* This blog post includes affiliate links, which means if you purchase through one of my links, I get a small commission at no cost to you. Affiliate income is how I’m able to keep this blog going and ad free. If you enjoy the blog, please consider using my links to book lodging or purchase gear I recommend. Thanks in advance!
Other International Travel Posts to Check Out

Save this Post for Later
The Best Ultralight Backpacking Gear for 2026
A Complete Guide for Two Weeks on Madeira Island, A Trip Itinerary
This image is copyrighted and owned by Skye Stoury Photography and skyestoury.com, if you would like to licence any images on this site, please email us at hello@skyestoury.com