
How to Hike Mount Elbert: Complete Trail Guide to Colorado’s Highest 14er

Hiking Mount Elbert in Leadville, CO
Mount Elbert was my first Colorado 14er, and it just so happened to also be the highest mountain in Colorado. We were heading to Leadville for an appointment at the Melanzana store, and one of our friends recommended that we tag the summit of Mount Elbert while we were there. It is just a hike, not an actual technical climb so it made for a great first 14er since you follow a well established trail all the way to the summit, but it is a difficult hike because of the elevation.
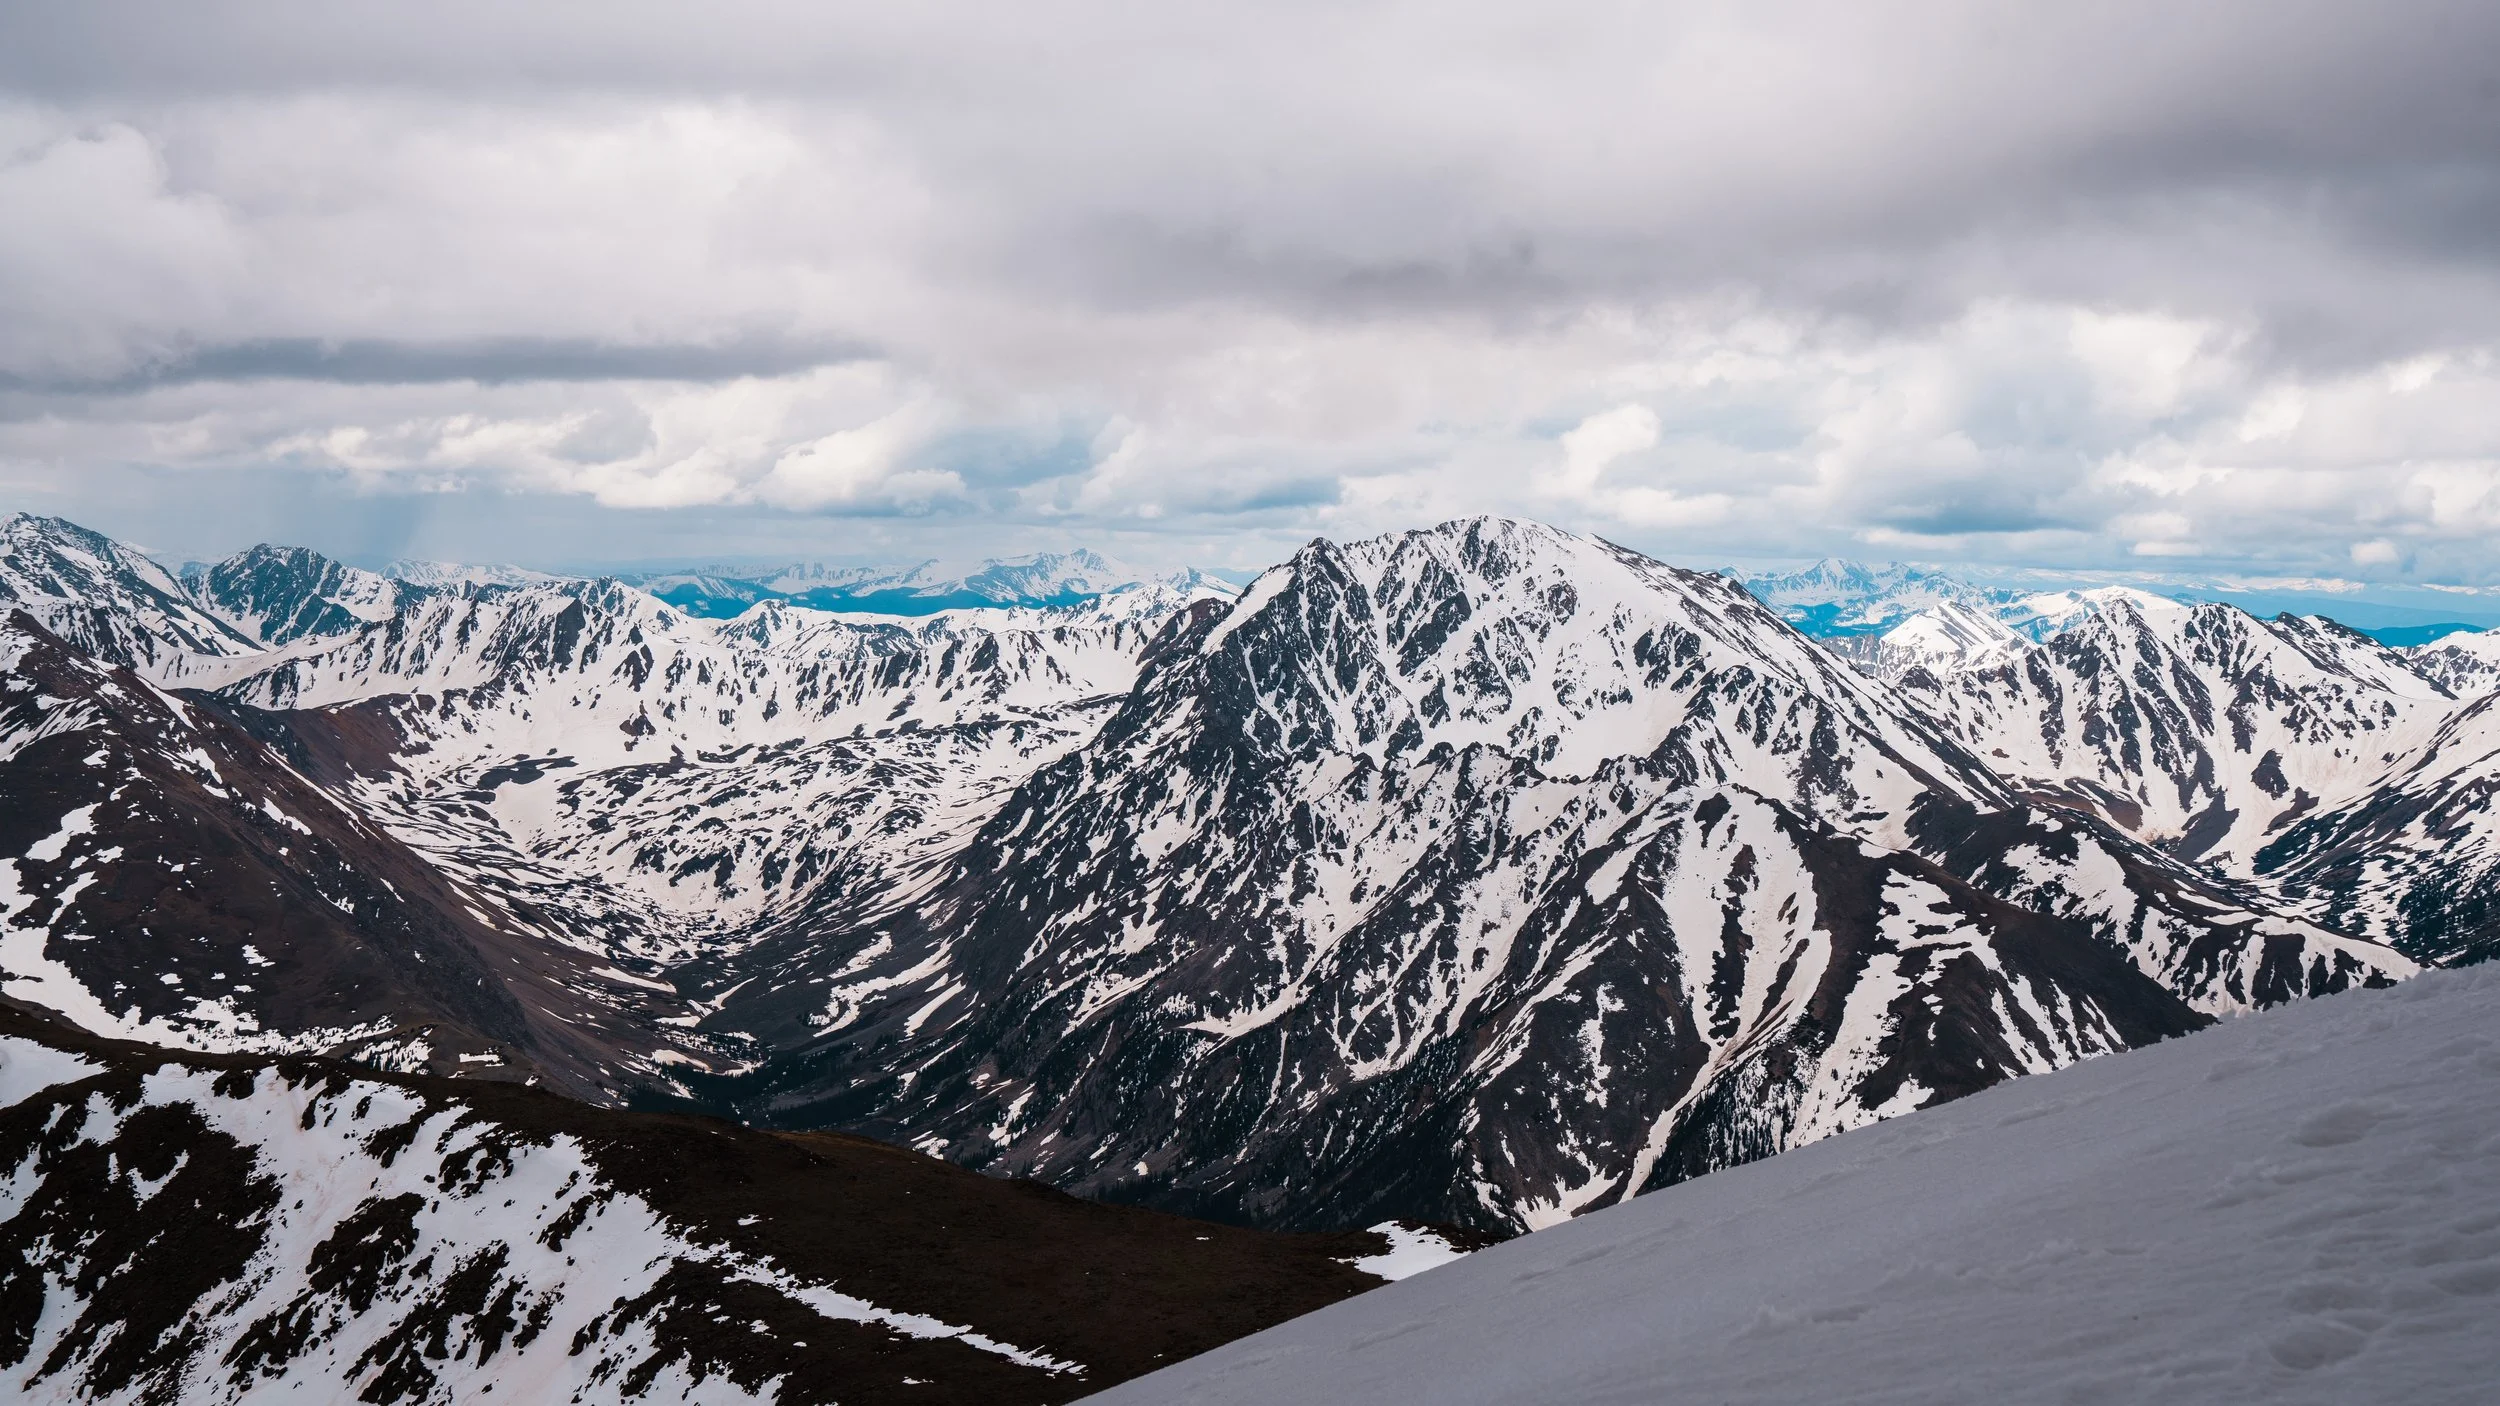
Mount Elbert is in the San Isabel National Forest and is the highest peak in the Sawatch Range. The summit had amazing views of surrounding peaks in the Rocky Mountains. Below you will find everything you need to know to hike Mount Elbert, and more information on all of Colorado’s 14,000 foot peaks can be found on the 14ers website.
Disclaimer: This blog post contains affiliate links, meaning I receive a small commission of every purchase made with my links at no additional cost to you. Sometimes there is even a discount code for my readers which I specify next to the links.
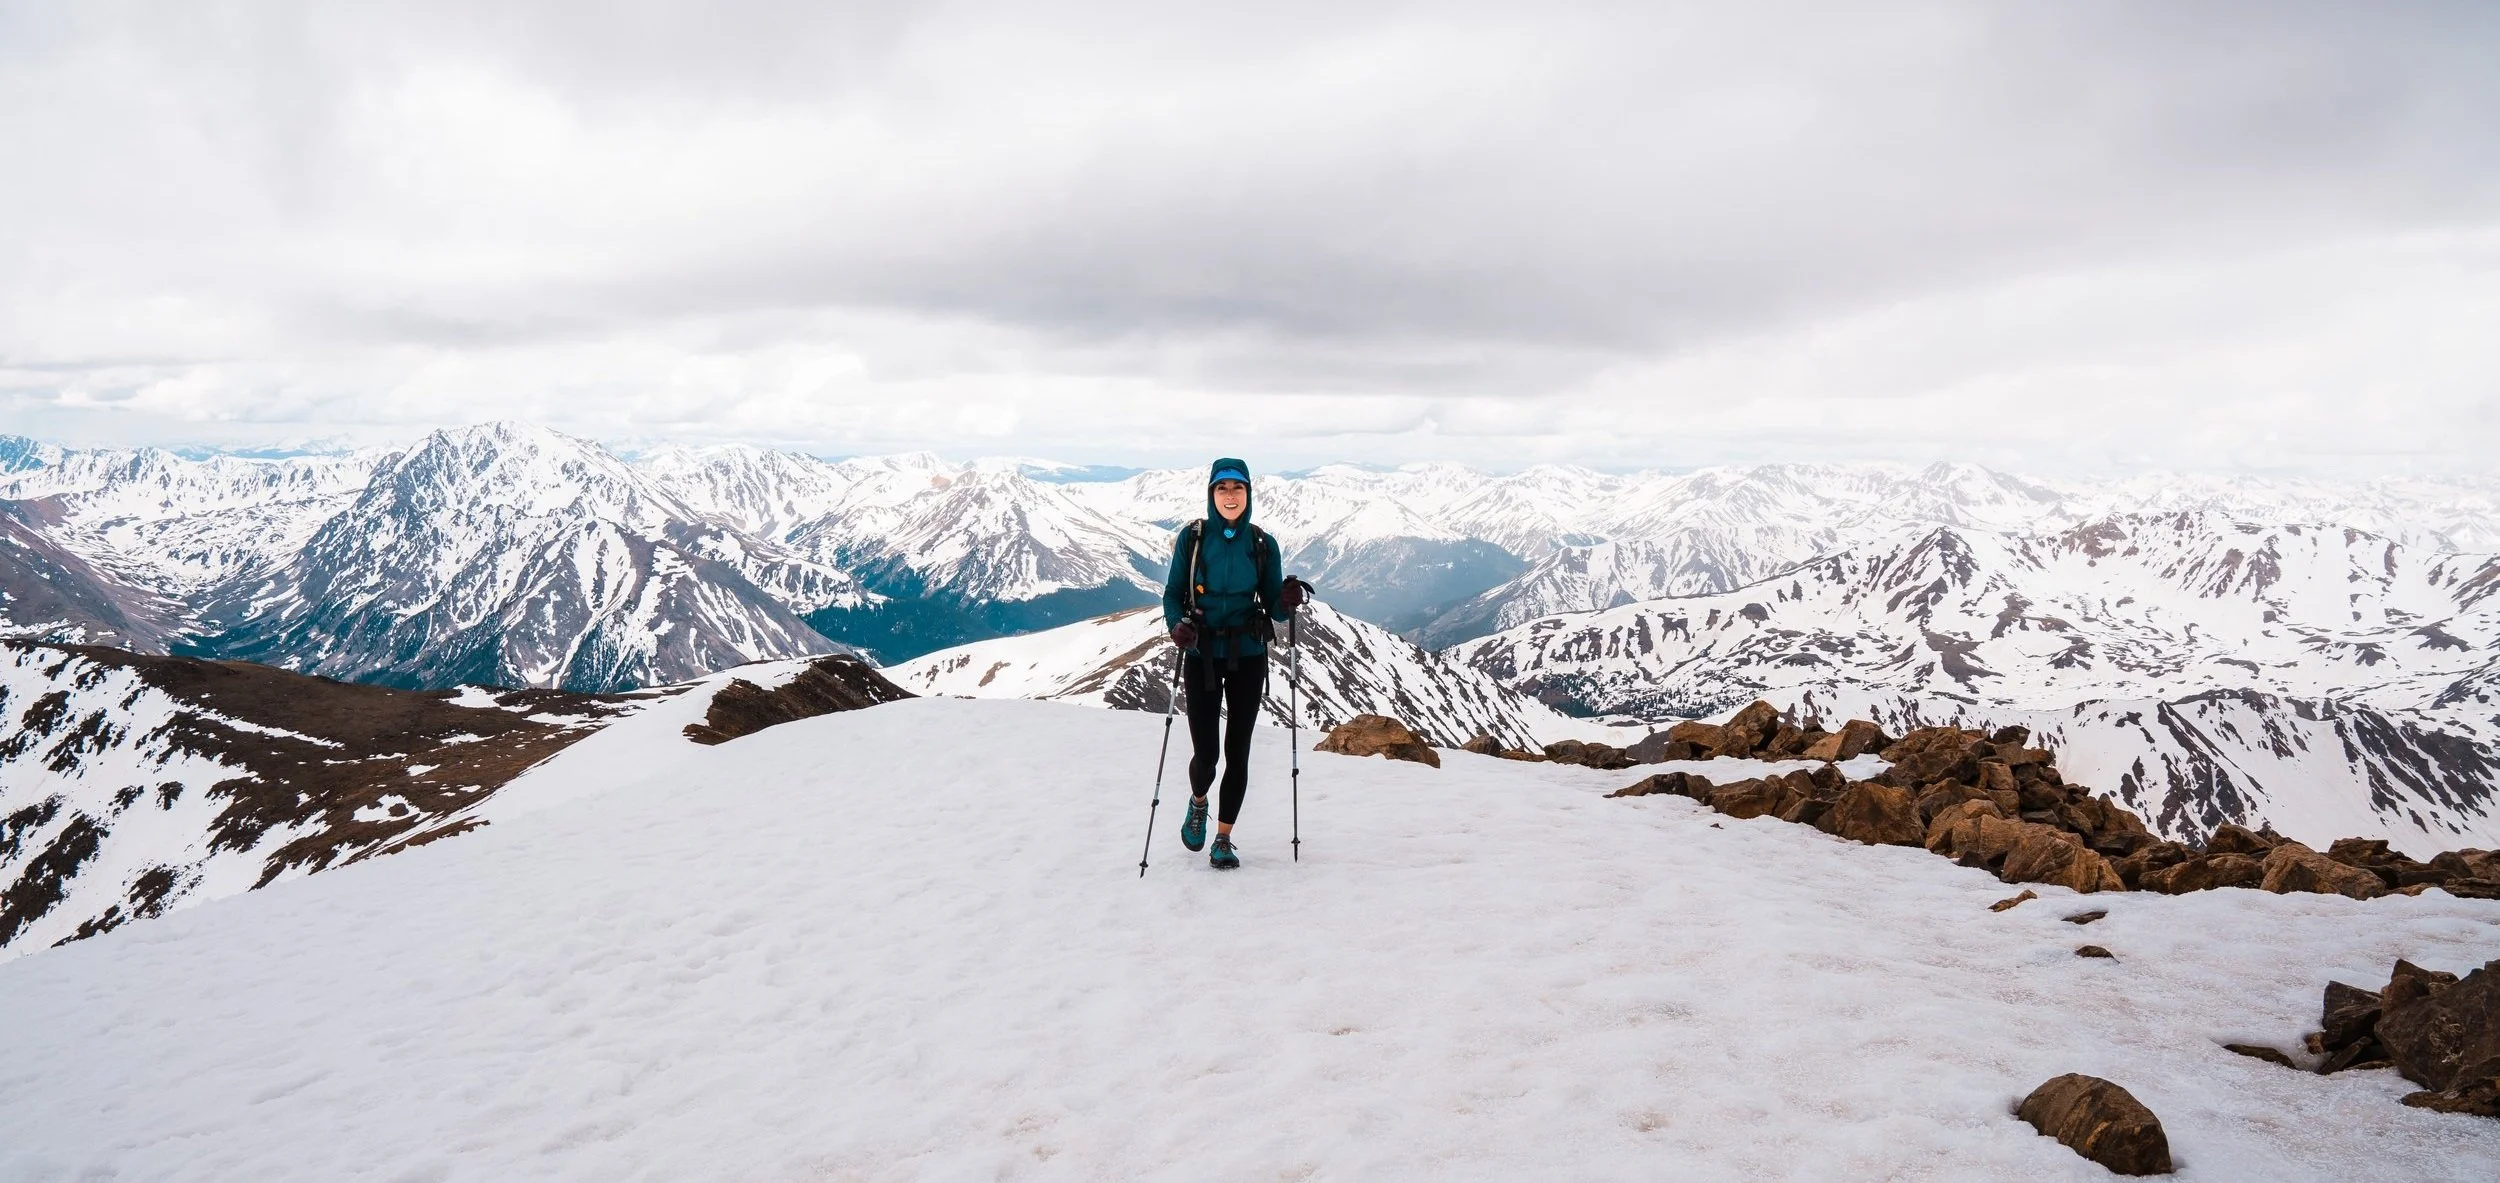
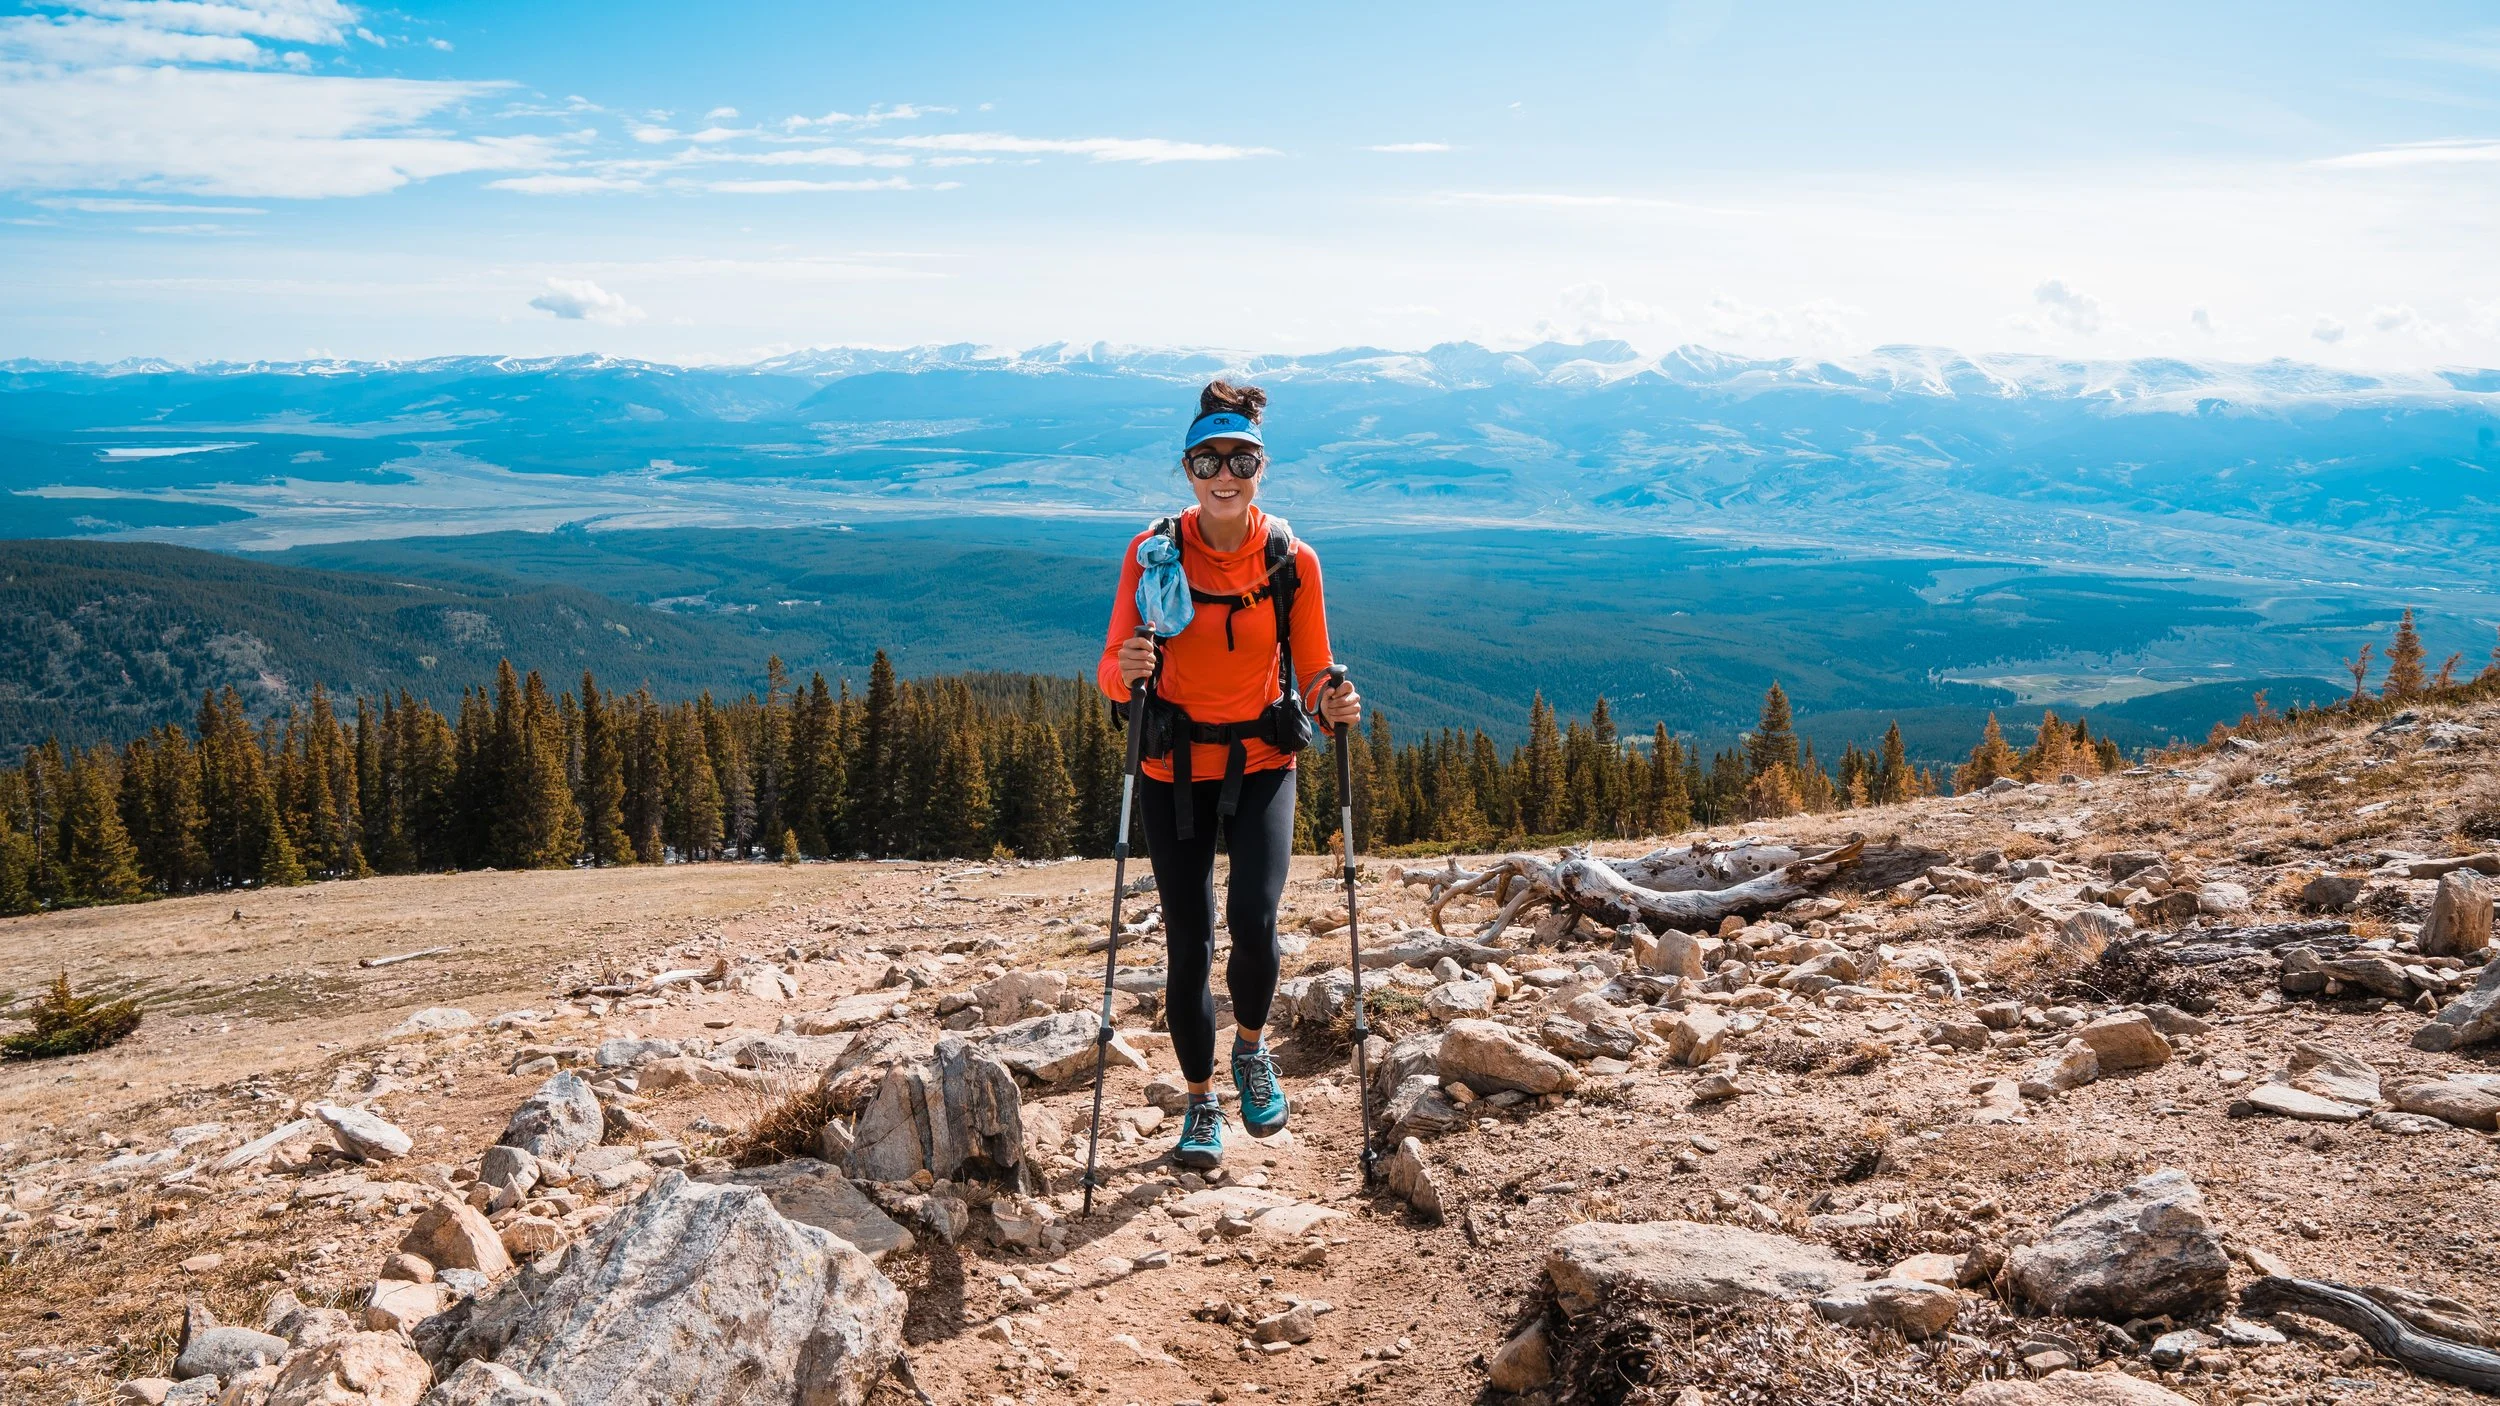
Skye on the summit of Mount Elbert
Table of Contents
Quick Facts on Hiking Mount Elbert
Location: Leadville, CO (San Isabel National Forest, Sawatch Range)
Land Manager: USFS, Pike-San Isabel National Forest
Trailhead: North Mount Elbert Trailhead
Best Time to Go: Late June through early September
Permit Required: No
Difficulty: Moderate to hard depending on the elevation you are coming from
Trip Time: 6-8 hours
Starting Elevation: 10,040 feet (3,060 m)
Round Trip Mileage: 9.5 miles (15.3 km)
Elevation Gain: 4,471 feet (1,363 m)
Summit Elevation: 14,440 feet (4,401 m)
Dogs Allowed: Yes, on leash
Water Availability: Carry all water you'll need for the full hike
Cell Service: Unreliable, carry a satellite communicator for emergency communication (we use a Garmin InReach Mini)
Navigation: View and download my GaiaGPS Track
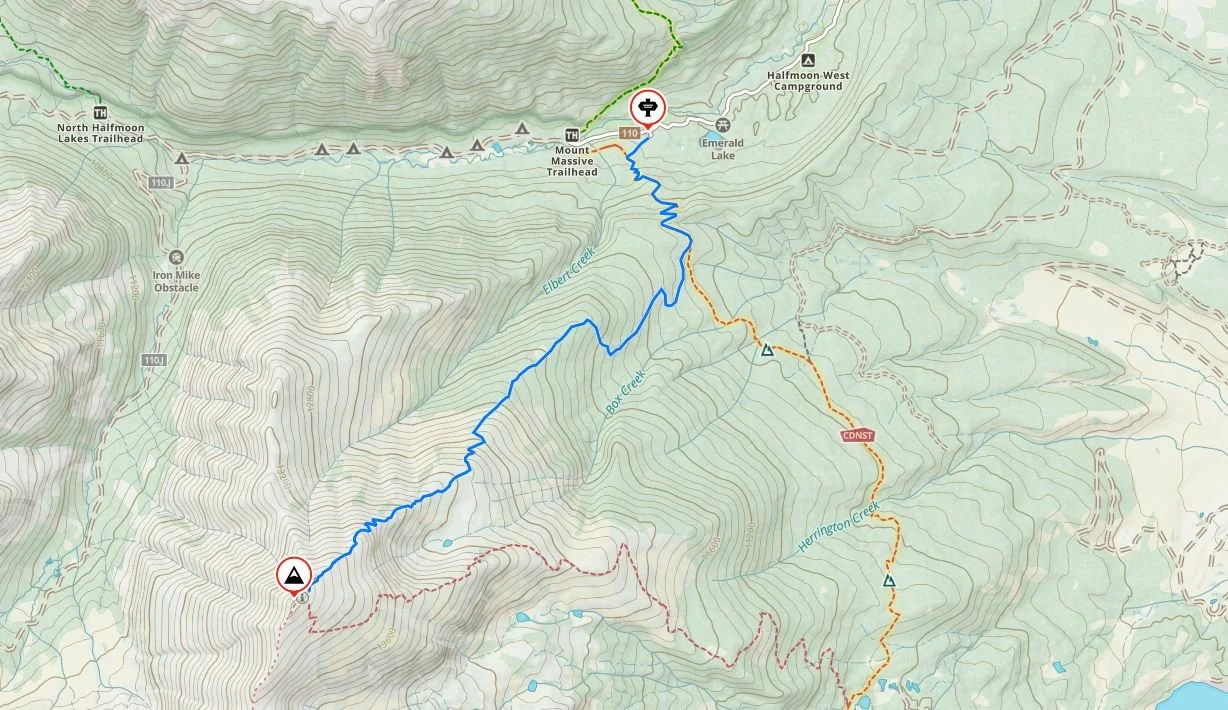
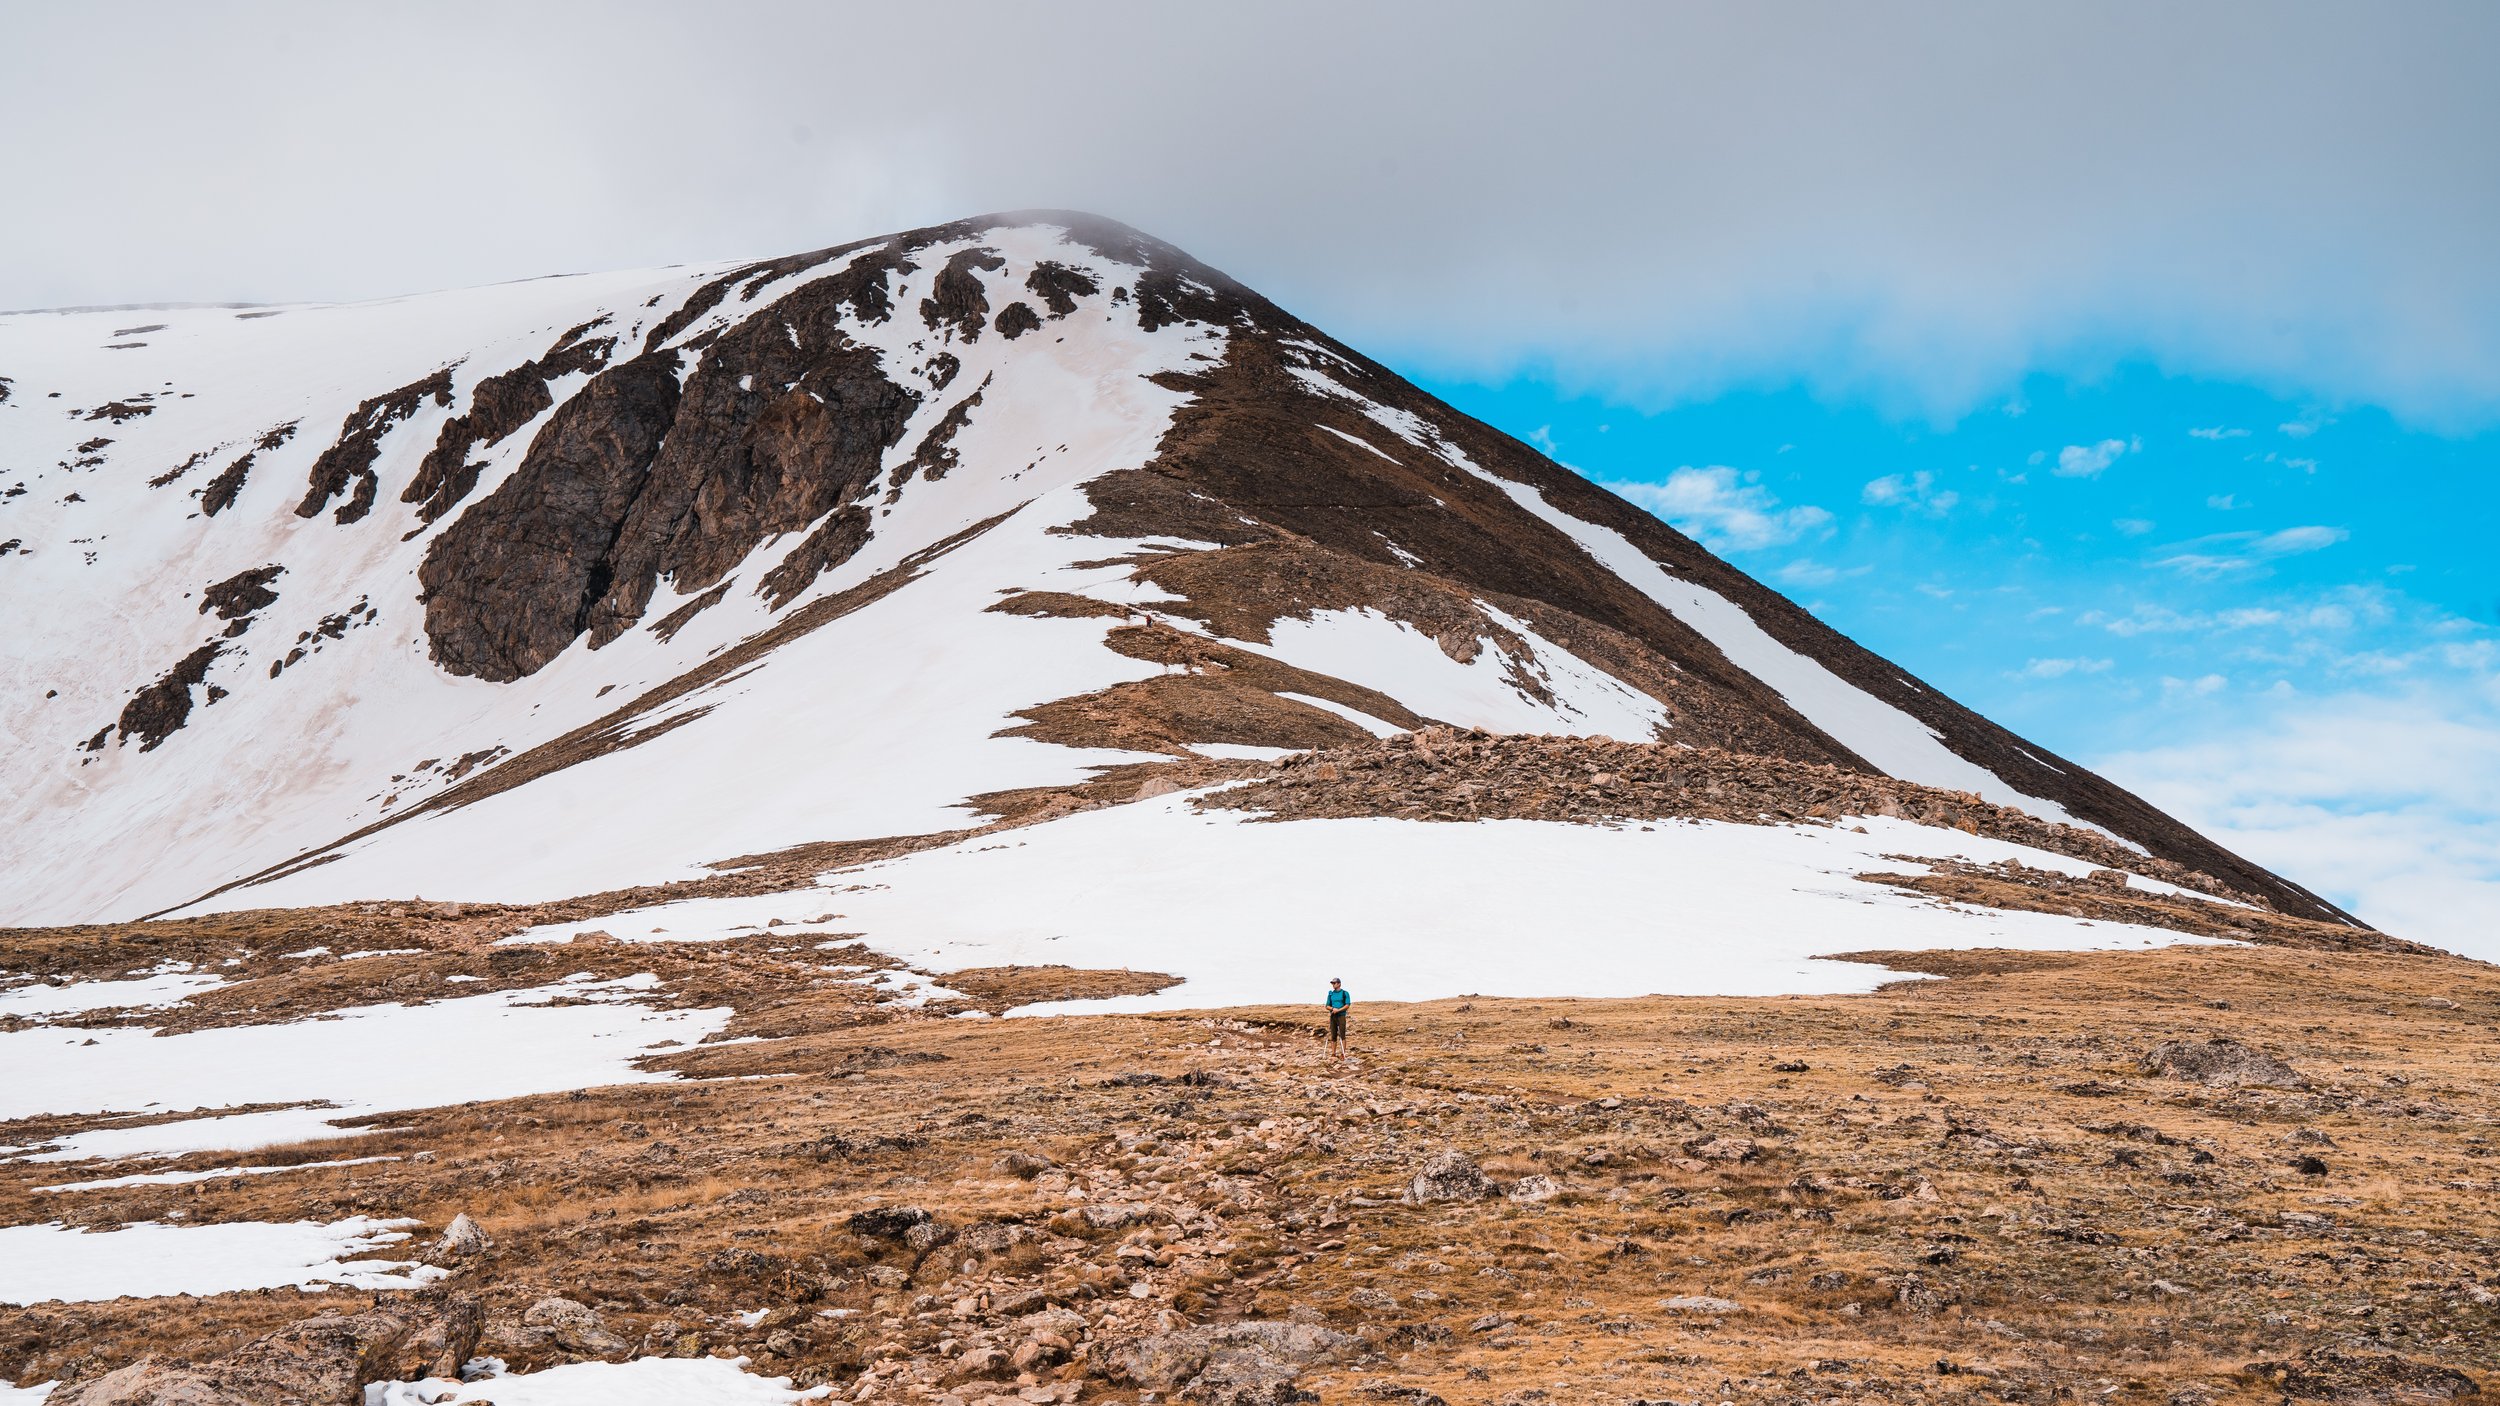
Mount Elbert Topography and route from North Mount Elbert Trailhead.
Getting to the North Mount Elbert Trailhead
The North Mount Elbert Trailhead is about 11 miles west of Leadville and is the most popular starting point for the hike.
Here's how to get there: From Leadville, head south on US-24 for about 3.5 miles and turn right (west) onto Colorado 300. Drive 0.7 miles and turn left (south) onto Lake County Road 11. After 1.8 miles, turn right (west) at the signed intersection for Halfmoon Creek. Follow Halfmoon Creek Road (Forest Road 110) southwest past Halfmoon Creek Campground and Elbert Creek Campground for about 5 miles until you reach the signed North Mount Elbert Trailhead on your left. Google Map Pin
A few things worth knowing before you drive up:
Road conditions: Halfmoon Creek Road is an unpaved dirt road. It's generally accessible to 2WD vehicles, but it's bumpy with washboard sections and potholes. After rain or early in the season when snow is present, conditions can get rougher and a high-clearance vehicle is helpful. The road is typically closed in winter.
Parking: There's a large parking lot at the trailhead. That said, it still fills up fast on summer weekends. We arrived at 6:30am on a weekday and there were already 6–8 cars — plan accordingly. There is no overnight parking permitted at the trailhead.
Amenities: There's a pit toilet at the trailhead that was very clean and well-stocked when we visited. No potable water is available, so make sure your bottles and bladder are filled before you leave camp.
Mount Elbert Trail Map and Route Overview
We hiked the North Mount Elbert Trail via the Northeast Ridge, which is the most popular and well-traveled route to the summit. You can view and download our GaiaGPS track here.
North Mount Elbert Trail
The trail begins at the trailhead kiosk and almost immediately hits a junction with the Colorado Trail and Continental Divide Trail — turn left here and follow the Colorado Trail south. You'll cross a small creek shortly after and then begin climbing through switchbacks in the forest. At about 1.3 miles, you'll reach a signed junction for the North Mount Elbert Trail, turn right here and continue toward the summit.
From there, the trail climbs steadily through the forest for another mile and a half before breaking out above treeline at around mile 3 (approximately 11,900 feet). This is where the views open up and the climb gets more serious. The trail follows the Northeast Ridge all the way to the summit, gaining the ridge around mile 3.6. Above here the terrain steepens through a rocky section around 13,400 feet — stay on the most defined trail through this stretch. Things ease up a bit above 13,800 feet, and the final push to the summit is a steady walk to 14,440 feet. Expect three or so false summits before you actually get there.
North vs. South Route
There is a second standard route, the South Mount Elbert Trail, which approaches from the Twin Lakes side. It's slightly less steep but longer overall, and the trail junctions near the bottom can be confusing on the return. We chose the North route and would recommend it as the better option. It's more straightforward and better traveled.
Our Experience Hiking Up Mount Elbert
We started hiking from the North Mount Elbert Trailhead at 7am on a weekday and there were already about 6-8 cars in the parking lot when we arrived. The trail begins in the forest and crosses a creek early on. The first two miles are easy and not too steep, so you get a good warmup in before the climb really begins. We felt a little more out of breath than normal because of the elevation, but overall felt really good and maintained a 2.4 mph pace until we broke out of the forest.
At about mile three we were out of the trees and could see our objective. The trail did steepen, but remained at a good grade as we headed up into the high alpine. At 10:30am it started hailing and clouds were rolling in. I was worried we wouldn’t get views on the summit, but I was happy it was hail and snow instead of rain. On a weather note, rain and storms weren't forecast until 3pm, but since they arrived early, we kept a close eye on the weather. Getting closer to the top, we passed more hikers on their way up and a group descending who warned us that they had felt their hair stand up on the summit, meaning static electricity and potential lightning was close by. Though we still felt good, my pace slowed to 1.9 mph for the upper section and I was a bit more out of breath.
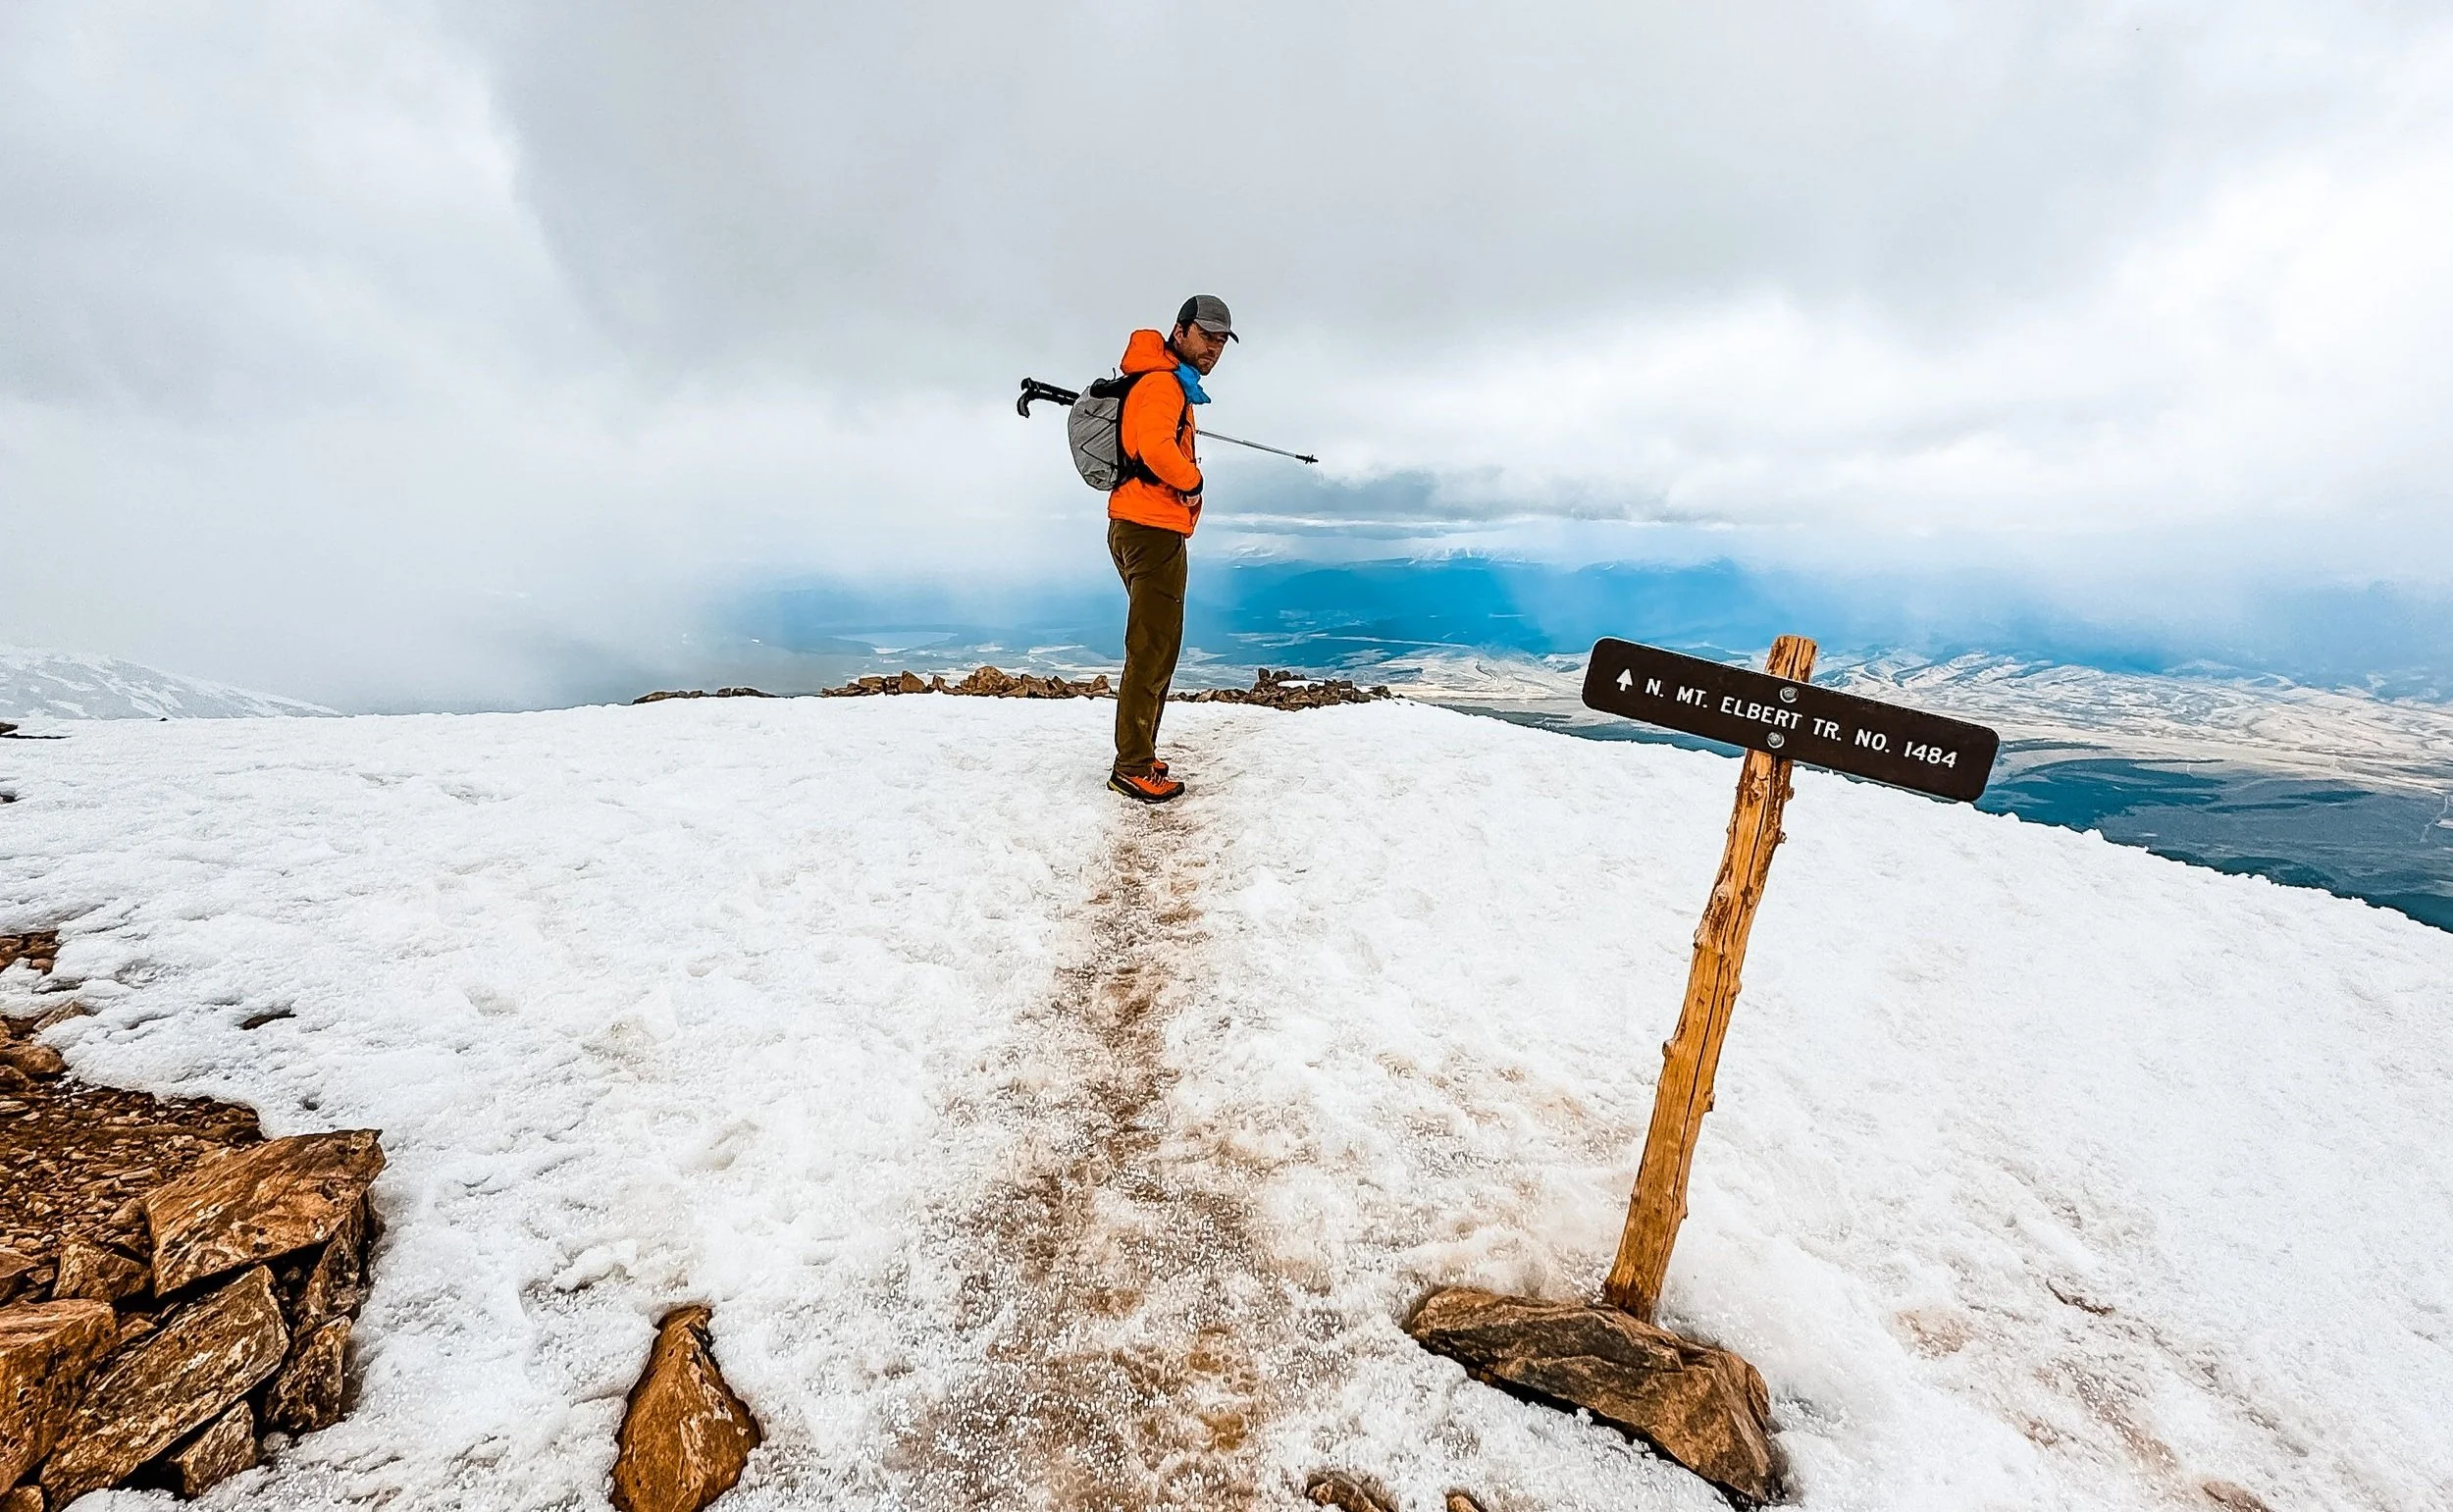
After about three false summits, we reached the top in three and a half hours from when we left the trailhead. At the summit I did feel a bit lightheaded when I was running around taking photos, but otherwise both Garrett and I felt great and even hungry. When we climbed Rainier, I had no appetite, so staying at 10,000 feet for a few days before really paid off on this peak. There was snow on the summit, but we had views of the surrounding peaks. We didn’t want to stay up top long because weather was really coming in a lot earlier than forecast, so after a couple of photos, we began our descent.
On the way down we saw so many marmots running around, and a lot of tiny alpine flowers. There were a lot of hikers still going up as we were heading down, which did worry us since it was still snowing and there was thunder pretty close by. If you do this hike, make sure you start early enough since storms tend to roll through in the early afternoon. Once we got back into the forest, the snow and hail turned to rain, so we were glad to have packed rain jackets with us.
We got back to the trailhead in six hours which I think was a really good time. A lot of the trip reports on AllTrails that I read before said that it took 7-8 hours.
Packing List for Hiking Mount Elbert
Packing smart for a 14er like Mount Elbert means layering for rapidly changing conditions, planning for afternoon weather, and not skimping on nutrition and hydration at altitude. Here's exactly what we carried on our day.
Clothing / Gear Worn and Packed
Skye’s Gear:
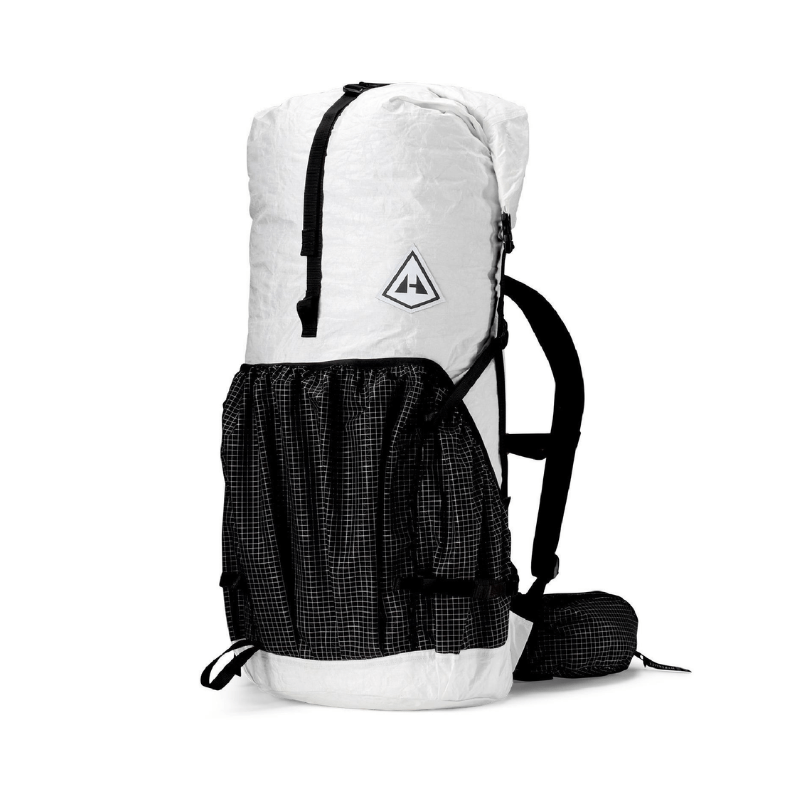
Pack - Hyperlite Southwest 55L, my favorite all around pack although a smaller capacity pack like a Gregory Juno 30 works great too
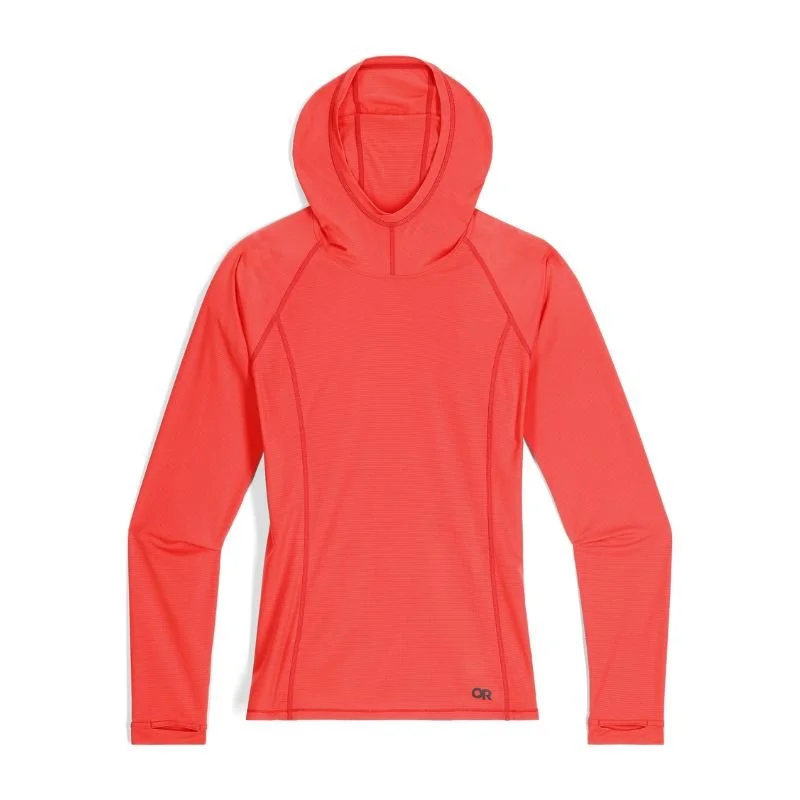
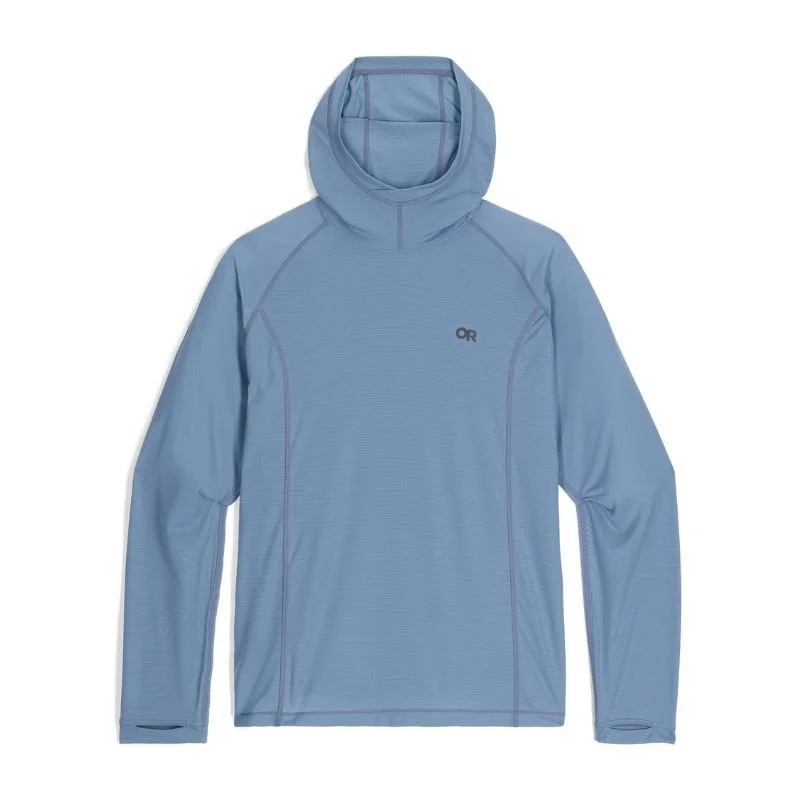
Sun shirt - Outdoor Research Echo Hoodie, a lightweight sun hoodie for quick drying and sun protection in the high alpine
Fleece - Outdoor Research Vigor Plus Fleece Hoodie, a thicker mid-layer fleece for the cooler mountain temperatures
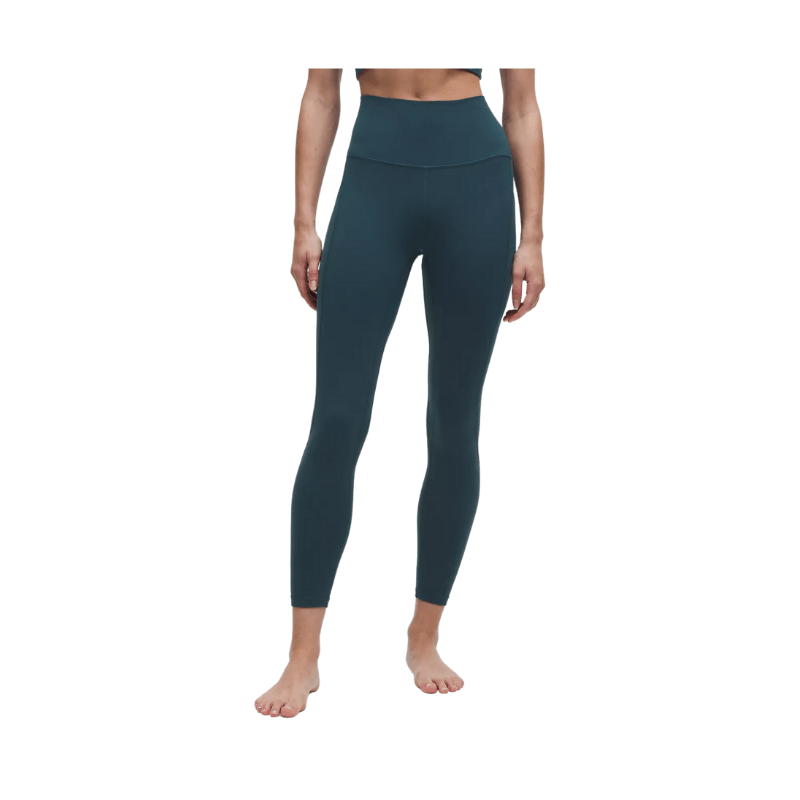
Leggings - Lululemon Align High-waisted 25”
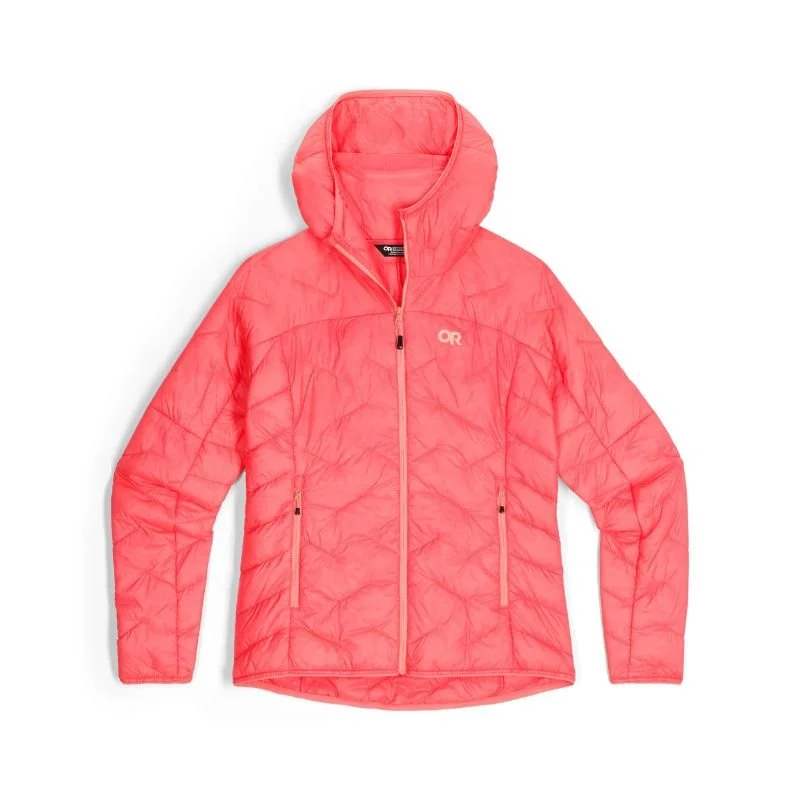
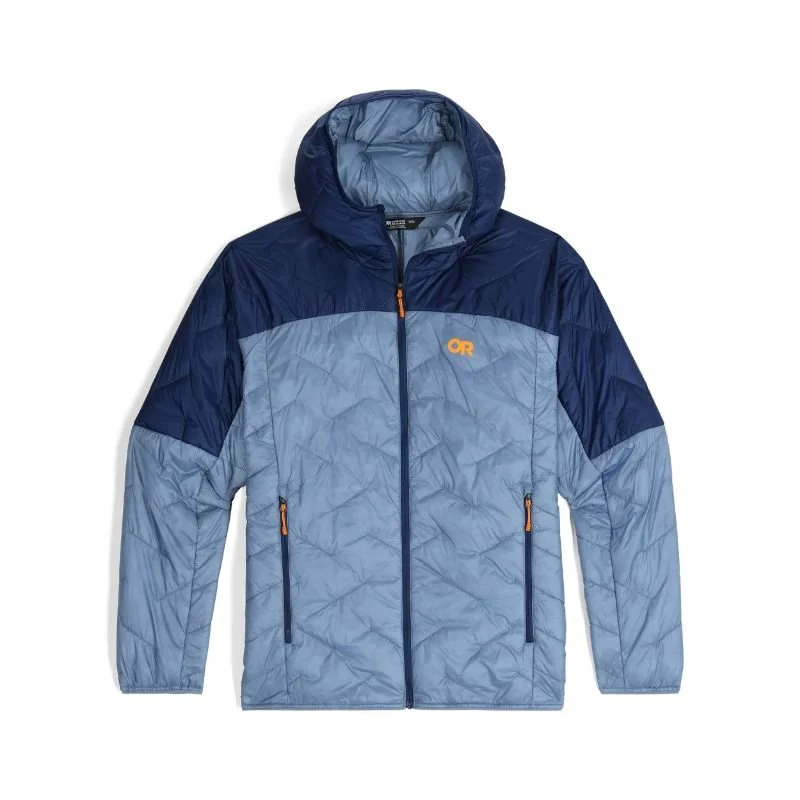
Puffy - Outdoor Research SuperStrand LT Hoodie, a great lightweight puffy that compresses extra small in your pack
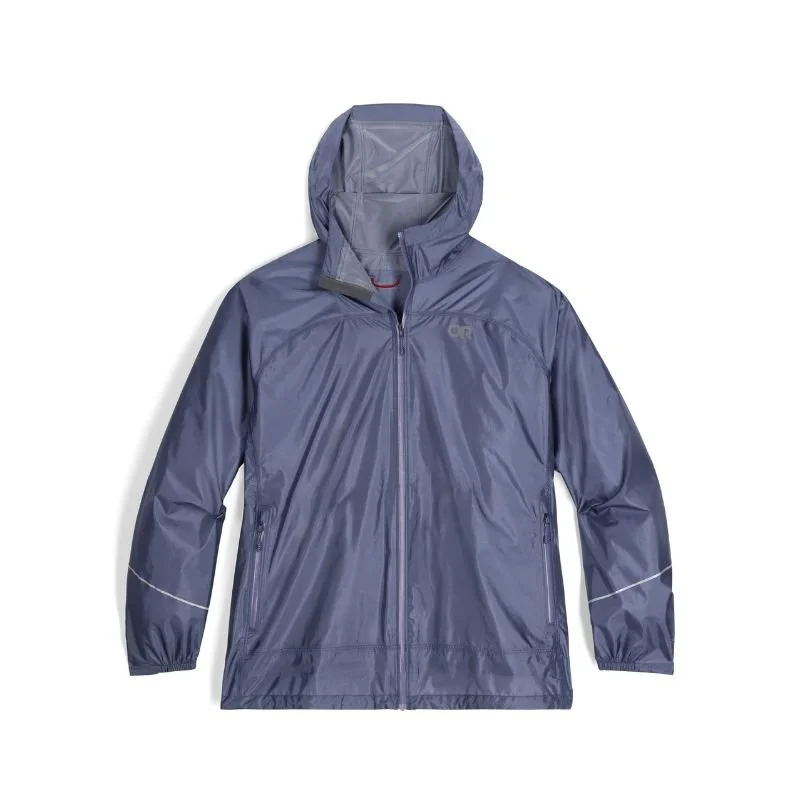
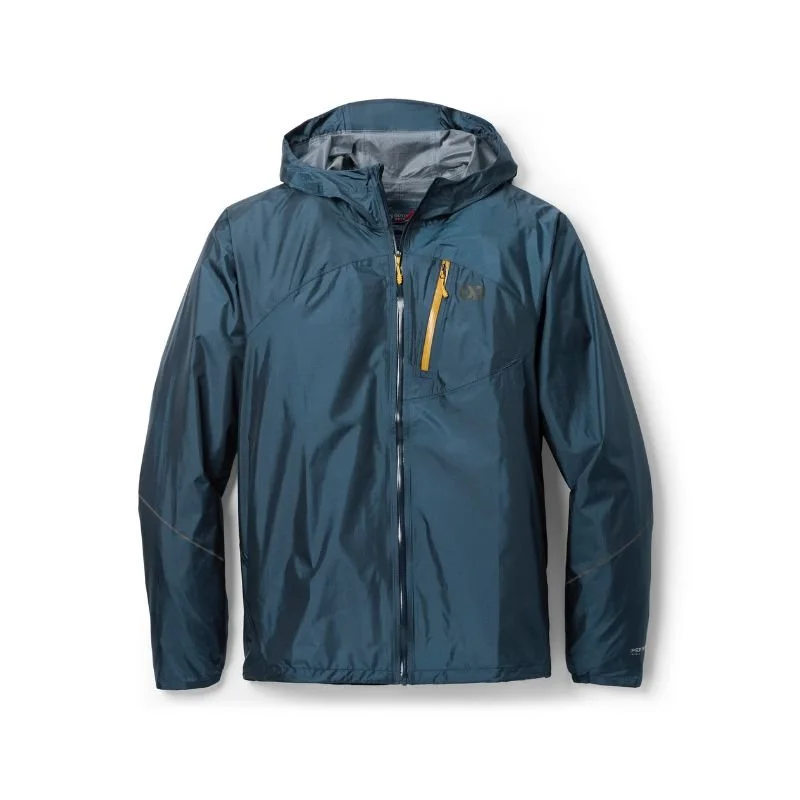
Rain Jacket - Outdoor Research Helium Rain Jacket, a lightweight rain jacket that stuffs into its own pocket for easy storage
Gloves - Outdoor Research Women's Vigor Midweight Sensor Gloves
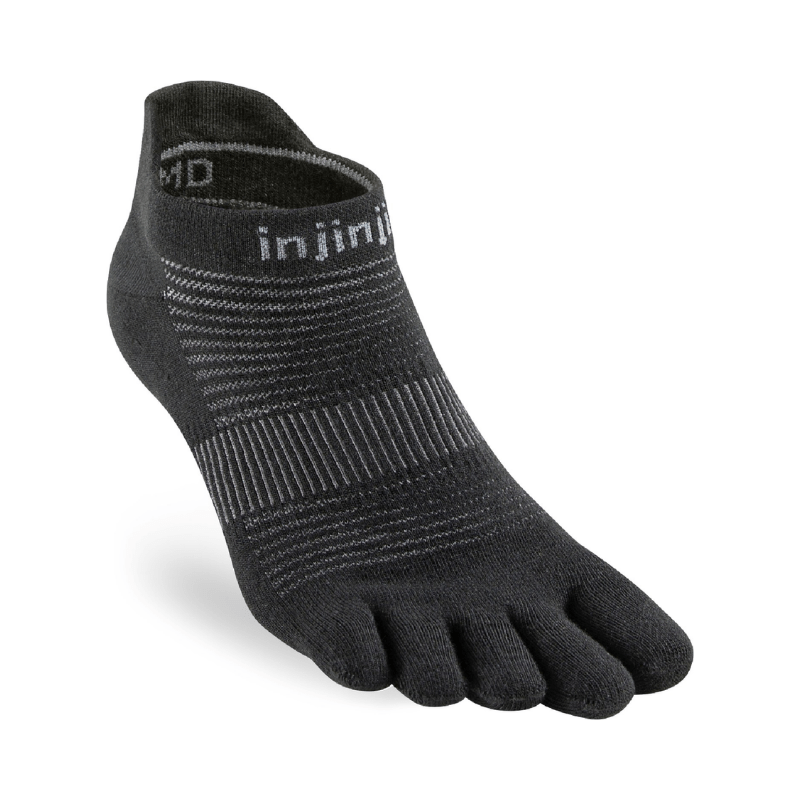
Socks - Injinji UltraRun No-Show, quality toe socks for extra blister protection
Visor - Outdoor Research Visor
Sunglasses - Sunski Treeline Polarized Sunglasses
Trail Runners - Altra Timp 5 Trail Runners, my favorite zero-drop trail running shoes
For a full packing list for hiking and backpacking, see our What to Pack for Hiking and our Best Ultralight Gear guides.


Garrett’s Gear:
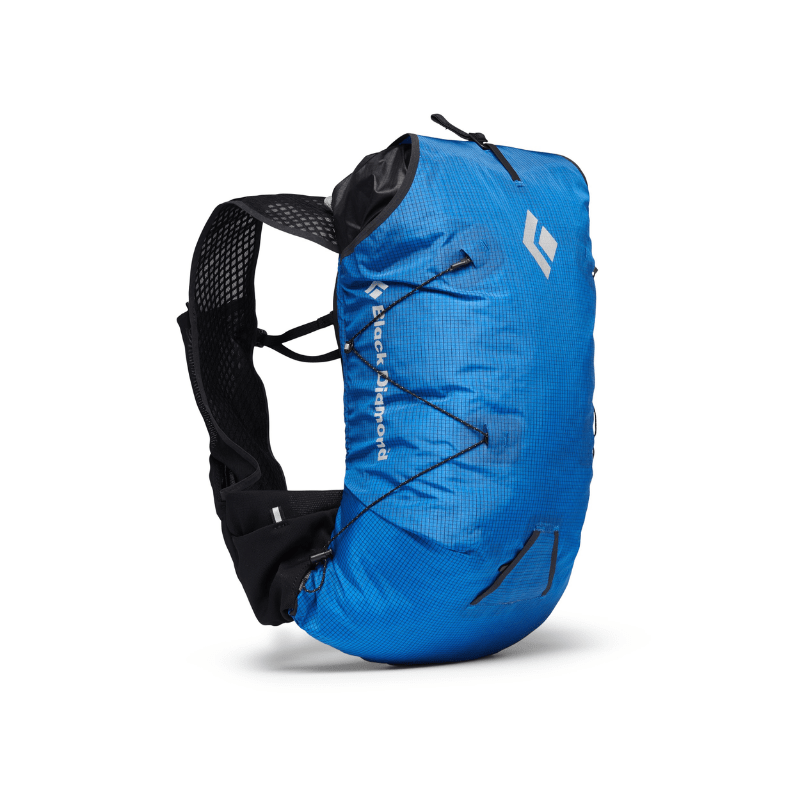
Pack - Black Diamond Distance 15, small trail-running and day pack with chest pockets for easy access to all your important items.
Sun shirt - Outdoor Research Echo Hoodie, a lightweight sun hoodie for quick drying and sun protection in the high alpine
Fleece - Patagonia R1 Hoodie, trail tested and one of our all time favorite fitted fleece layers
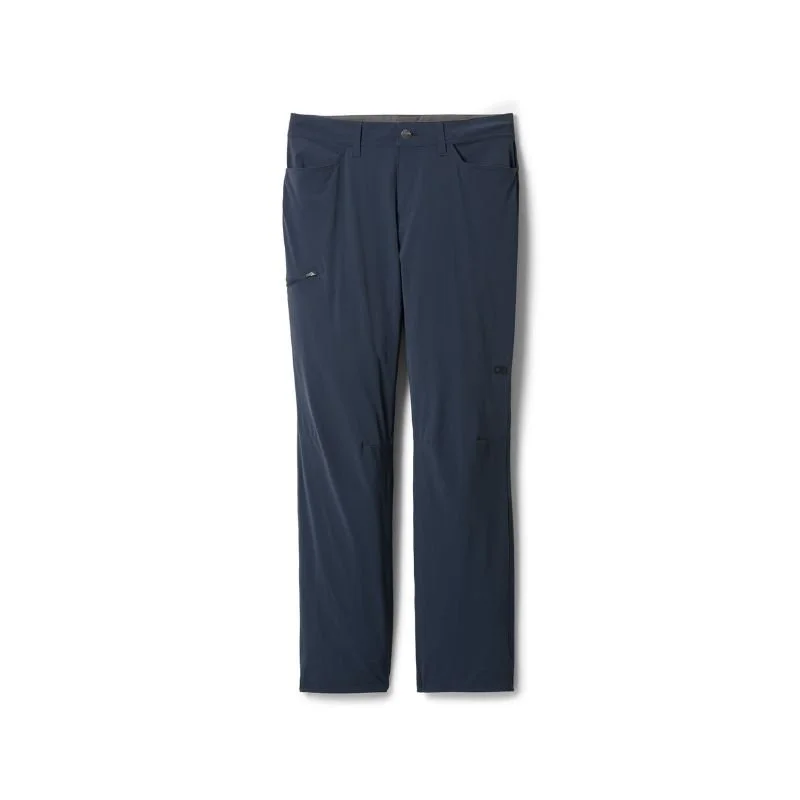
Pants - Outdoor Research Ferrosi, breathable, stretchy and quick drying hiking pants
Puffy - Outdoor Research SuperStrand LT Hoodie, a great lightweight puffy that compresses extra small in your pack
Rain Jacket - Outdoor Research Helium Rain Jacket, a lightweight rain jacket that stuffs into its own pocket for easy storage
Gloves - Outdoor Research Stormtracker Sensor Windbloc Gloves
Socks - Injinji UltraRun No-Show, quality toe socks for extra blister protection
Visor - Outdoor Research Swift Cap
Sunglasses - Sunski Treeline Polarized Sunglasses
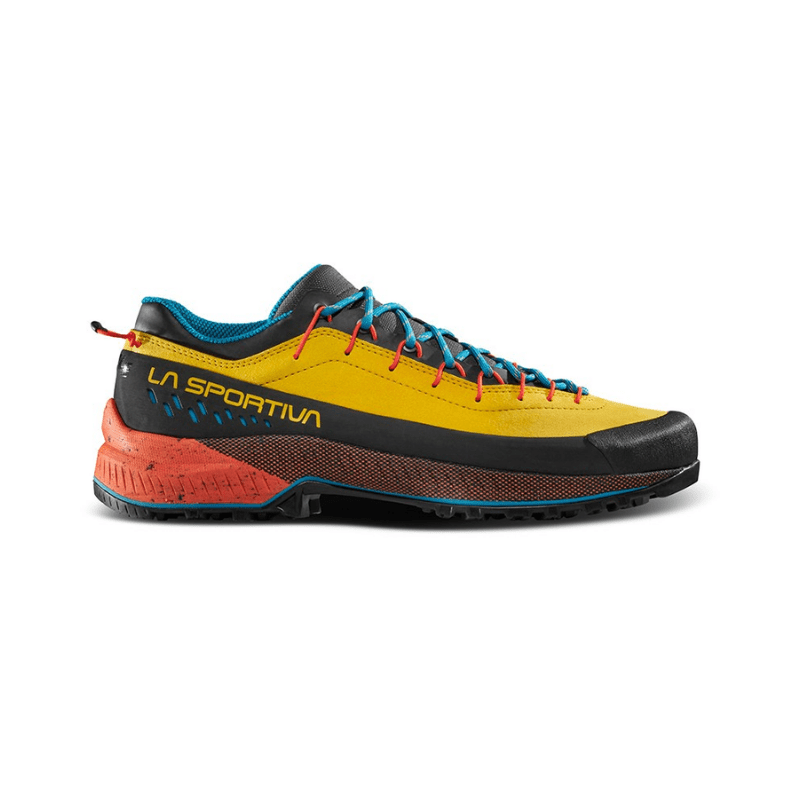
Approach Shoes - La Sportiva TX style, built with grippy rubber and a firm sole, these excel in rocky terrain.
For a full packing list for hiking and backpacking, see our What to Pack for Hiking and our Best Ultralight Gear guides.

Safety, Toilet Kit
This is a challenging day hike with a large elevation gain as well as stretches of trail on loose rock. You should be prepared for minor injuries and have a way to communicate without a cell phone. Additionally, there are no bathroom facilities along the way so it’s always good to carry a wag bag, just in case.
Emergency Communication Device - Garmin InReach Mini 3
Toilet kit - Hyperlite 2L Stuff Sack with wag bags/poop bags, toilet paper, zip lock for used TP, hand sanitizer
Food and Water:
2L of water in a bladder - Osprey Hydraulics Reservoir - 2 Liters
2 Luna bars
1 pack of pickles
1 bean burrito
Extras:
Trekking Poles - Black Diamond Trail Trekking Poles - Pair, must have leg saver for both the way up and down the mountain.
Buff - Outdoor Research Bluet Ubertube, the catch all trail tool, acts as a headband, scarf, sleep mask and occasional snot rag.
Sunscreen - Dermatone Sport Lotion SPF 50, non-greasy sun lotion favorite that we’ve been using for years and hundreds of days.
Headlamp: Nitecore NU25 400 is one of the lightest and brightest rechargeable headlamps out there.
Navigation: GaiaGPS or similar with downloaded maps. Cell service is unreliable.
Anti-Chafe Stick: Love putting a Dermatone travel size Anti-Chafe Stick in our hip belts. High mileage in hot conditions can make for some gnarly chafing situations.
For a full packing list for hiking and backpacking, see our What to Pack for Hiking and our Best Ultralight Gear guides.
Safety and Weather Considerations for Summit Day on Mount Elbert
Mount Elbert may be a non-technical hike, but 14,440 feet demands respect. Here are the safety considerations we think about every time we're above treeline in Colorado.
Lightning is the biggest threat above tree line
Once you're out of the trees around mile three, you are fully exposed. If you hear thunder or see dark clouds building, do not wait to see what happens; start descending immediately. We had a group warn us on the summit that their hair was standing on end, which is a serious sign of an imminent lightning strike. That's the moment you turn around, no question.
Make sure to check the weather forecast the day before and the morning of to know what to expect. We usually use both Windy.com and Mountain Forecast, the latter which gives you a more detailed forecast for your specific peak. Storms in the afternoon are almost expected in Colorado, so do come prepared for rain even if it isn’t showing up in the forecast. Also, take note that the times can change and you may get weather hours earlier than predicted, so start early.
Set a hard turnaround time before you leave the trailhead
We set ours at 1pm since storms were forecast for 3pm and it started hailing at 10:30am. Having a predetermined turnaround time removes the temptation to push for the summit when conditions are turning.
Altitude sickness is real
Symptoms include headache, nausea, dizziness, and fatigue. If you're flying in from sea level, do not attempt Mount Elbert the next day. Spend at least one to two nights at or above 8,000 feet before your summit attempt. Leadville sits at 10,152 feet and is a great place to acclimatize. If symptoms worsen while hiking, descend.
Carry a personal locator beacon
We never hike a remote mountain without our Garmin InReach Mini 3. Cell service is unreliable in the mountains, and having two-way satellite communication is peace of mind that is absolutely worth the investment.
The trail is well-marked, but conditions change
Be sure to at least have a navigation app on your mobile device. We use GaiaGPS for all our backcountry travels. If there's snow on the trail, which is possible even in summer near the summit, use extra care on any icy patches. Trekking poles are a big help here. In late spring or early fall, microspikes may be worth throwing in your pack.
Respect the false summits
Mount Elbert has several, and they can be mentally and physically draining. Pacing yourself evenly through the whole ascent rather than going hard early is the best strategy.
Where to Stay Near Mount Elbert
Whether you’re planning to camp under the stars or rest up in a cozy Leadville cabin before your summit day, there are plenty of great options near the Mount Elbert trailhead. Here’s a mix of camping, budget, mid-range, and luxury stays to help you find your perfect basecamp.
Camping Near Mount Elbert
If you prefer to stay close to nature (and your early-morning trailhead start), there are several free and paid camping options nearby.
There are multiple campgrounds near the North Elbert Trailhead, and a lot of dispersed camping as well. We camped in a free dispersed spot that was about 10 minutes away. Do note that camping and overnight parking is not allowed at the trailhead. But with free options so close, find a spot the night before and then head to the trailhead to make breakfast and use the bathroom (there is a pit toilet that was very clean and well stocked).
If you opt for dispersed camping, please practice Leave No Trace and pack out all trash. When you camp at a dispersed “campground” or off a forest road, there are usually not toilets or trash cans, so be prepared to dig a cat hole 6-8 inches deep to bury your poop, or pack it out in a wag bag. If you do dig a cat hole, please still pack out your toilet paper, I keep a zip lock bag in my toilet kit for this.
Dispersed Camping:
You’ll find excellent free dispersed spots along Halfmoon Creek Road (Forest Road 110) about 10–15 minutes from the North Mount Elbert Trailhead.
Sites are first-come, first-served, and often shaded with views of the surrounding Sawatch Range.
Note: No toilets or trash service, practice Leave No Trace, pack out all waste, and bring wag bags if needed.
Campgrounds:
Elbert Creek Campground - 4 miles from the trailhead, first-come, first-served, with picnic tables and vault toilets.
Lakeview Campground - overlooks Twin Lakes and can be reserved in advance through Recreation.gov. A great option if you want a lake view and reliable amenities.
Budget Lodging in Leadville (Under $150/night)
Inn the Clouds Hostel - Clean, social, and popular with hikers. Offers private rooms and dorm beds with a shared kitchen.
Leadville Motor Lodge - Wood paneled and cozy rooms tucked in the downtown Leadville area.
Mid-Range Stays (Around $150–250/night)
The Timberline Hotel - Modern mountain charm in downtown Leadville
Columbine Inn & Suites - Great location on Highway 24 with mountain views and reliable comfort.
Luxury Lodging and Cabins (Over $250/night)
Looking for a more upscale stay before or after your summit? Although there aren’t any “luxury” hotels in the area, I recommend searching for a private cabin on Vrbo.com
FAQ – Hiking Mount Elbert, Colorado’s Highest 14er
Do you need a permit to hike Mount Elbert?
No permits are required to hike Mount Elbert or park at the North Mount Elbert Trailhead. However, camping and overnight parking are not allowed at the trailhead, so plan to stay at a nearby campground or dispersed camping area.
How hard is Mount Elbert to hike?
Mount Elbert is considered a moderate to hard hike. The trail itself is well-marked and non-technical, but the elevation gain of over 4,400 feet and the high altitude make it a genuine challenge. Most hikers feel the effects of thinner air above 10,000 feet, so spending a day or two acclimatizing in Leadville or the surrounding area before your summit attempt is strongly recommended.
How long does it take to hike Mount Elbert?
Most hikers complete the round trip in 6–8 hours, depending on pace and fitness level. The ascent typically takes 3–4 hours and the descent 2–3 hours. We did it in six hours. Start before 7am to give yourself enough time to summit and descend before afternoon thunderstorms roll in.
What is the best time of year to hike Mount Elbert?
The best window is late June through early September, when the trail is mostly snow-free. You can sometimes hike in late May or early October depending on conditions, but expect colder temperatures and potential snowfields near the summit. Always check conditions before heading out.
What’s the weather like on Mount Elbert?
Weather changes fast in the high alpine. Mornings are typically clear and calm, while thunderstorms often develop by early afternoon. Always check Mountain-Forecast.com or Windy.com before your hike and plan to be off the summit before noon.
Can you camp near Mount Elbert?
Yes! You’ll find excellent dispersed camping along Halfmoon Creek Road (FR 110), just 10–15 minutes from the North Trailhead. There are also developed campgrounds like Elbert Creek Campground and Lakeview Campground, which can be reserved in advance through Recreation.gov.
What gear do I need to hike Mount Elbert?
Wear moisture-wicking layers and bring a warm puffy and rain jacket as the weather changes quickly. Trekking poles will help on the way up and save your knees on the way down. Sunscreen is a must at altitude. You can find my full Mount Elbert gear list above, including links to all my favorite trail-tested gear.
Can you bring dogs on the Mount Elbert trail?
Yes, dogs are allowed on the trail, but they must be leashed and under control. Make sure your pup is used to high elevation and bring plenty of water for them.
What’s the elevation of Mount Elbert?
Mount Elbert stands at 14,440 feet (4,401 meters), making it the highest peak in Colorado and the second-highest in the lower 48 states after Mount Whitney.
Is Mount Elbert good for first-time 14er hikers?
Yes, it's one of the most popular first 14ers for a reason. The trail is well-marked, non-technical, and has a consistent grade. The main challenge is the altitude, so acclimatization is key. If you're in solid hiking shape and give yourself a day or two at elevation beforehand, Mount Elbert is very achievable.
Final Thoughts on Hiking Mount Elbert
Mount Elbert was such a fun hike and a really great 14er to check off, I’m so glad we did it! If you are in good hiking shape, this will be a great hike for you. I do recommend spending a day or two at 10,000 feet before starting your hike. The town of Leadville is just over 10,000’ and a lot of the camping in the area is between 9,000’ and 10,000’. We spent four days in Telluride at 8,000’ and then in Grand Junction at 5,000’ leading up to this and then two nights near Leadville with one day of climbing at 10,000’ which I think really helped us feel great on the hike.
If you do feel the elevation while hiking, remember it’s okay to take your time. Take rests if needed, just keep an eye on the weather. Also, make sure to stay hydrated and keep eating snacks even if you are not hungry. Staying hydrated will really help. I also kept a few GinGins (ginger candy) in my pack in case I got at all nauseous, I didn’t need to eat them, but ginger can really help.
*This blog includes affiliate links. These links link directly to the products and if you use them to make a purchase, I earn a very small commission at no cost to you.
Other Hiking & Gear Guides to Check Out
The Ultimate Guide to Fall and Winter Hiking: Clothing, Gear and Safety Tips
Hiking the Enchantments in One Day: Everything You Need to Know to Thru-Hike
Gear Discount Codes and Links
I’ve partnered with a few of my favorite outdoor brands to hook you up with exclusive discounts on trail-tested gear. These are companies I actually use and love, and when you shop through the links below, you’ll get a deal and help support our blog.
20% off SkyGOAT (grid fleece) - Click the link and add code SKYEGOAT to your cart at checkout to get 20% off your order.
15% off LUNA Sandals - Click the link and the discount will be added to your cart automatically.
15% off Stio with code SKYE15 - Click the link and enter the code in your cart.
10% off Will and Bear hats with code SKYESTOURY - Click the link and the discount will be added to your cart automatically.
20% off Wild Deodorant with code SKYESTOURY - Must enter the promo code at checkout to receive discount. They make a deodorant mini that is perfect for backpacking, it’s the size of a lip balm.
10% off Loop Earplugs with code SKYE10 - Enter the promo code at checkout. I use their Dream earplugs for sleeping both backpacking and car camping.
Colorado’s Million Dollar Highway Road Trip Guide: Full Itinerary From Silverton to Ouray
Trail Running the Grand Canyon: Everything You Need to Know for a Safe Rim-to-River Run
This image is copyrighted and owned by Skye Stoury Photography and skyestoury.com, if you would like to licence any images on this site, please email us at hello@skyestoury.com